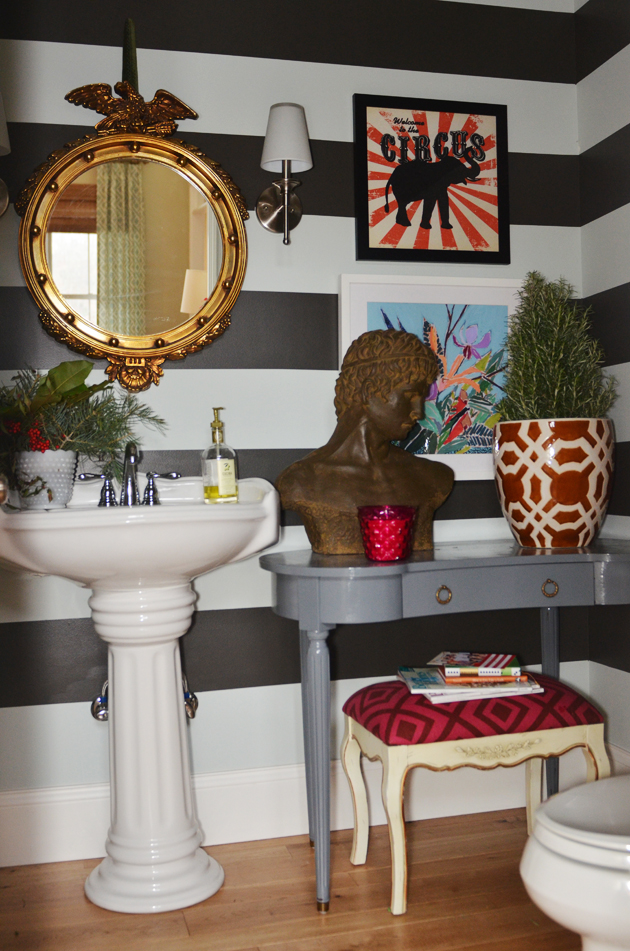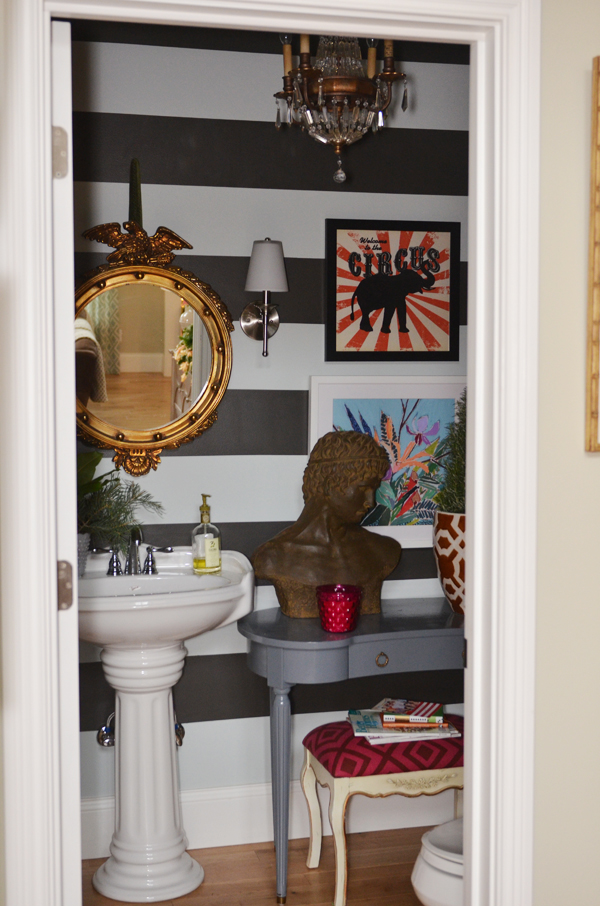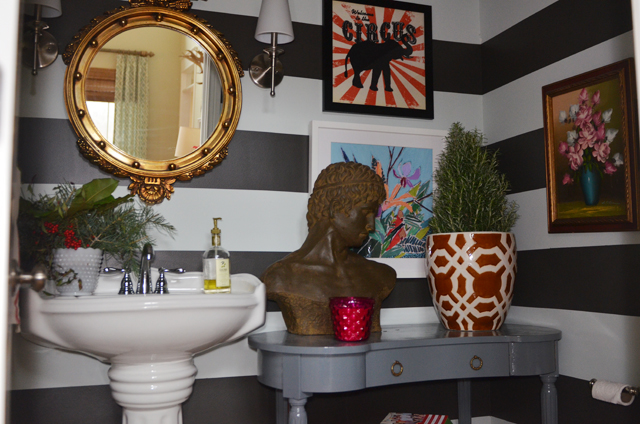
From the very beginning of our rebuild after the fire, I knew I wanted a statement bathroom.
The half bath on the main level is tiny and I’ve thought of nearly every possible option for making the tiny space shine. I started a ‘bathrooms’ board on Pinterest and had my eye on this striped bathroom for a year.
I almost tackled this project before Better Homes and Gardens came in September but I had plenty to keep me busy then and was still hemming and hawing around about what exactly I wanted to do.
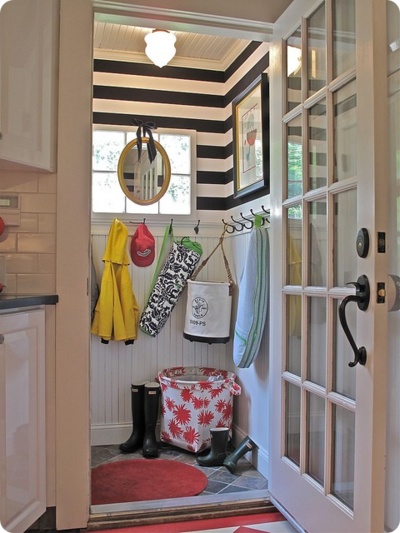
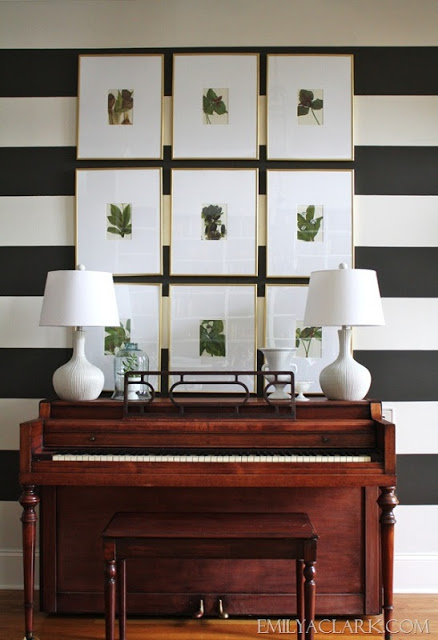
It all changed when Emily painted her foyer in the most gorgeous stripes ever. And since I adore her and everything about her, I knew it was time to dig out the rollers and brushes.
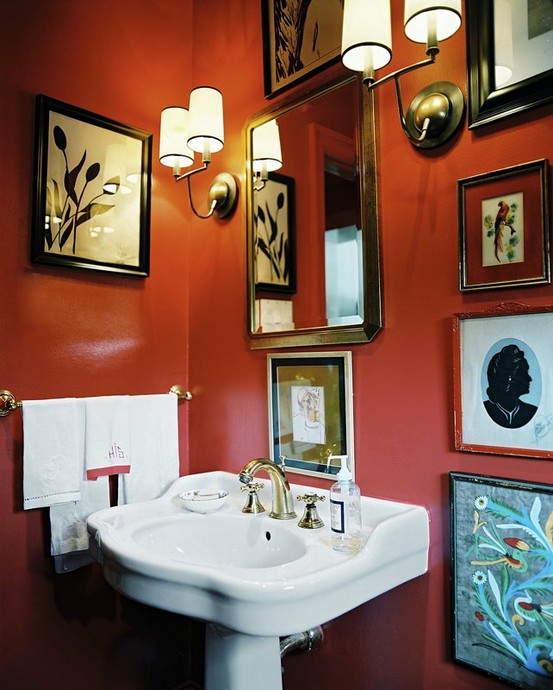
Except then I saw this on Pinterest. And even though striped walls and I had been going steady for nearly a year, I almost ditched them for this brooding beauty from Lonny Magazine.
After a little contemplation, I decided that I shouldn’t have to choose. Why can’t I have the best of both worlds?
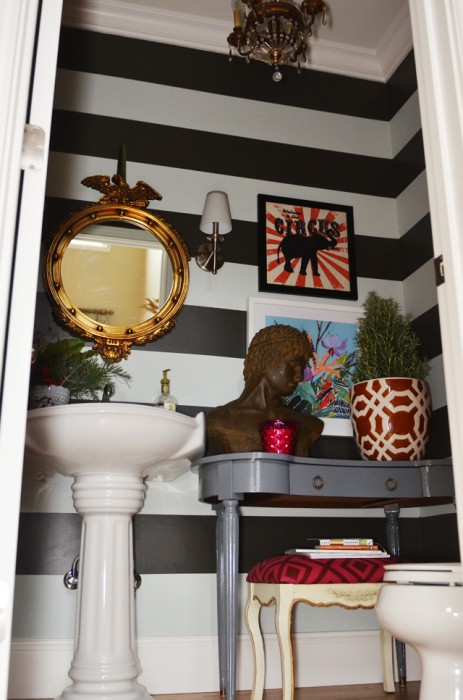
So, I painted the strip-ed walls (from here on out, we shall call him stri-ped, with emphasis on the ped, for reasons I can’t quite articulate) and then added the moody/broodiness with my main man, the bust of David, and some quirkily hung art.
The bathroom is the love child of those three gorgeous rooms and now seriously competing with this room and this room for most favored room in the house status.
I had my girls’ bedroom painted with stripes a few years back and loved it. I learned a few things from watching the process being done and I knew I could do it on the cheap. My trusty side kick, Nick, did all the hard work of taping it off. It took several hours and it’s not rocket science but it is most certainly tedious. I would advise all my ‘fly by the seat of your pants, ‘it looks pretty straight’, friends to let the OCDers have this one. I sat this one out. I know when I’m defeated. Some things I’m good at. Some things I’m not. Painstakingly taping all those straight lines is definitely not one of my spiritual gifts.
Nick did great but even his tendency towards perfection was challenged.
In my humble, ADD slanted opinion, it just walls and paint. And someone smart once said, “It doesn’t have to be perfect to be beautiful.”
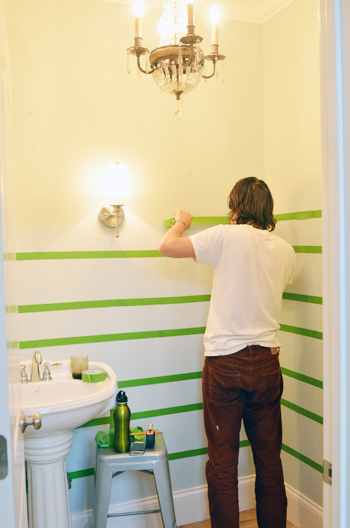
So, we got it pretty close to perfect and then the next day, we painted it in a couple of hours.
I measured the wall before we started and it was 96 inches, perfectly divisible by 8. So we decided on 8 inch stripes.
And I loved Emily’s foyer so much that we used the same color as she did for the charcoal stripes. The color is Urbane Bronze from Sherwin Williams.
The walls were already painted Sea Salt by Sherwin Williams, so we started with that as a base.
I would HIGHLY recommend painting the wall all over with one of the colors you want in your stripes. Let that dry for a day and then begin the taping extravaganza.
Two keys to painting striped walls:
1. Take a credit card and smooth the tape down. DO NOT SKIP THIS STEP. It will keep the edges from ‘bleeding’ paint.
2. Dry brush the edges of the stripes before you actually paint them.
And by that I mean, get just a little paint on the brush and do a thin, almost dry layer of paint to seal the edges of the tape. Then when you go back to actually paint the stripes, you won’t get any bleeding through the tape. We used Frog Tape and got great results. Our edges are perfection!
The corners bled a little and Nick is at this very moment touching those up. I probably wouldn’t even have gone to the trouble but I love that he cares!
We used a 6 inch roller to roll the stripes on, once we had dry brushed the edges. This is one of those projects with a huge pay-off and very low cost.
I would definitely do it again, although I’m sure Stevie (and Nick) hope I don’t:)
