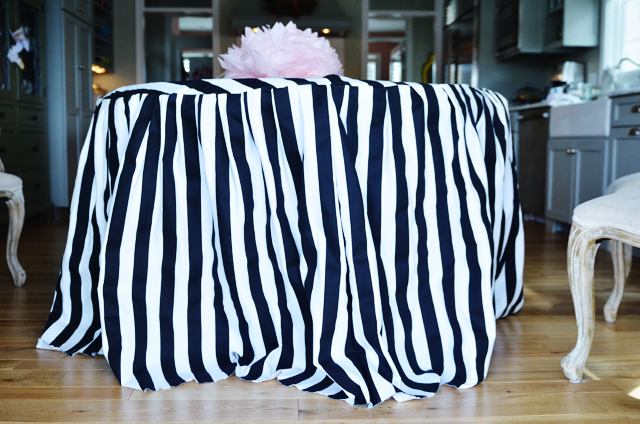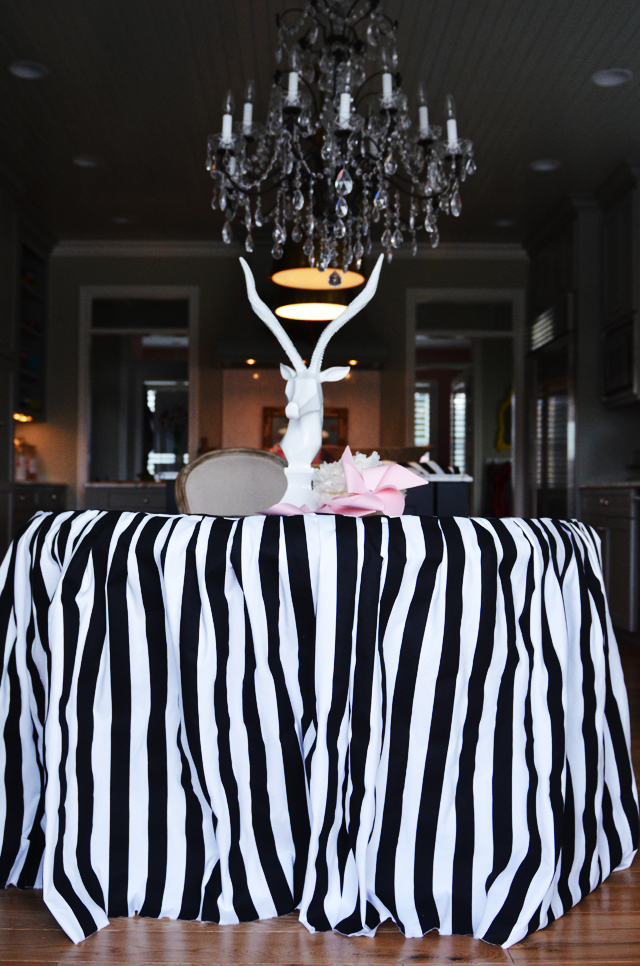
I love my dining table. Like LOVE it. It’s an Eye-talian made table that I bought at O.P. Jenkins after our house fire. (I can’t find any more specific information than that).
This is one place I decided not to skimp.
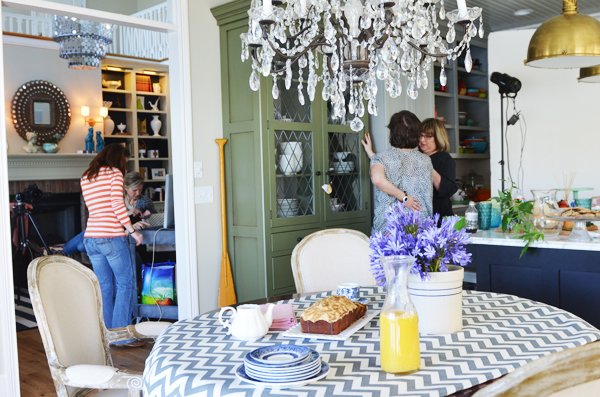
I’m all about a Goodwill rehab project but I wanted a good, sturdy table. After seeing Julie’s beautiful table, I knew wanted a large round table that would foster all kinds of warm and cozy hospitality. I’ve tried various swatches of fabrics draped over it to simulate a make shift table cloth but I’m kinda rebellious. Far be it from me to go buy a table cloth to fit the table. THAT is way too right inside the box. When Better Homes and Gardens came to our house, I found a kindred spirit in Elizabeth because not only did she not care that I didn’t have a proper tablecloth, she swore she wouldn’t have used it anyway. And then she proceeded to duct tape a piece of fabric together and call it a day. We were obviously separated at birth.
It looked a little something like this.
Then, before Thanksgiving, I hemmed and hawed around and nearly ordered a skirted tablecloth from Ballards. But it was gonna be $250 for the size of my table and that just seemed OUTrageous.
So, I got my lazy sewing skills on and made one and I HAVE LOVED every raveling thing about IT. I mean, LOVED it.
It’s imperfect and unfinished and raveling and beautiful. I wash it every Friday and then drape it back over the table while it’s damp to finish drying it.
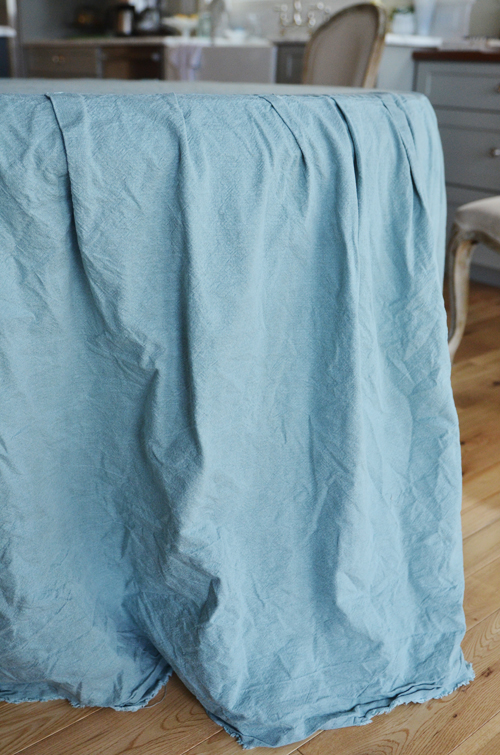
The first one I made was this perfect blue-green linen from Hobby Lobby. It’s the one we use all the time. Here is it, freshly laundered in all its imperfection. It adds just the right amount of coziness to my industrial/cottage kitchen. I could have ironed it. But then those 20 minutes of my life are gone forever. And we’ve got episodes of Gold Rush to catch up on, people.
I made another one this weekend in anticipation of an upcoming soiree at my house.
I used this fabric, that I ordered from Amazon, because apparently, if I can’t order it from Amazon with free shipping, I don’t need it. It took about 8 yards for my sized table, give or take a yard or two. (I know, my attention to detail is inspiring.)
So, here’s the laziest tutorial ever known to man. This tutorial will make real seamstresses shudder. I will do violence to the craft of sewing. I’m just giving you fair warning.
First, lay the fabric on the table and roughly (I told you there would be violence) cut out a circle in the shape of your table leaving about an inch overhang. It helps SO much if you buy fabric that’s wide enough to cover the table. My table is 48 inches in diameter so I made sure my fabric was 54 inches wide. It makes this step so much easier.
I sat some heavy objects on the table to keep the fabric from moving and then just starting cutting my circle.
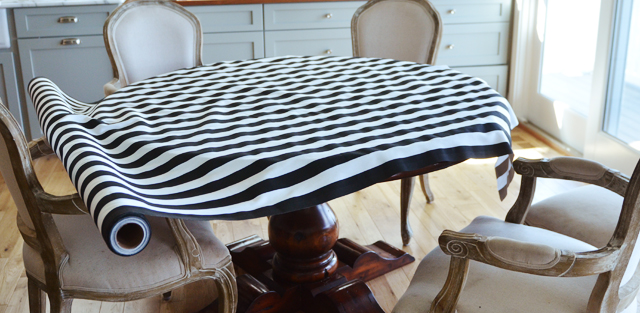
Okay, apparently, I sat a vase of flowers on the table but heavy objects would work fine.
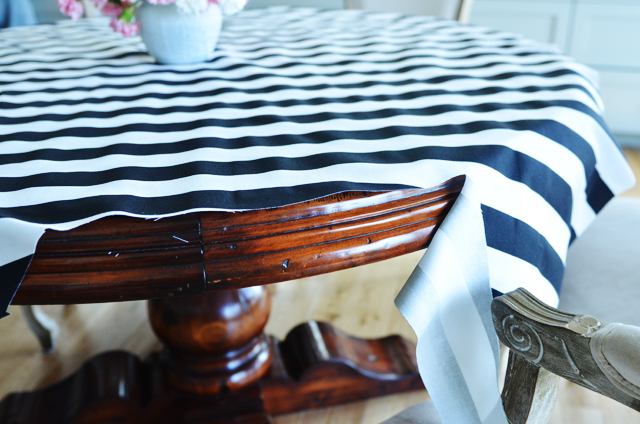
THen measure the drop of the table from top to bottom and add 3-4 inches to make sure it gently brushes the ground after it’s sewn together.
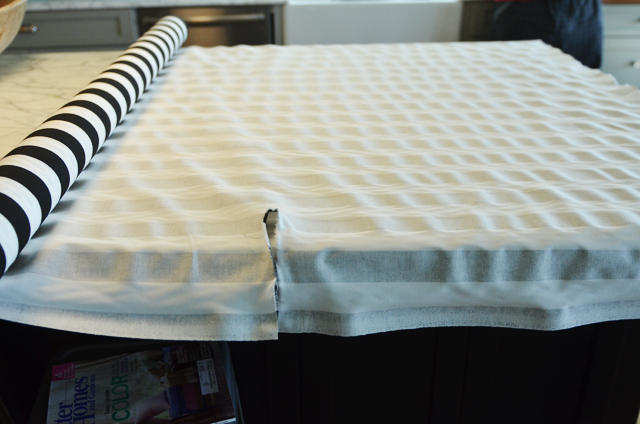
I just layed my fabric right on the island and used the tearing method to ‘cut’ my strips. Many fabrics won’t tear and honestly it’s harder to sew if you do that because of the raveling. But I’m like the ten year old who won’t listen. So I tore it into strips. And then cursed it while I sewed. It took 4 1/2 strips of fabric for me but it’ll depend on the diameter of your table.
THen, I turned the circle piece wrong side up and started pinning the strips to the circle. I added in some very imperfect pleats, just by pinning them in place.
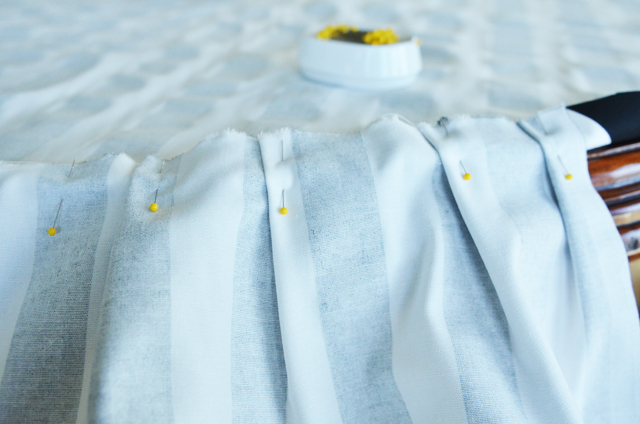
You can join the sides of each strip together if you want or not. I sewed all the sides together so my tablecloth skirt would be one continuous piece of fabric. Just pin it along the sides, when you’re joining the strips together.
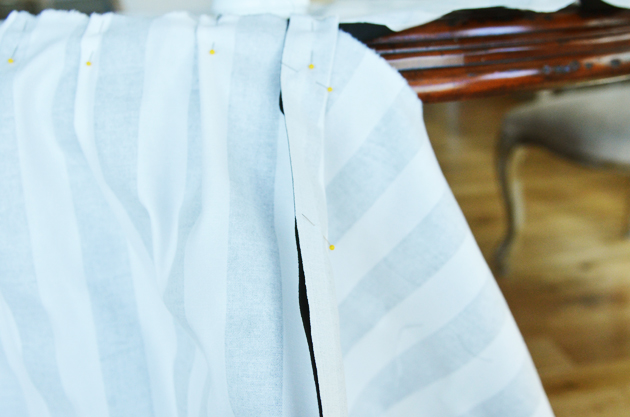
About halfway around the table, I took it up to the sewing room and sewed what I had pinned because, 1) The fabric gets bulky and heavy fast and it’s easier to deal with 230 straight pins than 500, at a time. 2) I’m terribly impatient and wanted to see what it would look like half way through.
Ten, finish pinning the strips to the circle and the sides of the strips together until it looks like this.
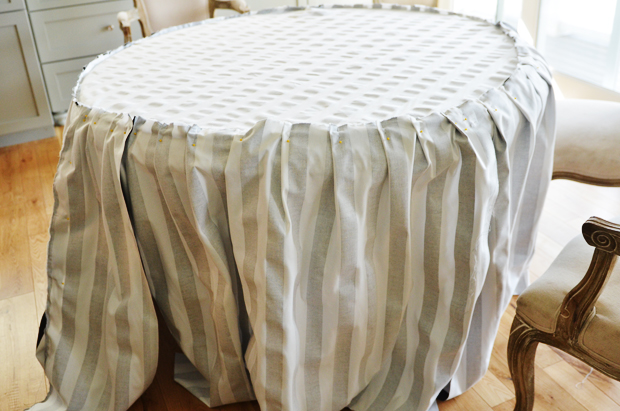
Now, sew the rest of the pinned pieces together and you will be so darn proud of yourself.
Unless you’re me and do violence to your sewing machine by sewing at the speed of lightning on steroids and break the bobbin thread every five minutes and poke 8,00o tiny holes in your fingers.
I have a love/hate relationship with my sewing machine but I do dearly love the finished product.
I don’t hem the ends, just let the ravel-y goodness drag the ground. Surely that doesn’t surprise you.
I made this for a fun silhouette/french themed party at my house next week. We’re making all kinds of goodies, of the crafty and food variety but this one is my favorite so far.
My sincere apologies to all talented seamstresses in the world!
