 I LOVE making homemade pizza. It’s not just a meal, it’s an event. Everyone participates and adds their own flair. And don’t be afraid of homemade crust. It’s just a blob of dough. There’s nothing to fear! I will show you step by step how to make the perfect pizza crust, everytime. It’s an art, though, so you get better with it as you practice.
We do ‘Homemade Pizza Fridays’ about twice a month. Truth is, I could eat it everyday. And if you’ve been a little skittish about homemade pizza crust, this is the post for you. Please tell me you’ll try it. It’s so much more fun than ordering pizza. I promise, it is. I’m also gonna introduce you to my new favorite pizza, honey garlic! If you’ve never heard of it or tried it, you’re about to be blessed, my friend. It is AMAZING! So, without further adieu, let’s make pizza.
1. Prep your ingredients
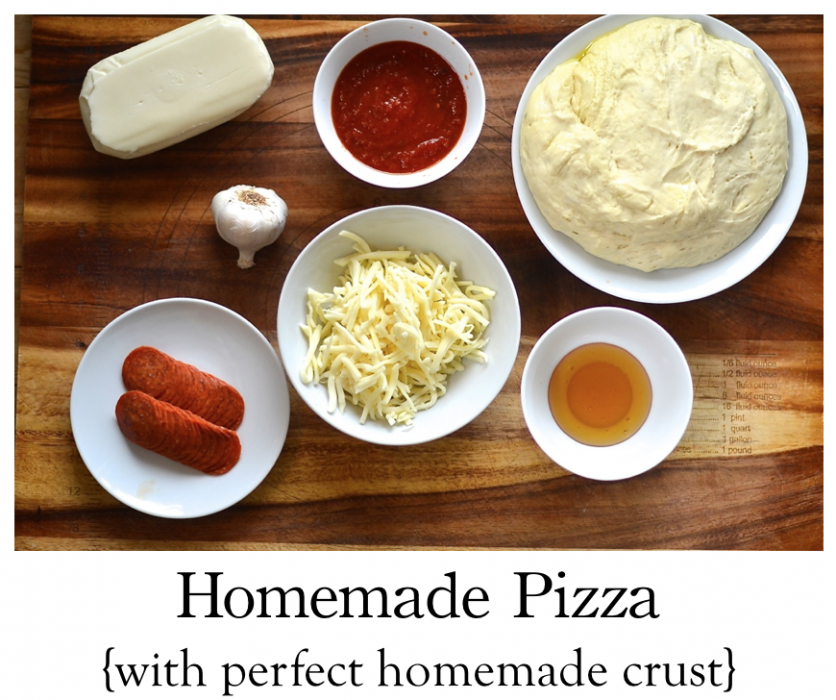
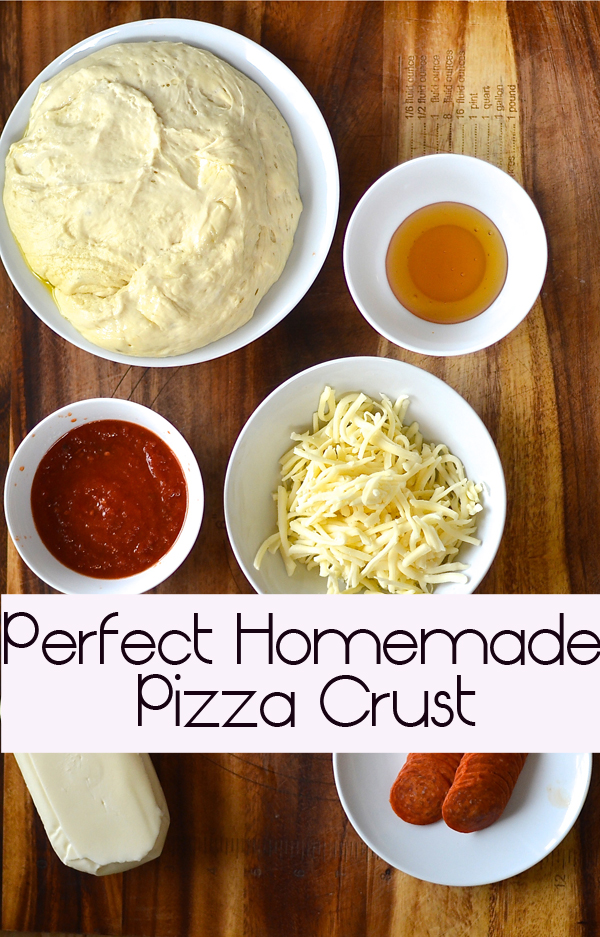
One of the keys to pizza making night is to have all your ingredients prepped and ready. I often go to the extra trouble to put the ingredients we’re using in bowls and plates so that whoever wants to help can help. Sometimes, we add carmelized onions or sauteed mushrooms, so I get all those prepped before we start assembling. I also like to grate my own cheese, so I try to find a youngster or husband willing to help with that thankless job. Cheese has its own numbered category below but suffice it to say, I’m a cheese connoisseur.
2. How to Make the Perfect Pizza Crust
Also, start your dough early in the day, so it has plenty of time to rise. If you work away from home, you might want to make pizza on Saturday, so that you’re home for the dough rising festivities. The dough recipe and method we use is a combination of two pizza bianca recipes I’ve used in the past. Pizza bianca is just pizza crust slathered with olive oil and rosemary (usually), which is baked and served with soup. We used to do have it ALL the time, when we lived in the house with the turquoise kitchen. I don’t know why we ever got out of the habit, but I’m so glad we’ve renewed our love for homemade pizza crust. This recipe makes 2 medium crusts, so you could double it, or better yet, make two batches. One recipe is enough to feed our family of 5, but we currently have no teenage boys living at home!
Dough Recipe
3 1/2 cups of flour (I usually start with 3 cups and then add more flour as needed to make a dough that isn’t sticky)
1/3 cup olive oil
1 tsp. salt
1 T. sugar
1 cup of cold water
1 package of yeast
In a standard mixer (fitted with a dough hook if possible), (preferably a kitchen aid standing mixer so it can do all the work), add 3 cups of flour, the yeast, oil, salt, and sugar. Slowly add the water, until all the flour is incorporated. Mix the dough for 2-3 minutes or until the flour all pulls away from the side of the bowl. The dough will most likely be sticky to the touch. Slowly add more flour, (probably another 1/2 cup but potentially up to 3/4 cup) and continue to mix, until the flour is all incorporated and the dough is no longer sticky at all. Mix for a total of 8 minutes. Place the dough in a well oiled bowl and let rise until it doubles in size. My oven has a proofing setting (about 170 degrees) so I always proof my breads in the oven. It significantly shortens the rising time but at least find the warmest spot in your kitchen, free from drafts, and let rise a couple of hours. I cover my dough bowl with a damp flour sac and then it rise for a couple of hours. Yesterday, I let it rise most of the day and it was just fine but it’s better to not let it ‘over rise’, meaning you don’t want it spilling over the side of your bowl.
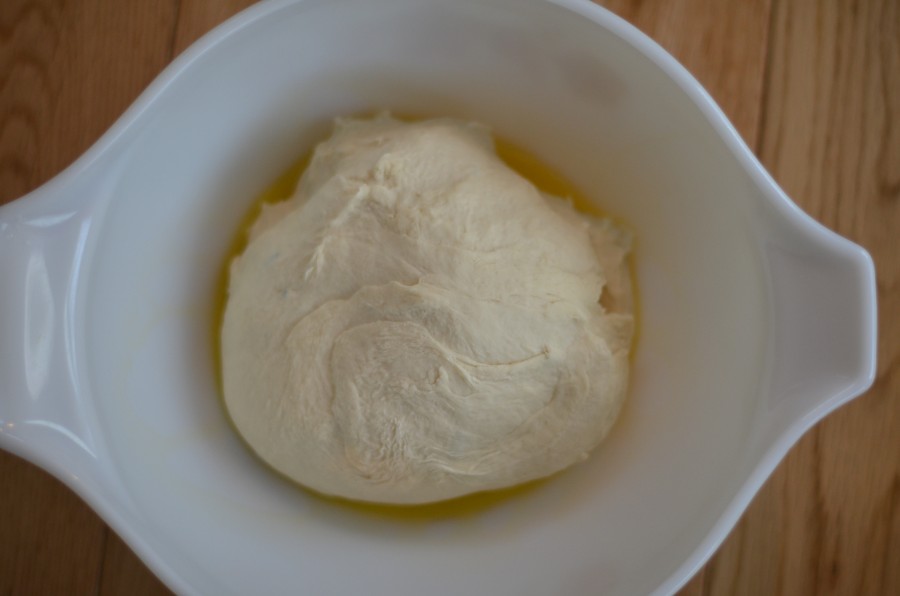
My dough looked like this when I first mixed it up.
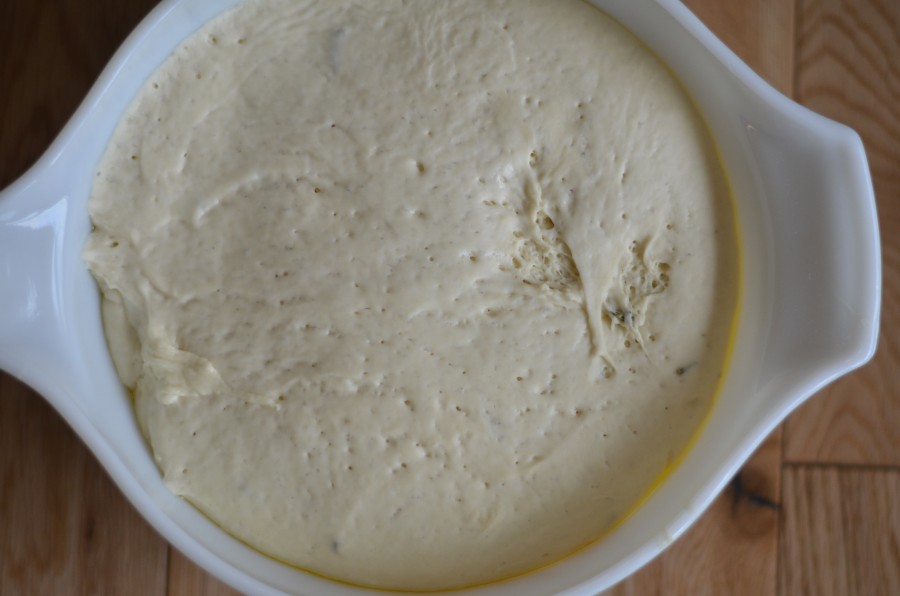
Two to three hours later, it looked like this:
Then, you divide the dough in half and form each dough ball into a crust. This is a little tricky, in my humble opinion. If you use a rolling pin to roll it out, then you don’t get the taller outer edges. So, I take my time and do this part by hand, leaving the outer lip a little higher, so that honey and other ingredients aren’t spilling over the edge. I use a liberal amount of flour to roll it out and then make sure you use a very liberal amount of corn meal underneath the crust so that it doesn’t stick to the pizza peel or to the grill or to the stone or pan you’re cooking it on. Use more than you see in the picture below because that pizza stuck to the peel and my husband was not a happy camper.
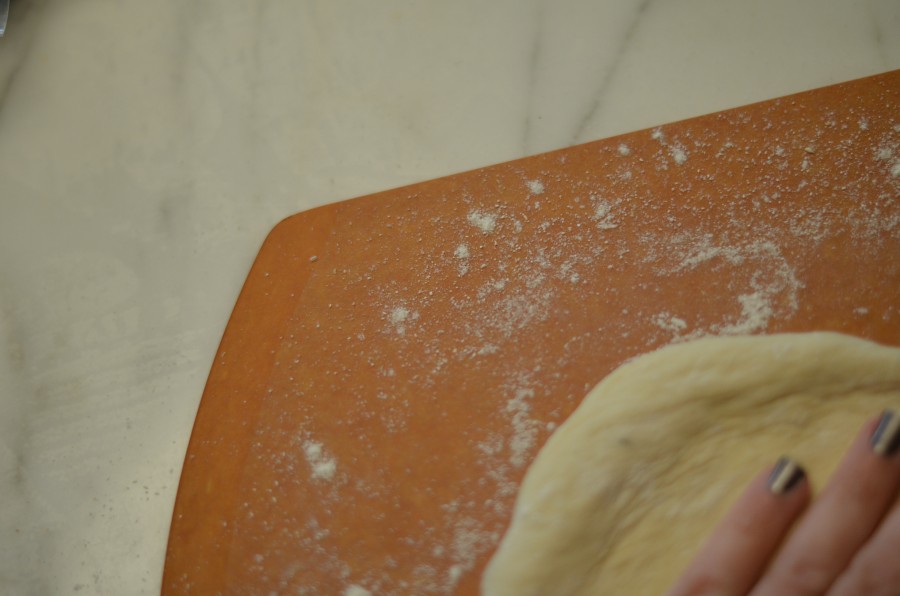
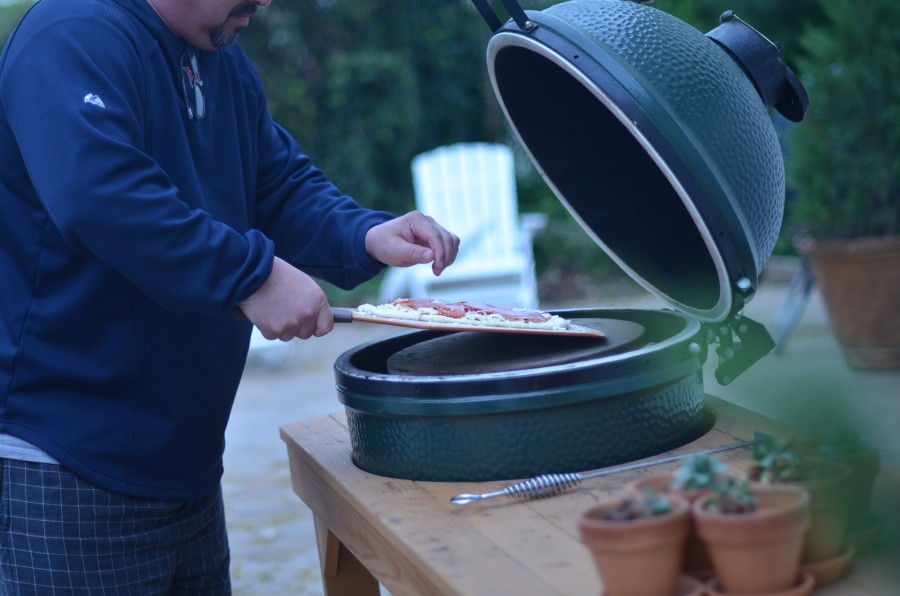
After we get the dough to the right size, with plenty of corn meal underneath, we add the rest of the toppings and then slide the pizza from the peel onto the pizza stone that sits on our grill.
I love any night that the grill is being used because that means the boys are cooking!! I can’t say enough good things about the Big Green Egg. It’s amazing and cooks pizza like a brick oven would!
3. Use good marinara
(And don’t use too much!)
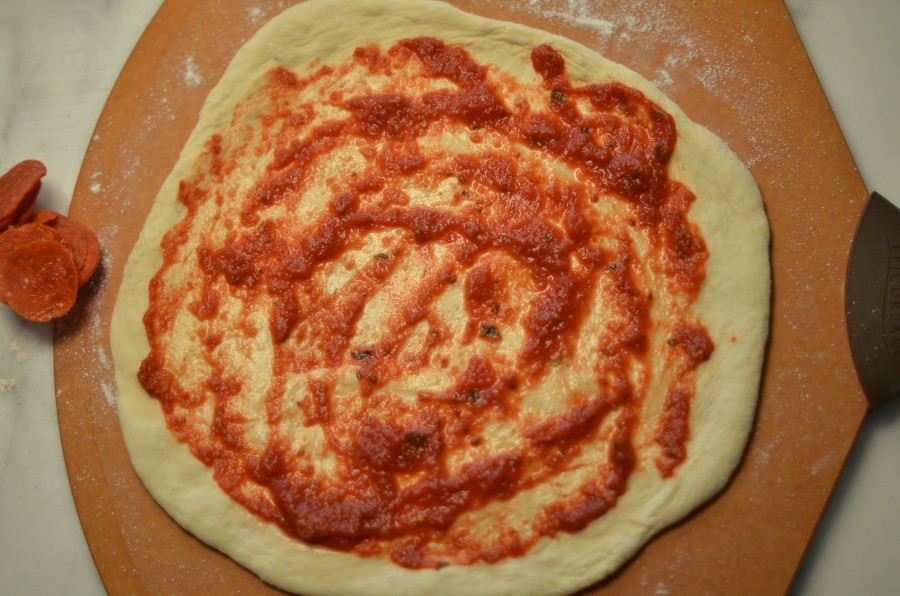
You can make your own but we usually use the Trader Joe’s brand. If I don’t have marinara, I’ve made due with spaghetti sauce before. I do find that the higher the quality of the marinara, the better the pizza. I guess because there are so few ingredients. Don’t add too much. Did I say that already? Here’s a pic of our marinara. Also, a pizza peel, (Norpro 5683 Bamboo Pizza Paddle) could change your life. Especially if you’re grilling your pizza, which is what we usually do.
4. Add Your Toppings
We add pepperoni and salami both under and over the cheese. We’re meat lovers like that. But technically, you’re supposed to put them under the cheese. So, add away, to your heart’s delight. Sometimes, we add mushrooms and onions. Sometimes, we add olives. Often, it’s just pepperoni and salami.
5. Use good cheese
We always have a variety of good cheeses on hand. I buy cheese from Sam’s because it’s cheaper and they usually have a great selection. I also love fresh mozzarella but Trader Joe’s has a great preshredded mozzarella that saves time and the inevitable cursing that ensues when trying to shred fresh mozzarella. Which is a little like trying to shred jello. We use a host of cheese, including but not limited to gruyere, fontina, gouda, muenster, swiss, and last but not least, Parmigiano-Reggiano, which instantly raising your pizza-making street cred.
6. Bake or Grill
Grill at a high temperature (450-500 ish) for ten minutes or so, until the cheese begins to brown. If you cook it in the oven, cook at 450.
7. Please, for the love of all things eye-talian, try making honey garlic pizza.
You will thank me for this later. This is best pizza I’ve ever had. Pepperonis are dead to me, after eating this pizza. Nick introduced us to it and now I want it for every meal.
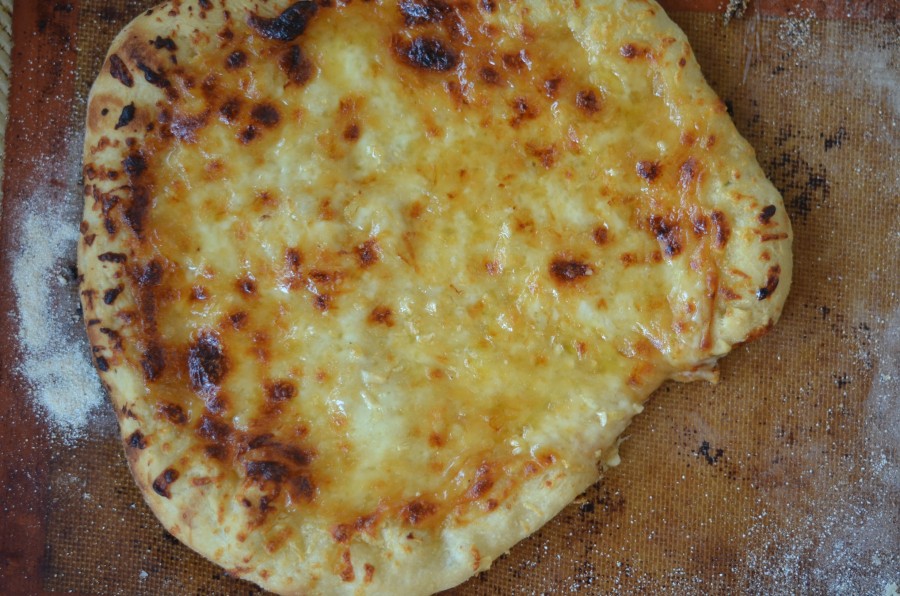
Here’s how we do it.
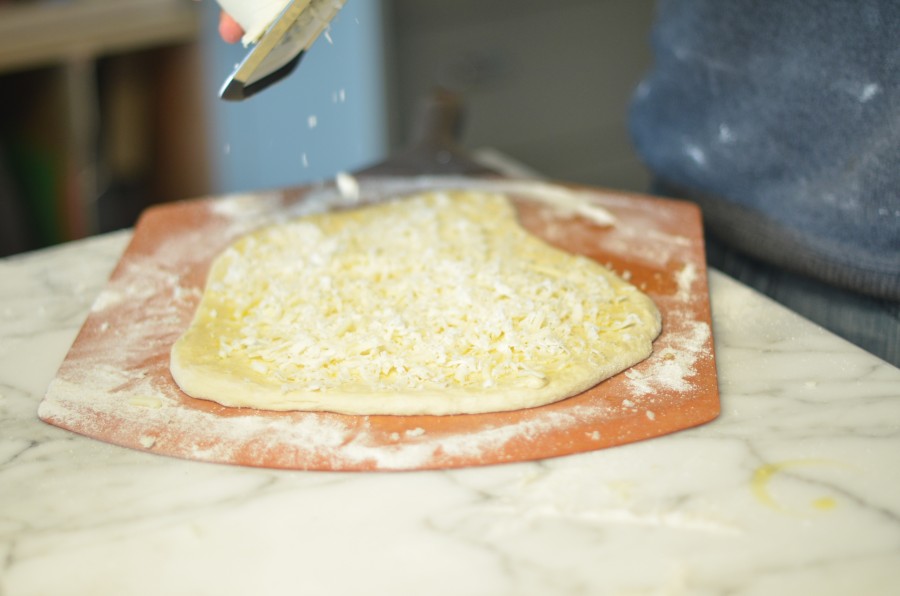
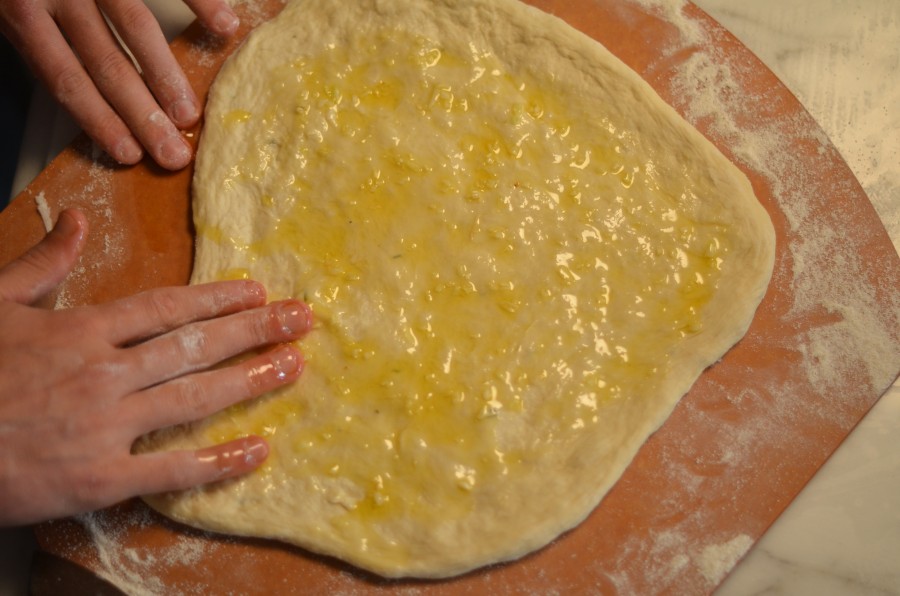
Once your crust is ready and rolled out, add a thin layer of olive oil. Sprinkle the olive oil with 3-4 cloves of finely chopped fresh garlic. It’ll look something like this.
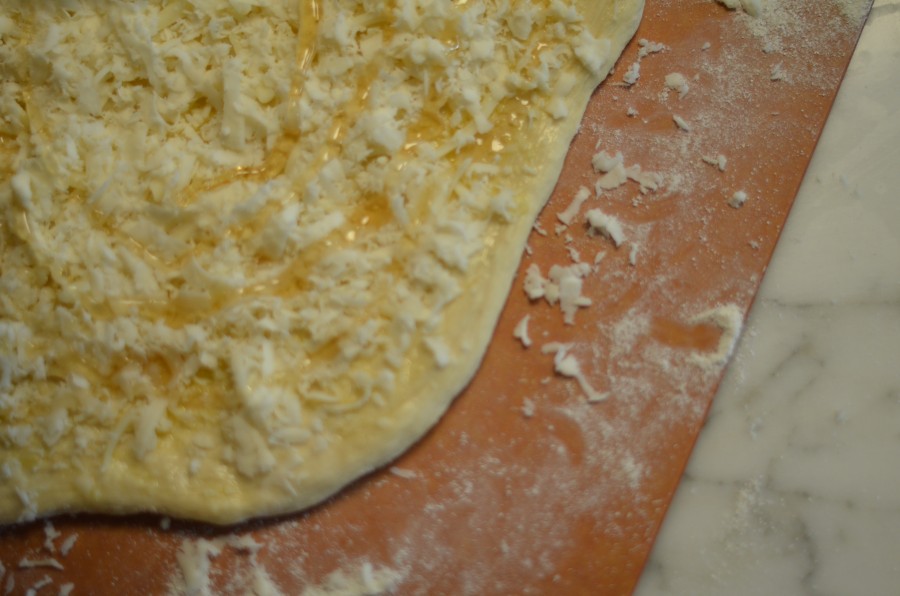
Then sprinkle liberally with the cheese of your choice. No matter what other cheeses I add, I always use some mozzarella and some parmesan. After the cheese, drizzle with honey. How much honey, you ask? You’ll just have to play with it, but here’s what ours looked like before baking. I would estimate that we used a couple tablespoons of honey.
Bake or grill and then go ahead and send me an email me or tweet me or facebook me and tell me how it rocked your world. Because it will rock your world. You may invite me to the Baptism of your baby or to your daughter’s wedding. You may even bequeath me the contents of your library. It could happen. This pizza may seal us as BFF’s forever.
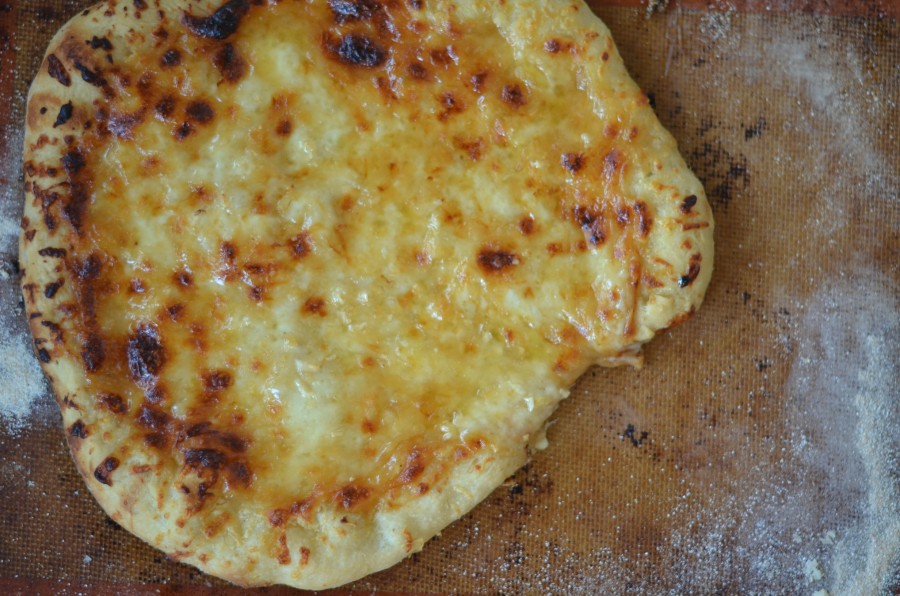
Let me show it to you one more time. In case you don’t like scrolling back.
Okay, now go forth and make pizza. This Friday. C’mon, you know you want to!!
