This is day 7 of a 12 day series of handmade tutorials. All the projects are listed on this landing page!

Howdy to all of Edie’s wonderful readers! I was so excited to be invited to fill in one of these 12 Days of Handmade Christmas spots, so thanks for having me. I’m Heather and I blog over at Lark & Lola {my small craft biz blog} and Last Day Ago {my family blog}. I’m a Colorado native, married to my high school sweetheart, and raising two little girls. There is a long history of artists and creators in my family, so it’s no surprise that I spend most of my spare time making things with my hands. I hope you enjoy this tutorial for sewing your own tablet/Kindle cover!
Cheers,
Heather
diy kindle cover tutorial
You will need:
1 – 17″ x 5 3/4″ fabric piece for the outside (I used a laminated fabric for mine)
1 – 17″ x 5 3/4″ fabric piece for the inner lining
2 – 17″ x 5 3/4″ pieces of thin, but medium stiffness fusible interfacing
1 – 8″ x 5 3/4″ fabric piece for holding the Kindle in place
1 – 8″ x 5 3/4″ piece of fusible interfacing
You will also need elastic. I decided to try clear elastic for mine (like the kind used in bras and other delicates), and it seems to have worked out well. You could use regular white or black woven elastic, too, if you feel more comfortable with that.
(Post edit: almost a year later, the clear elastic has held up beautifully!)
And of course the basic sewing supplies: a sewing machine, marking pencil, measuring tape, pins, thread, etc.
If you are not making this for a Kindle Fire, you want to size what would be the 17″ x 5 3/4″ pieces by measuring 1/2 inch seam allowance on three sides of your tablet. Then at the top you will add about 3/4″, the length of your tablet again, and 1/2″ at the end. (Or, more simply, 2 times the length of your tablet plus 1 3/4″ and 1″ wider than your tablet.)
For the Kindle/tablet holding piece, simply cut a piece of fabric that is 1/2″ longer and wider on each side of your tablet.
So you will end up with 6 pieces of fabric which will become your Kindle/tablet cover.
Start by fusing each piece to it’s matching interfacing.
For the 8″ x 5 3/4″ piece, trace the size of your Kindle to help you press the edges evenly when your turn them in.
I attempted rounded corners for this piece (I’m a novice, don’t forget.)
And pressed it like so:
Now you will need to cut four lengths of your elastic, about 5″ each. (If you use the clear elastic like I did, be sure to pre-stretch your elastic.)
This is the way in which you want to sew your elastic onto each corner of the Kindle holder, making a loop that will come out on the right side of your fabric.
It’s hard to see, but if you look close in the photo above you can see the elastic angling out toward me. Start by sewing on one end, then bring it around the front, leaving just a little extra slack (as opposed to running it around the corner straight up against your fabric) , and sew the other end onto the other side of your corner, also at an angle.
Do this on all four corners, creating elastic straps that will hold your Kindle in place.
Once you have those in place, pin the Kindle holder piece to your lining fabric, leaving 1/2″ on three sides, like so:
This next little bit is optional, you can simply use an elastic strap if you like, but I wanted a ruffled strap for my Kindle cover, so I took a strip of fabric, about 3″ wide and 20″ or so long.
Fold the strip in half lengthwise, and sew 1/4″ or so along the edge, then turn it right side out:
Flatten your strip, placing the seam in the middle (this will be the backside of the strap.)
Now sew 1/4″ seam down each side, creating a tube in the middle.
Run a piece of elastic through the middle tube portion, using a safety pin to guide it through.
Stitch one end of the tube shut, being sure to get the elastic in place. Now figure about how much elastic & ruffle you want your strap to have, don’t make it too tight. Snip off any excess of the strap and stitch the other end shut, being sure to catch the elastic in your stitch. The ruffle effect is created by the fabric being longer than the elastic.
Now you’re ready to sew it all together. Place the lining and cover pieces right sides together and pin it in place. Remember to tuck your strap (or elastic) inside, don’t pin it sticking out and around like I show in this picture! (Sometimes my mind has to work at figuring out how these things come together.) Simply tuck the edges of your strap piece in between and up to the edges, making sure it will be stitched with your seam. I placed by strap across the bottom about 1-2″ up from the bottom (on the same end as the Kindle holding piece with the elastic, of course).
Before stitching, take a moment to check your tablet/Kindle to get a good idea of how much seam allowance you should have. If you have a lot of excess, now is the time to trim it down. I wanted my cover to fit my Kindle pretty snug, so I stitched about 1/3″ seam all around.
Be sure to leave an opening at the bottom so you can turn your cover right side out!
Another optional bit: Before top-stitching, I used my Kindle to check for the crease, and added pins where the crease started and stopped.
Using the pins as a guide, I marked 3 straight lines down the middle crease, and I stitched along each line. I find this helps the cover fold well.
Like so:
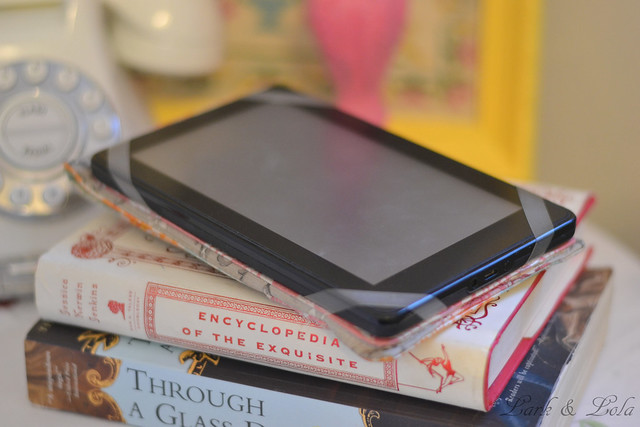
Now it’s the moment of truth! Check your Kindle to make sure it fits in your cover nicely. Hopefully it does, just like mine:
I have to say, I’m glad I chose the clear elastic. It seems to hold up pretty well and I find it less distracting to my eye than the 4 white elastic strips would be.
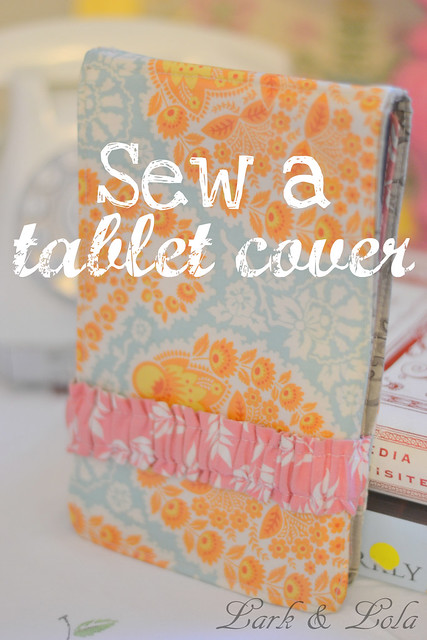
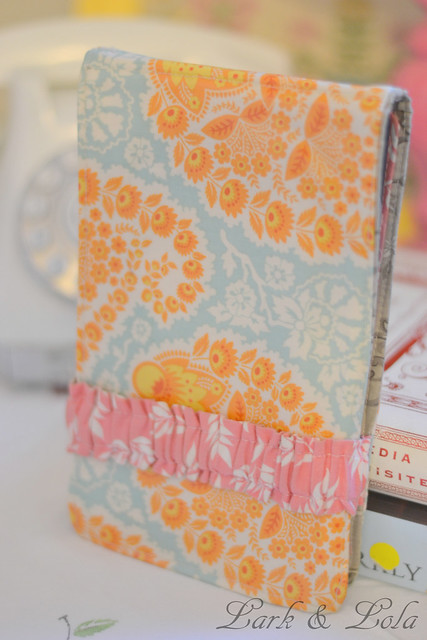
You should now have a pretty little Kindle (or tablet) cover!
I love how well it fits my Kindle, and it’s so much more my style than any other Kindle cover I saw for sale.
The nice thing about the strap is that I can flip it over to the backside to hold the cover back when I’m using my Kindle.
And it’s ruffled. Ruffles are always a plus.
If you decide to use this tutorial to make your own tablet cover, please share pictures when you’re done!

