This is day 9 in a 12 days series of {handmade} Christmas tutorials. You can find all the projects here!
Welcome my friend, Julie, from Less Than Perfect Life of Bliss, today as she shows us how to make a felt scarf! Julie is beautiful, talented, with a wonderful family and especially wonderful parents, that I adore. Her dad is a great preacher and was the first person to ever share the gospel with me and he will always be special to me for that. Her mother, Denise, is precious and blogs at Counsels of the Heart . Julie’s sister, Amy, has a great crafty blog that I’m sure you’d enjoy. Talent seems to run in the family. Thank you, Jules, for sharing with us today!
I’m genuinely honored that Edie has invited me to be a part of this series this year and I can’t wait to show you how to make this felt scarf. It’s a quick and easy project, no matter what level of crafty you are.
DIY Felt Scarf
Start with 1/4 of a yard of 72″ wide felt, and cut approximately 8″ off of one end.
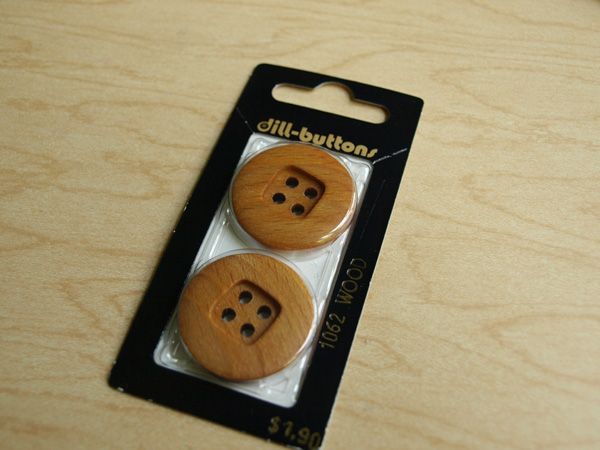
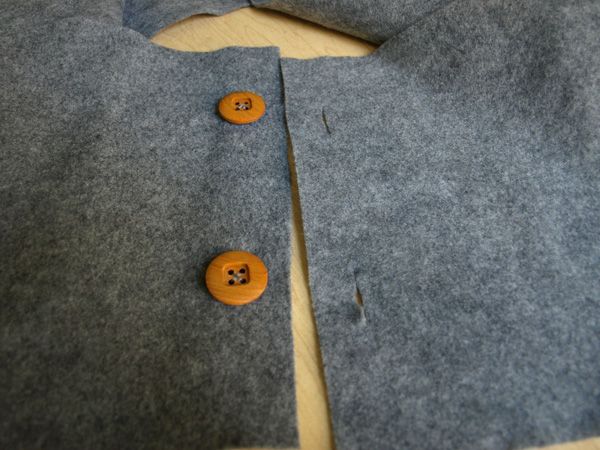
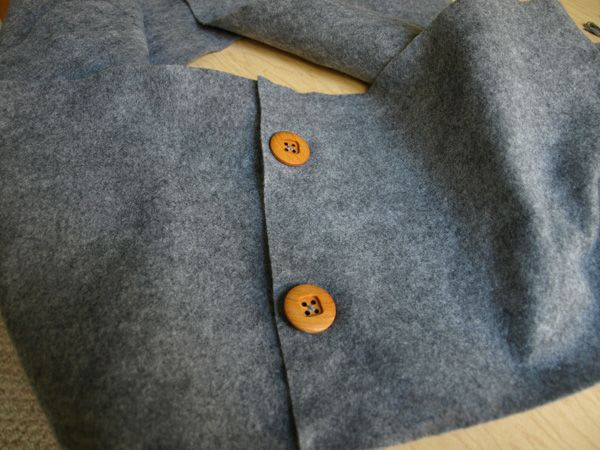
Then, simply sew a couple of buttons onto one end of the “scarf” and carefully cut some button holes into the other end.
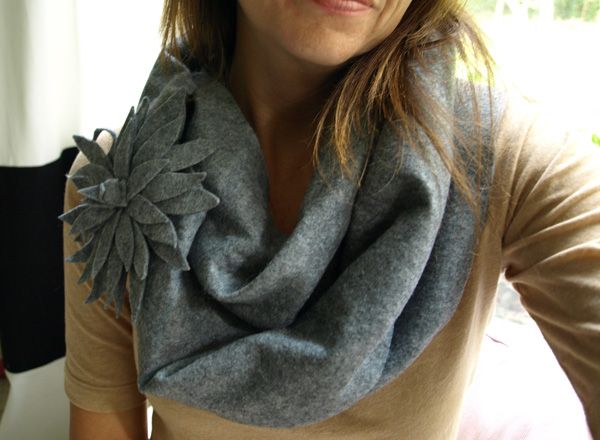
At this point, you’ve spent less than 10 minutes on a great little neck warmer. Just wrap it twice around your neck, button it up, and you’re done!
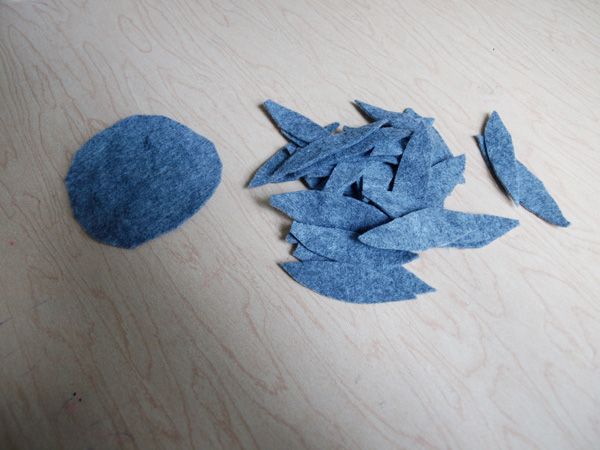
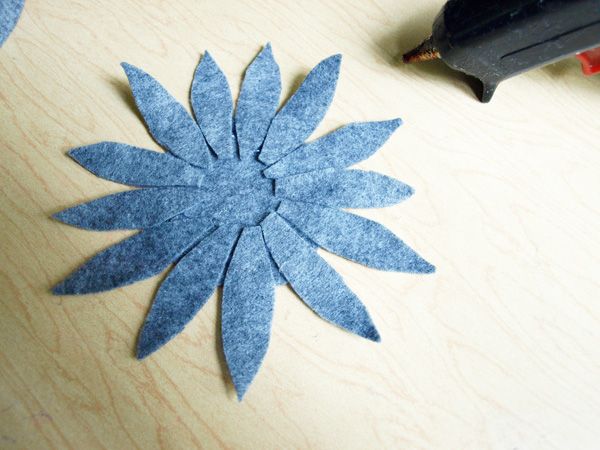
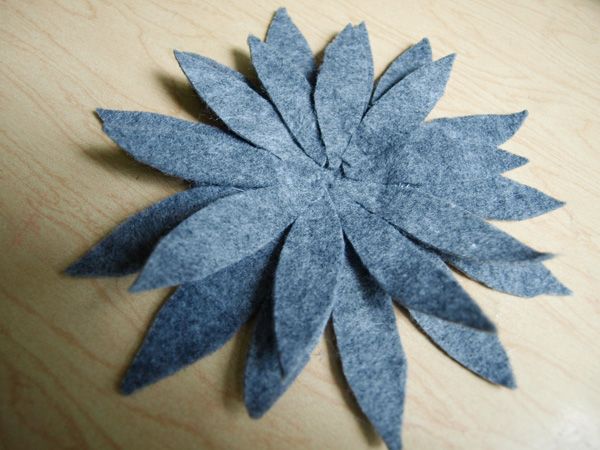
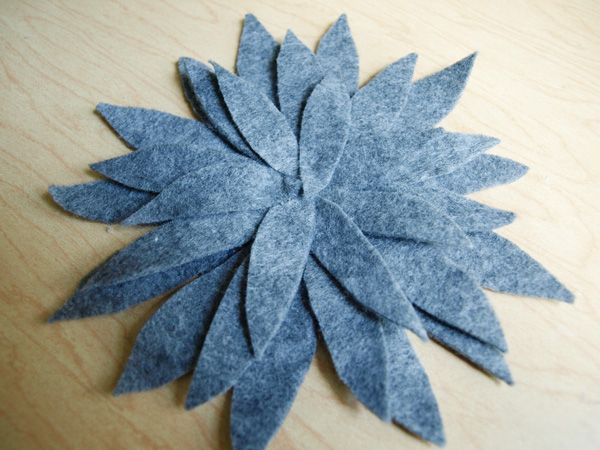
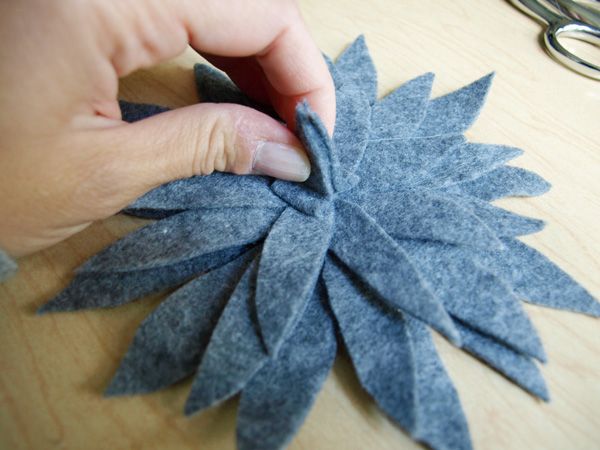
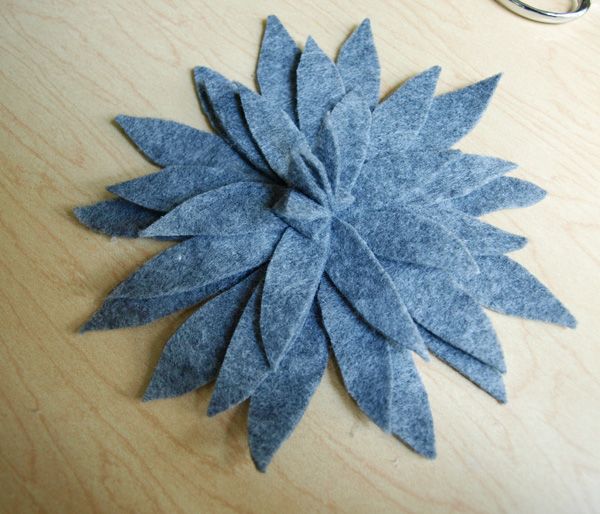
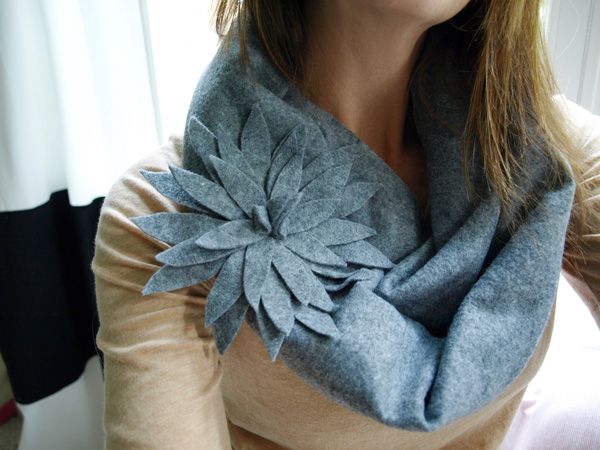
Then, just hot-glue them on in layers, overlapping them as you go, using the same technique as you would for a felt flower pillow.
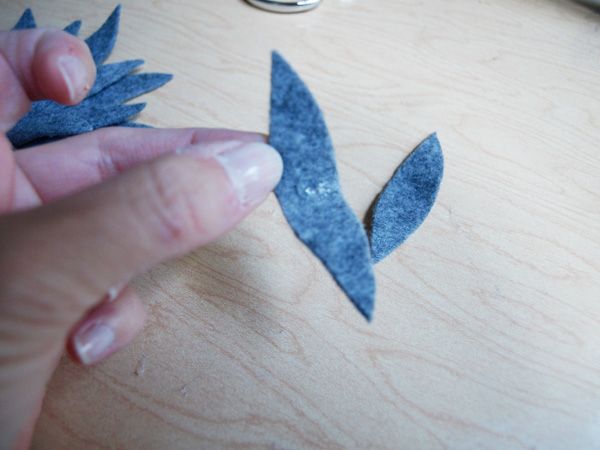
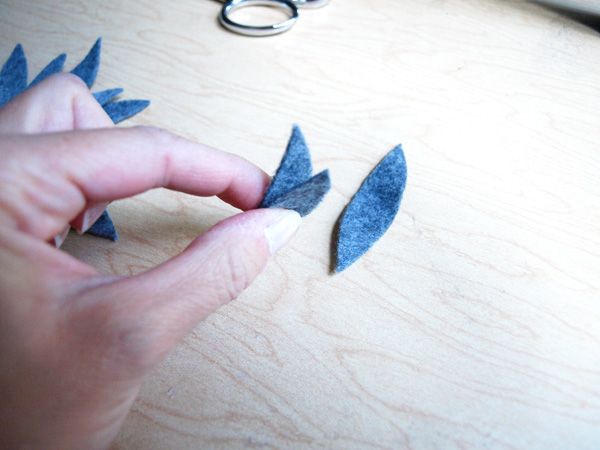
To make the center, fold 2 of the petals in half, placing a dot of glue in the fold to hold it together, then stand them up and glue them into the center.
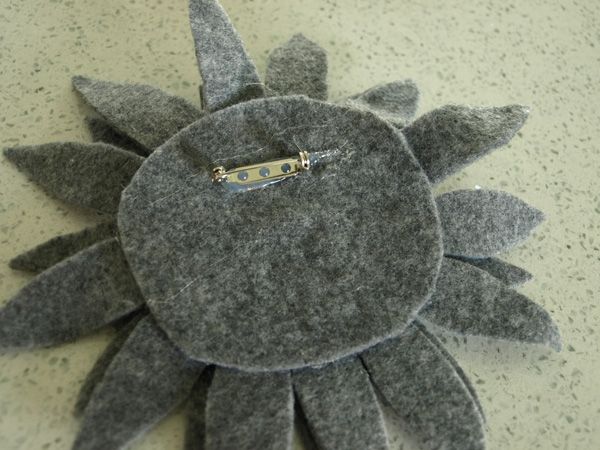
For this look, just button the scarf in the back and pin the flower on the front!
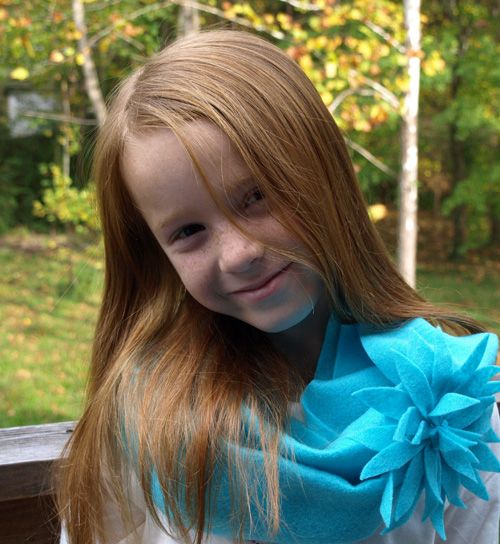
To make a child’s version, just cut the felt to the length needed to best fit them.
I hope you like this as much as I’ve enjoyed sharing! It’s a great little idea for a simple, homemade Christmas gift. And since each of these only cost about $3 to make, it’s great for any budget.


