This is day 11 of the 12 days of {handmade} Christmas! Hope you’ve enjoyed all the projects so far! We’re almost done! Which means I’ve blogged 43 days in a row. I think I need some kind of prize? Well, you can ponder what to get me while we carry on with day 11!
We welcome Christina , from 2 Little Hooligans, today! She’s a stay-at-home mommy to three littles and stay up til the wee hours of the night crafting. And we’re so lucky that she was willing to share her casserole carrier with us. You’re gonna want to make one!
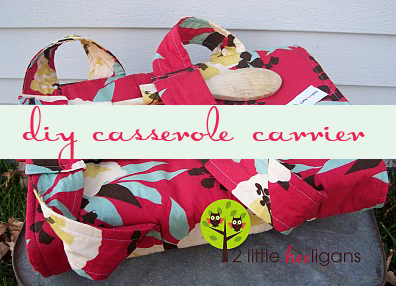
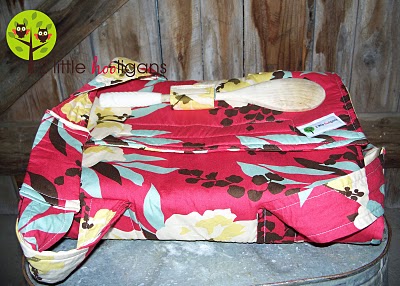
Don’t let all the steps scare you. I tried to make this tutorial as easy as possible for everyone to follow along. It really is easy. Your just taking two pieces of fabric and making a cross with them and attaching some handles. I hate to think that my ideas are basic, but they are!Materials Needed:*Insul-Bright (1 yard)
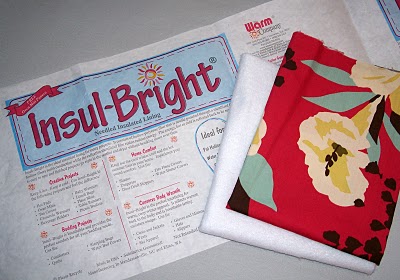
Cut two pieces of Insul-Bright to the following sizes: 30″ X 15″ and 37″ X 12″
Cut two pieces of fabric slightly larger then the 30″ X 15″ and 37″ X 12″ pieces of Insul-Bright.
You don’t have to be too picky on cutting out the fabric pieces because you will be trimming them later. I just find it quicker to sew the pieces together this way and trim the fabric off later. Plus it saves you time from having to cut out the pieces of fabric to the correct size.
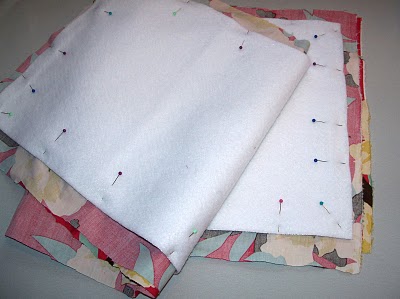
Gather the 30″ X 15″ piece of insul-bright and the two pieces of fabric that you cut out to go along with it. Take the two pieces of fabric and lay flat with right sides facing and now place the Insul-Bright on top of the fabric like shown.
Sew all around pinned pieces using the edge of insul-bright as your guide. Leave a 3″ opening for turning right side out.
**note: I changed the foot on my machine to H at this point. It is a plastic foot that glides over the Insul-Bright instead of getting caught up on the material. I didn’t do this on my first casserole carrier but did it on this one and it made a huge difference. Change foot back once finished sewing directly on the Insul-Bright.**
Trim excess fabric except where the opening is, you want to leave that section a little longer so that when you turn right sides out it will tuck and sew shut nicely. Don’t forget to square off corners. Now pull fabric out through opening.
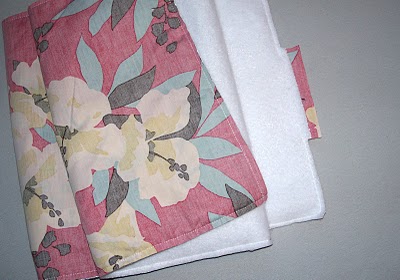
Iron and push out corners so that they are nicely pointed. Now top stitch around the entire piece of fabric.
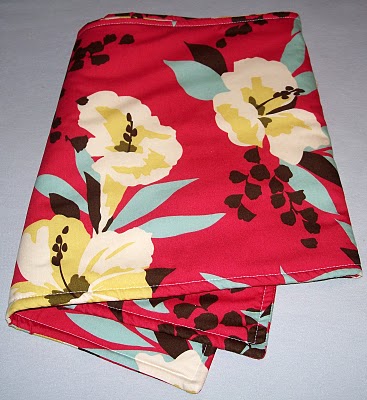
Repeat with the 37″ x 12″ of Insul-Bright and fabric pieces.
Pieces should look like this now.
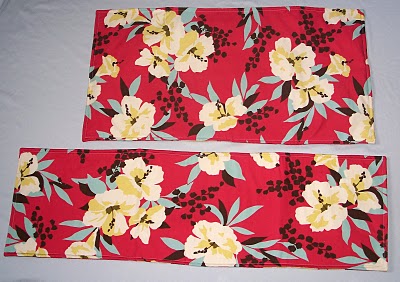
Lay the pieces out on top of each other making a cross like pictured below.
Make sure the 37″ X 12″ piece is on top.
Line them up straight. The right side of the 37″ x 12″ piece sticks out about 10″.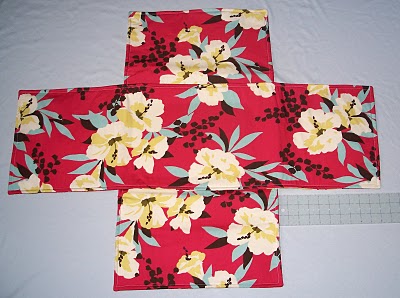
And measures 9″ up from the bottom.
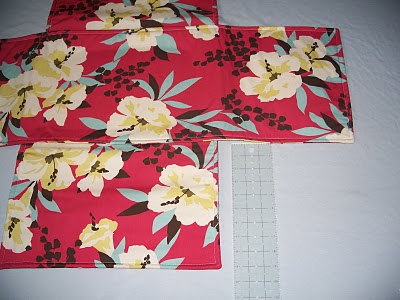
Mark on the bottom piece of fabric where the top piece of fabric is positioned on it. Make sure you make marks onto the top piece of fabric where the bottom piece is positioned underneath it as well. This doesn’t mean anything now, but it will help in later steps.
Now place a casserole dish in the center of the two pieces and fold closed. Fold the 37″ x 12″ piece close first then fold the 30″ x 15″ piece closed next.
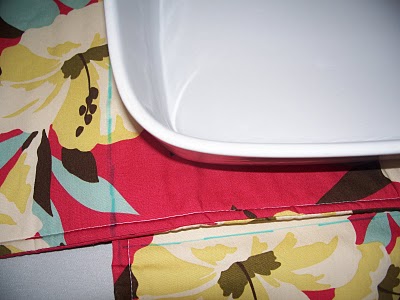
Now you are going to feel for the top of the casserole dish and make a mark on the fabric where the top of the dish is. This mark will tell you where to stop sewing when attaching the handles.
See my little mark? Now take a ruler and extend that mark the entire length of the fabric to show where the top of the casserole dish is. Repeat on the opposite side.
Set aside for now.
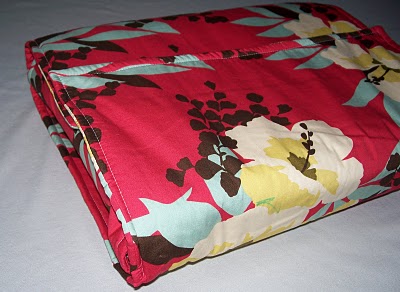
Now it is time to make the handles.
Cut four pieces of fabric 40″ X 2 1/2″. Cut two pieces of flannel or batting the same size. Layer with the flannel on the bottom and the two pieces of fabric right sides facing on top of the flannel.
Sew together on both sides, the entire length of the pieces. Flip right side out, iron and top stitch.
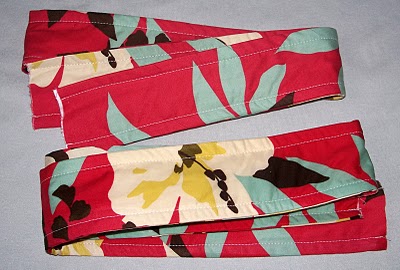
Handles should look like this.
Time to attach the handles you just made. Gather the 30″ x 15″ piece, this is the piece you will be attaching the handles to.
Remember the marks you made earlier when you used the casserole dish as a guide? well, this is where those marks you made from the top of the casserole dish come in handy. See them on the picture above?
You will want to line up the handles as pictured above. Make sure they are evenly spaced and about 3″ in from the edge. Make sure the middle of the handles are in the middle of the piece of fabric. You don’t want lop sided handles.
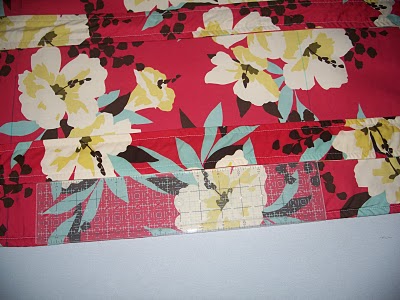
Sew the handles on. Use the top stitch that you did on the handles as a guide, and stitch right on top of those stitches again. Do not sew past the marks on the fabric showing you where the top of your casserole dish will be. You want to make sure you sew straight lines. These will be seen on the bottom of the carrier.
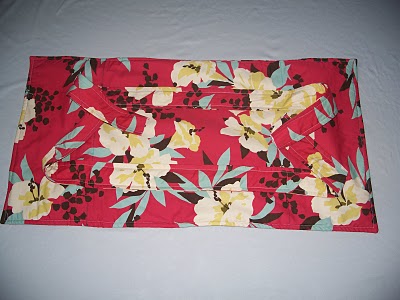
Pieces should look like this now.
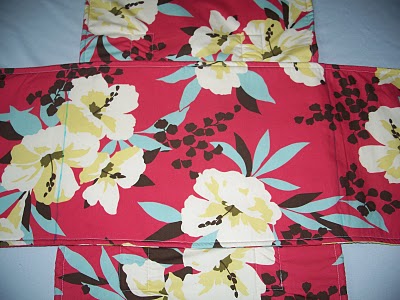
Now it is time to attach the two pieces together.Line the pieces up again like you did when you first made the cross. Remember the 37″ X 12″ fabric is on top and the fabric with the handles is on the bottom. Pin in place.
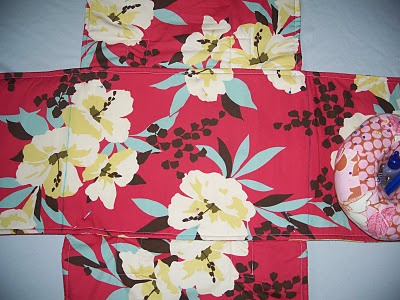
Do not sew directly on the marked lines. Sew in a little about. See where I made my stitches? Again, I wanted to make sure my stitches lined up with the stitches on the bottom piece. These stitches will be seen from the bottom. It will just make it look neater on the bottom of the carrier.
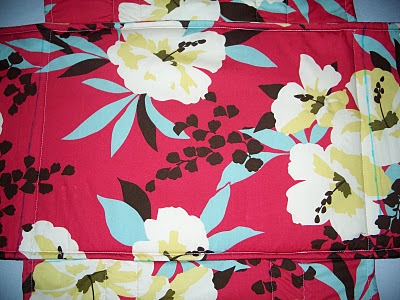
Turn right side out through opening, iron and top stitch.
Fold spoon holder in half and mark where the center is. Now measure 1/2″ away from the center on the right and left sides. These marks will be where you want to sew the spoon holder onto the carrier. This way it will keep the spoon from wobbling too much.
**This tutorial is for personal use only! If you are going to link up and use my pictures, please link back to this post and don’t forget to give credit where credit is due! **
