This is day 4 of 12 Days of {handmade} Christmas tutorials. Bookmark the landing page for the whole 12 Days of {handmade} Christmas series and check daily for updates!
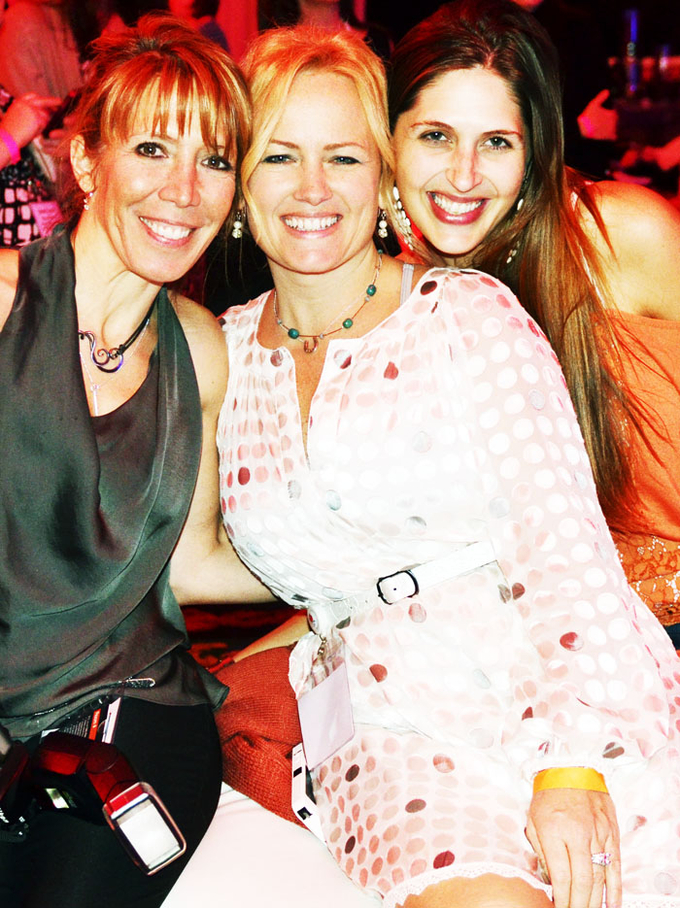
 Patty, moi, Ruth{ie}, as I lovingly call her
You’re in for a treat today! My friend Ruth from Living Well Spending Less is here to inspire us with her crafty skills! Ruth and I feel like old friends. We met at Blissdom in 2011 and then she made it possible for me to go in 2012. She came to Bean Station in September to visit and crash my nerdy book club. I wish we lived closer. She’s such a wealth of information and inspiration. Her 31 days series, which was preceded by crazy post on why she took all her kids’ toys away, along with her unique perspective on couponing, all make me want to eek every last bit of information out of her. I never feel like I have enough time to visit with her. And we were lucky enough to spend the day with her and her awesome family while we were in Florida this weekend. She was on local tv talking about her couponing adventures and we sat right by the pool and missed it. Thank goodness for the videos! I’m so thankful for her and know you’ll love getting to know her too! Welcome, dearie! And kiss the girlies for me:)

Anthropologie Inspired Candle {DiY}
 I don’t know about y’all but Anthropologie is one of those stores I could spend all day just drooling over every single thing they sell in all its quirky, colorful, vintage-y (yes, that is totally a word) goodness. Most of the time I do manage to control myself, if for no other reason than I simply can’t bring myself to pay $25 for a candle. Not when I can make one that reminds me of Anthropologie for (almost) free using some Glade candles I picked up for next to nothing.
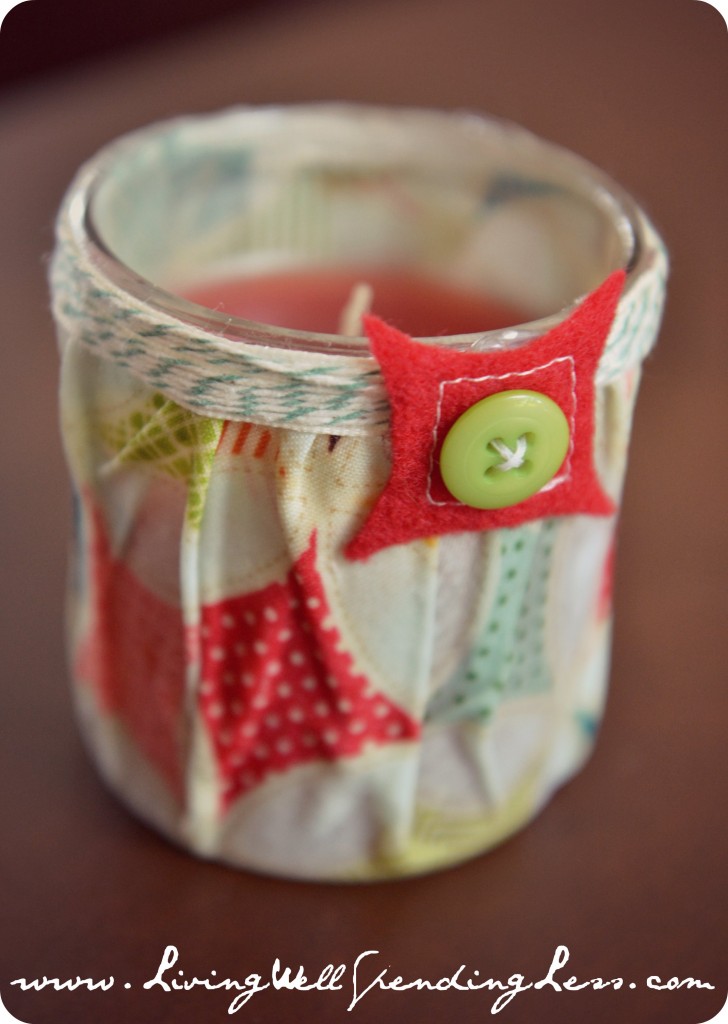
These fabric-covered candles were so fun and easy to make that I ended up making several to give as gifts, and now you can too. Here is what to do:
1. Trace a plate on the back of a pretty piece of scrap fabric, then cut out the circle.
2. Place a dab of tacky glue in the center of the circle, then place the candle over the glue and press down.
3. Make sure the candle is as centered as possible, and that the fabric is equal all the way around. Brush the fabric with a generous covering of Mod Podge.
4. Flip the candle upside down, then bunch up the fabric so that it wraps around the candle. You could try pleating it in an even pattern; I kinda like the messy look. Brush over the top of the fabric with another generous coat of Mod Podge, making sure to get it in all the folds, then let it dry completely.
5. While the candle is drying, you can make the accent piece. Cut a small shape to coordinate with your fabric out of felt, carefully stitch the accent in a contrasting color, then hand stitch a button to the felt for extra cuteness.
6. When it is completely dry, glue a piece of coordinating ribbon around the top rim, wrap it with baker’s twine & secure it with more glue, then glue your accent piece over the end pieces. Voila! SO easy!
p.s. I feel so lucky to have received two of these in the mail from my sweet friend! They’re as cute in person as they look online! Hope you find time to make some.
xo,
edie


