Wasn’t Darby wonderful on Day 1? Why did it take me so long to find her? Have y’all been holding out on me?
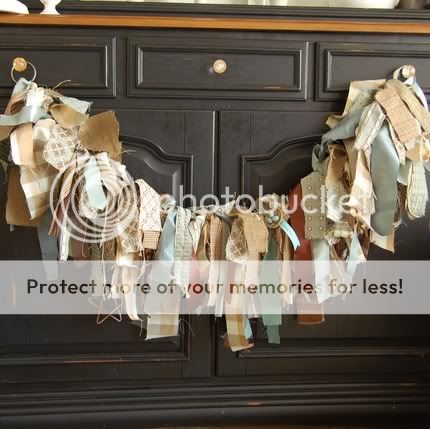
I’m thrilled to share my ragamuffin garland over here at Edie’s blog. If I could pick 5 bloggers and visit their homes to get inspired, Edie would be one of them! I first published this tutorial in May 2008 at Blissfully Domestic and then I republished it on at Nesting Place in November, 2008. It remains one of the most popular posts. The beauty of the garland is that any fool can do this!
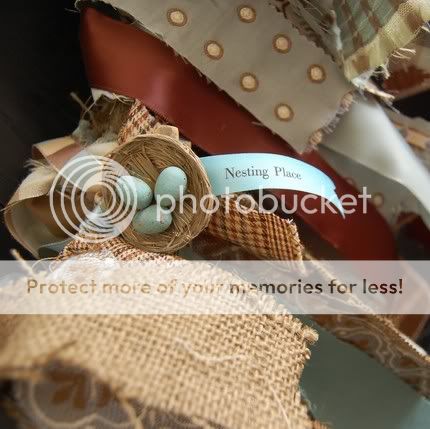
To make a plush, fat, beautiful full garland all you need is fabric, ribbon, ring clips and time–lots and lots of time.
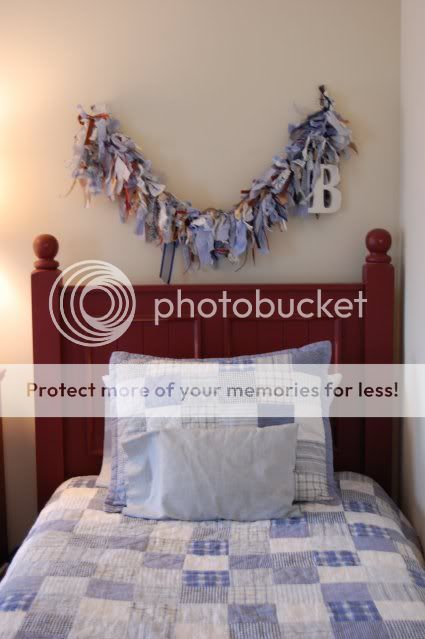
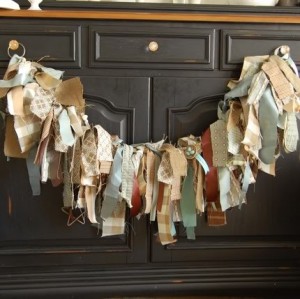
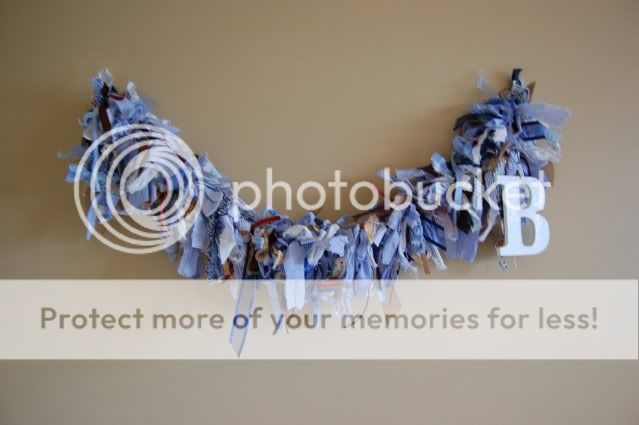
Here’s the finished product it is captivating, fluffy and adorable.
I make my garland with long strips of ribbon, fabric, fringe and anything else I can get my hands on. I never measure but here is a close up of a few strips so you get the idea of how long. I would err on cutting your fabric too long. That is if you had to err.
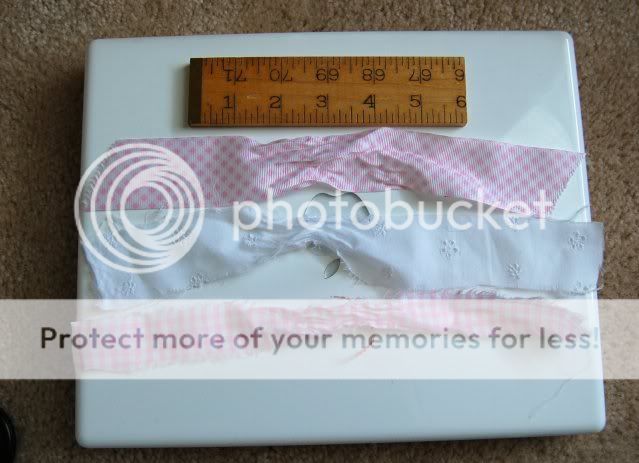
You want to have one base ribbon that is the one you tie everything else to. I used a long pink one here and I usually make it about as long as my arm. You can make them as long or short as you want.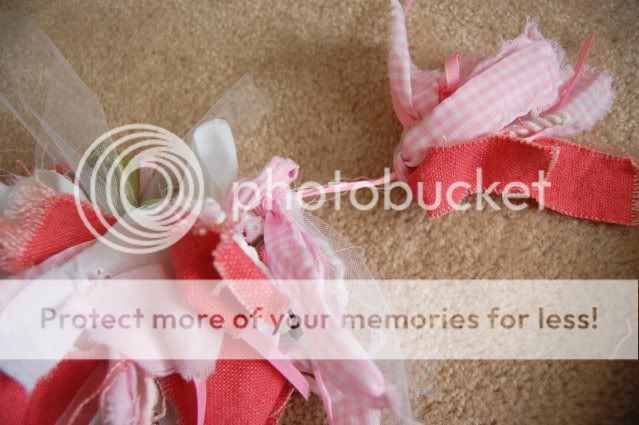
And you tie the strips on. And you tie the strips on. And you tie them on. You keep doing it until you want to curse me and anyone who you are making this for and then you look at it and you are almost half way done. And you keep doing it. Your kids can help too. You cannot tie wrong.
For my boy’s garland, I used some old shirts from my husband’s teaching days. Look, there’s a cuff. I also cut up some sweet little jeans they all wore and a blanket and even one of their little shirts. I even had extra fabric left over from a window mistreatment that I threw in there.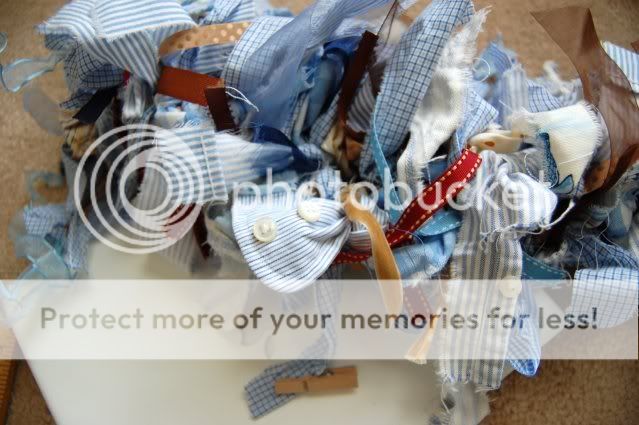
It’s like making a big soup. You just keep adding all sorts of stuff until it magically looks right. You are thinking that I don’t
really make soup and you are right.
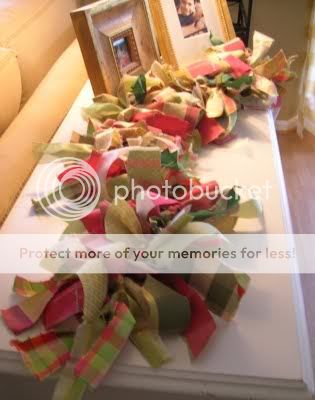
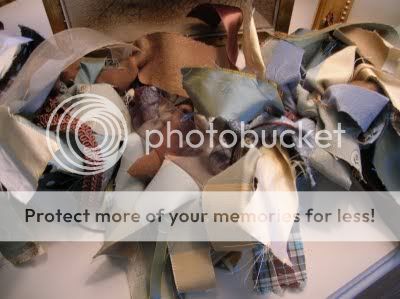
As you are tying and tying and cutting more stuff because you didn’t dream it would take so much fabric, just remember how adorable this is gonna look. You really want to pack the fabric and ribbon in. That’s how it looks so fab. Do not skimp on this, you will just be wasting your time.

Once you get to the very end, you tie the ribbon that is the base onto the ring of a ring clip. Do the same for the other end. I actually do this first so I can see where my start and stop are easily.

I like to add clips or clothespins in every 6 or 8 inches so you can hang stuff in the garland. You can hang photos or baby shoes or grocery lists or Christmas cards or ticket stubs…
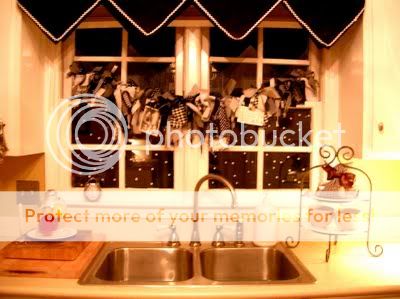
Look how cute this one is in my old kitchen. And yes, those are napkins used for window mistreatments. I’m so glad you noticed!
I hope you have fun with this project! It’s like a quilt only easier and you don’t have to sew and you can’t cover up with it.
This garland would be adorable hung over a changing table, window or bed. Make a Chirstmasy one and hang your cards on it. Use your babies old clothes and hang it in the playroom.

This is the perfect time of year to make a garland for someone. Need more inspiration? Google “Ragamuffin Garland” and get inspired by what others have made as well!
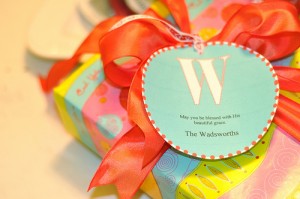
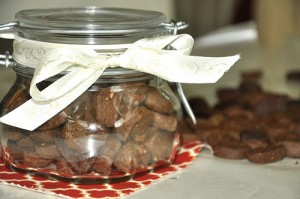
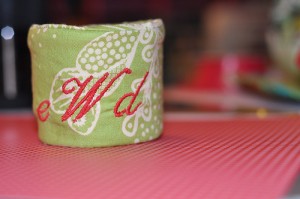
Here are a few other ideas of what you can do with some ragamuffin scraps!


