Well. It’s Monday and despite the fact that I always have grand plans for my Thanksgiving preparations, I’m way behind. As in, I’m on Saturday’s list behind. My first round of company arrives tomorrow and I can tell one thing for sure—my guest room is ready and I’m thinking of moving in there myself. It’s the best room in the house, as well it should be!
The blueberry muffins, the toffee chocolate chip cookies, and the clean living room are all figments of my imagination at present.
But I’m in to win it, so don’t you worry about a thing.
Now, on to pie crust. Here’s why I think you should make yourself a student of the pie making arts—because there’s a dangerous shortage of pie makers in America. People don’t make pies anymore and we are worse people for it. Do you know anyone that still makes pies? My point exactly. Pies are hard and take time to perfect. But, I can tell you without a doubt, that there is almost nothing as rewarding as making a beautiful pie and serving it to the people you love. And eating it. So, I’m now a pie evangelist, hoping to start a pie revival.
I learned a few tricks from Martha Stewart years ago, but when I met my mother in law, I soon discovered that her pie making skills could not be topped. She is the pie whisperer. She makes better pies than any I’ve EVER had anywhere. Which means that my husband has had some pretty amazing pies. I’m more of a cake girl, myself, but if pie is his love language, I shall learn to speak it. Amen. His mom been making pies for 50 years, I bet, and she still thinks it’s worth it to labor over it, to do something for the people she loves that has her handprint and her heart all over it. I’ve been lucky enough to watch her work her magic and though I’ll never be the pie maker she is, it’s one of my favorite things to make now.
I’ve been making pies for maybe 10 years and I’m getting better, but I’m not an expert. I’m still learning and tweeking and enjoying the process . Some things— like pie making and kid raising and book learning and are good reminders that nearly all the good things in life are hard and take time.. As well they should. I’ve deconstructed the process for you and given the tips I’ve learned over the years. Hope you’ll give it a try. Put on your apron and some good music and get out that rolling pin.
Let’s do this. Eye of the tiger man, eye of the tiger.
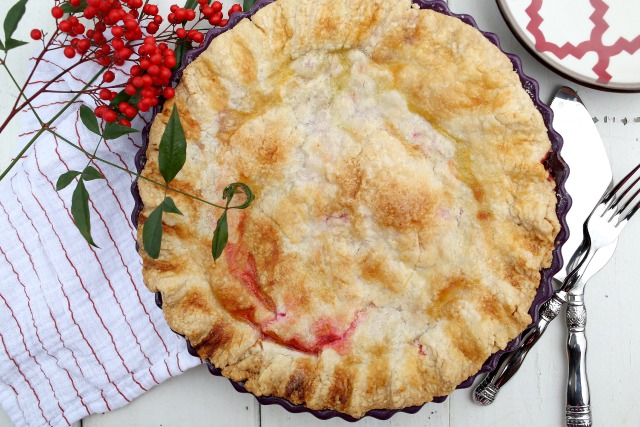
For a 9 inch double crust pie, you’ll need:
(I use a combination of lard and butter, which I highly recommend. You could use all lard, all butter, or all shortening, but I like the taste and texture of the combination best.)
- 2 ½ cups all purpose or pastry flour
- 1 teaspoon salt
- 1 tablespoon sugar (for a fruit pie. Omit sugar for a savory pie.)
- 6 T cold butter, cut into chunks
- 1/4 cup cold Leaf lard, cut into chunks
- ¼ cup cold water (it doesn’t always take all the water—just add slowly until the dough comes together)
You can mix the dough in a food processor and then slowly add the water. I use a pastry blender, because I’m lazy and don’t like to clean the processor. Whatever you do, keep everything cold. Mix the flour and fat with a pastry blender, until the chunks are about pea-sized. The, add the water slowly, just until the dough comes together. Divide the dough into two equal pieces and don’t over handle it.
Flour your surface and roll out the first disc as evenly as possible, until your circle shape is larger than the pie plate. Roll from the center to the edges, rotating the pie crust a little as you roll, so that you get a fairly even circle. You’ll trim the edges soon, so don’t worry if it’s perfect. Also, don’t incorporate too much flour into the dough or it will be dry and tear easily. You can use parchment paper to roll it out on, too, but I find I like working straight on the counter tops. Put the rolled out dough into the pie pan and then take a sharp knife and trim the edges until they’re even all around, leaving the edge flush with the pie pan. Add the filling (cherry filling recipe below) and dot with butter.
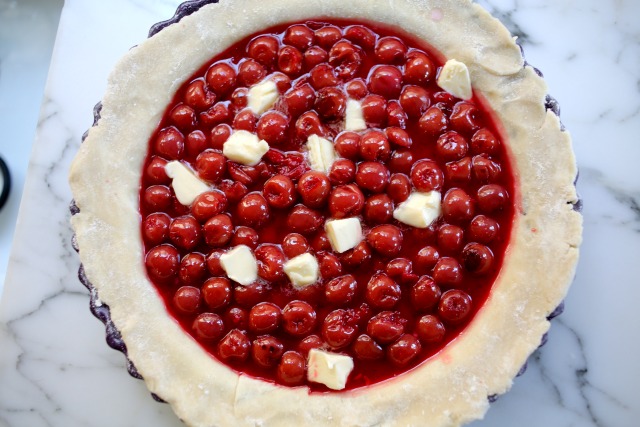
Since this will be a double crust pie, after we put the filling in, we’ll layer the top crust and then fold the top crust over the bottom one, tucking the edges under.
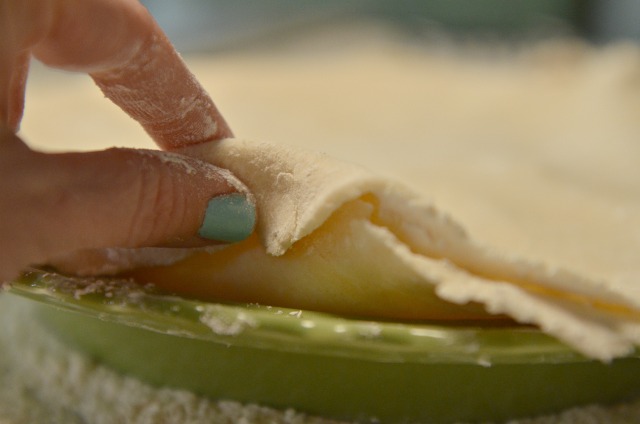
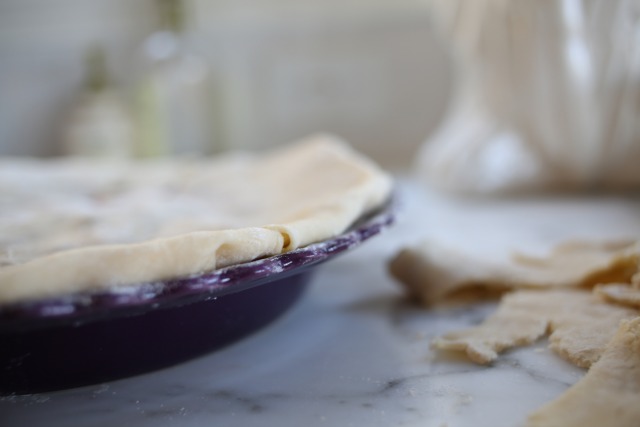
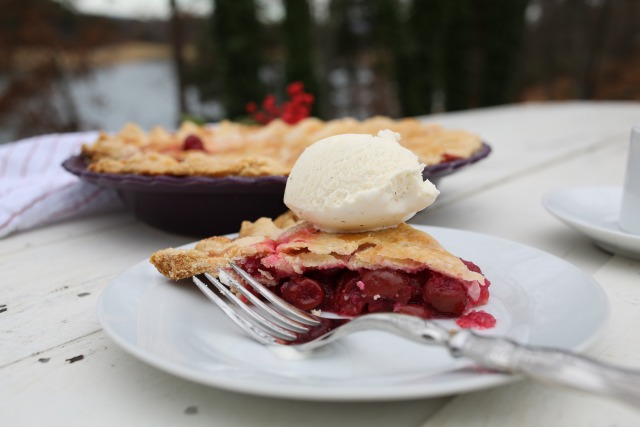
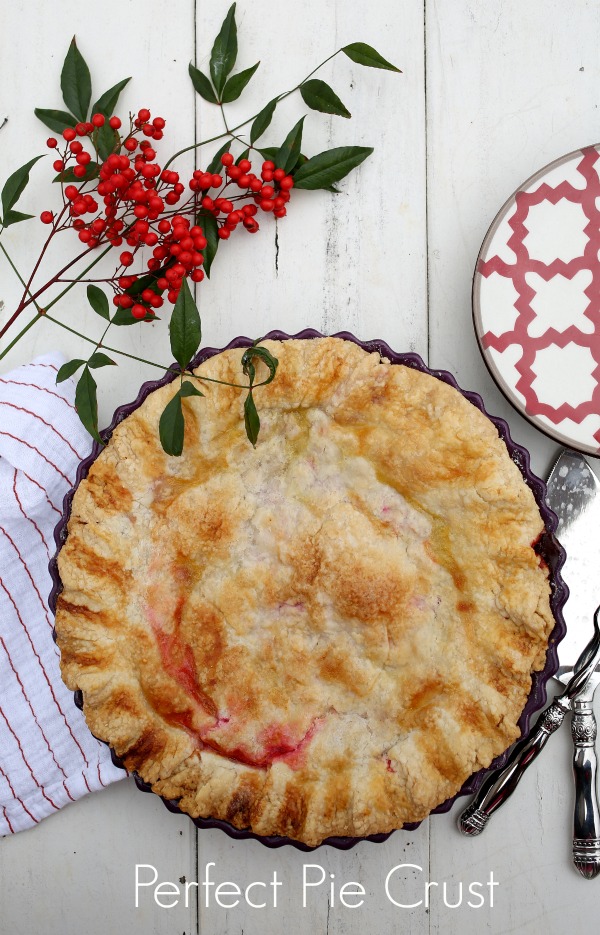
Then crimp the edges however you like. I just use my fingers and make a fluted edge, usually. And this pie wasn’t my best work. The crust was a little dry and tore a couple of times. It looks a little sad, but it turned out beautifully in the end.
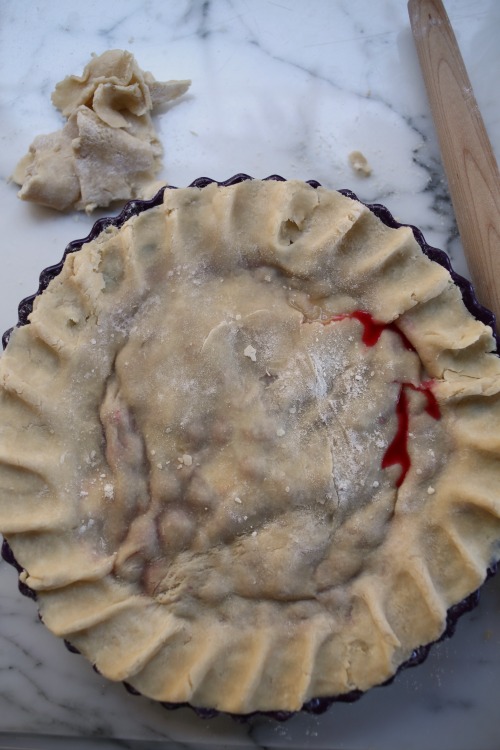
Make an egg wash, mixing one egg with a little water, and then brush the top of the pie with the egg wash. Sprinkle with sugar and cook according to directions. If you’re going to freeze the pie, lessen the cooking time by 15 minutes, let it cool completely, wrap in plastic wrap and tin foil and then freeze. Thaw it out overnight and put it back in the oven the next day to finish cooking.
Perfect Cherry Pie!
What you’ll need:
- 2 cans tart cherries, drained, but save the liquid (I use the Oregon brand, found with canned fruit)
- 1 to 1 1/2 cups granulated sugar
- 4 tablespoons cornstarch, mixed in about 2 T. of the cherry juice
- 1/8 tablespoon almond extract (optional)(I use it, but just a drop or two!)
- Perfect pie crust, enough for double crust
- 1 1/2 tablespoons butter, to dot
- Egg wash and 1 tablespoon granulated sugar, to sprinkle on top
- Can add a little red food coloring, to get that beautiful red color
I will often mix the filling and then precook it in the microwave for a 2-3 minutes.
Bake at 375 for about 50-55 minutes, until top is slightly browned.
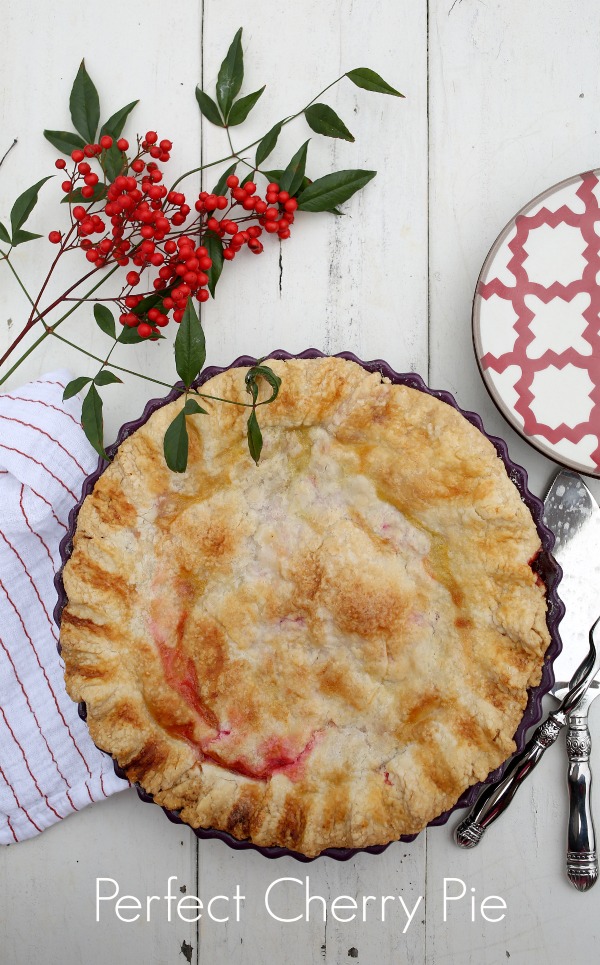
Serve with a big scoop of ice cream and ENJOY!
