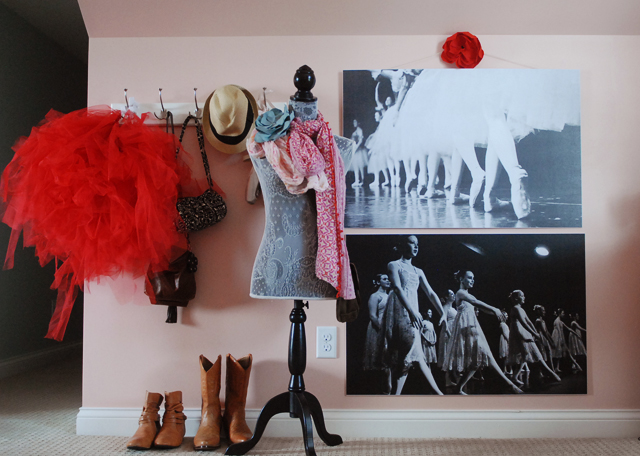
DIY large photo prints? Sort of. I suppose all in all, this isn’t so much of a Do It Yourself project as it is a Let Hobby Lobby Do It For You project. But, let’s not argue over semantics. I had to coordinate this project and it’s pretty cheap— so I’m calling it a DIY. As you know, I just finished decorating the teen room, so go see all about it! This little project is just icing on the cake. I’ll tell you all about my thoughts on creating a room for teen/tween, but trust me when I say that art is important. You want to create a room that is inspiring and expressive.
((Speaking of expressive, see that big poofy red tutu? All I’m gonna say right now is RED tour and Nashville. T-5 days. My girls have voted me mom of the year.))
Emme’s room has a few great artistic pieces, but to finish the space, we decided to have some oversized photos of her first love, ballet. We had them printed and then mounted to foam board, for the perfect personal touch.
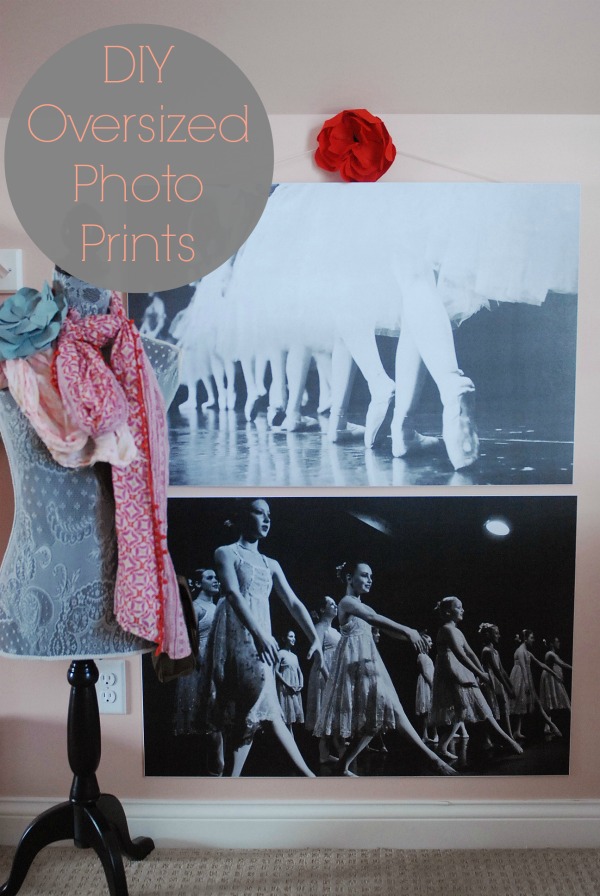
I first saw Jenny do this a couple years ago and directed my sister to her blog when she wanted to do something similar for her daughter’s room. There were a few kinks in the mounting process with the thin photo paper wrinkling, so I searched around the internets for more ideas. What I really did was stalk Pinterest. It has replaced Google as my primary search engine. I found lots of easy tutorials, but I decided to check on pricing to have the print shop mount them for me, after reading that Staples can mount them fairly cheap. The big box store in my town, which shall not be named, was NOT very nice to me that day. I wasn’t sure if my favorite local print shop could do them, but I called and he was able to print them but not mount them. He said Hobby Lobby could do it for about $10-$15, with a high heat process where the photo looks like it is part of the foam board. So, after I had them printed, I took them to Hobby Lobby to have them mounted. They did it WHILE I waited! and just like that, I came home with these awesome oversized prints ready to hang. I’m giddy with how it turned out! They were about $15 each total, including the printing and mounting. Art made easy. And cheap. I embellished the top print with my DIY red emerson flower!
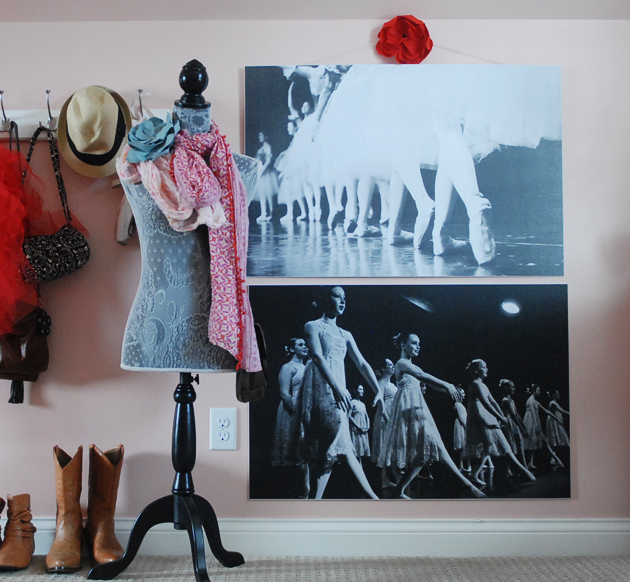
Here are a few tips for creating your own oversized photo prints:
- In order to do them this cheaply, you’ll need to print them on engineering paper in black and white. I price checked my printer and in order to do these in color, it would be about $25 per photo. I still think that’s reasonable, but black and white worked perfect for us in Emme’s room
- Choose photos that would be enhanced by being printed in black and white. If you’re unsure, just use a free editing program like PicMonkey and convert the photo to black and white and see if you like it. I edited mine to black and white before I even printed them. I was very pleased with how they turned out!
- Choose the largest size of the photo you can. I often have to resize photos for my blog, reducing them from say, 4200×2800 to 600×400. Keep them at the largest size for this project. The more detailed the photo is, the better. Your print shop will tell you if the photo size you send is too small to be printed in these sizes. I had my photos printed at 36×24.
- Email the photo to your print shop (Office Max and Staples both do these, but use your local guy if you have one!) or take it to them on a jump drive.
- After the photo is printed, take it to Hobby Lobby and ask them to mount it on foam board. They can do it while you wait and it looks SO professional. They use some heating method to adhere the photo onto the board and trim it to perfectly fit. With your 40% coupon, you can have this done for around $12, including the foam board and the process. You could buy the materials and do it slightly cheaper yourself, but then I would have to ask, why would you?! These are so amazing, I promise!
- Hobby Lobby sells the sawhorse hangers that can be used to mount the board to the wall. You could also use 3M hooks or just 3M double sided tape. One of mine is just taped straight to the wall with the double sided tape because I’ve used 3M over and over without any issues before. To be super safe, though, just use the sawhorse thingamajigs and hang it right on the wall like a picture frame.
Here’s what those look like, FYI.
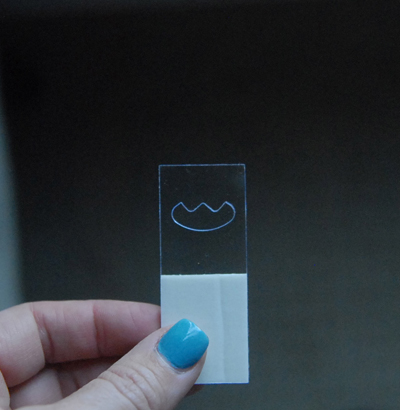
Now, please excuse me while I make plans to print oversized photos of my girls, Julissa and Diana!
I’ve got some other great projects and some time tested recipes if you’re visiting from another blog. Or visit my about page, which features some of my most read posts. Thanks for stopping by!
Sharing this project with Richella at Imparting Grace and Leslie at Create It Thursdays.

 I risked life and limb to bring this post to you. But I know how you like a good story. So, here goes.
 In other words, it makes me feel like I’ve died and gone to hoarder’s
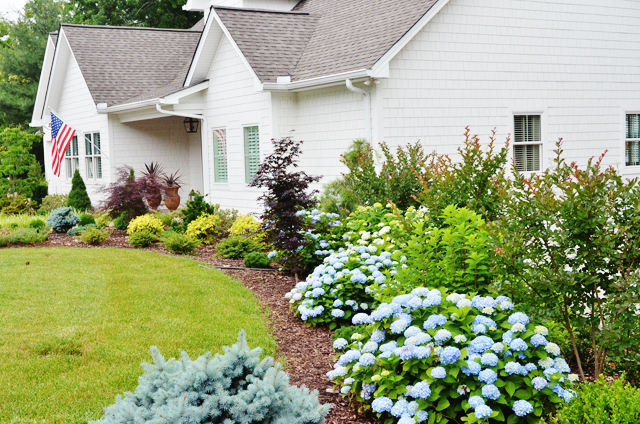
 My hydrangeas are in full bloom, which means I’m in love all over again. I forget how gorgeous they are so it’s the best kind of surprise.
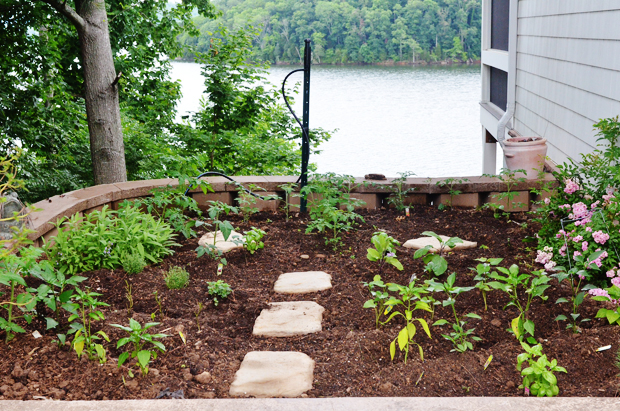
  And I JUST got my kitchen garden in this week, in the nick of time. Better late than never.
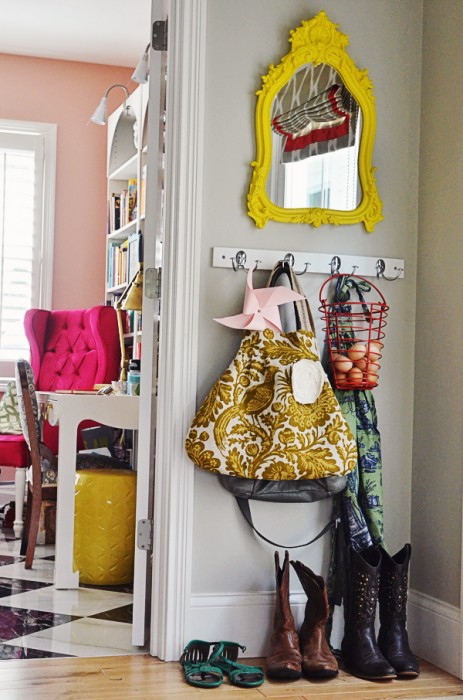
  Come on in and see if you can find some signs of summer! This cluttered, colorful entry way makes me happy everyday. The eggs, the cowboy boots, the apron, and
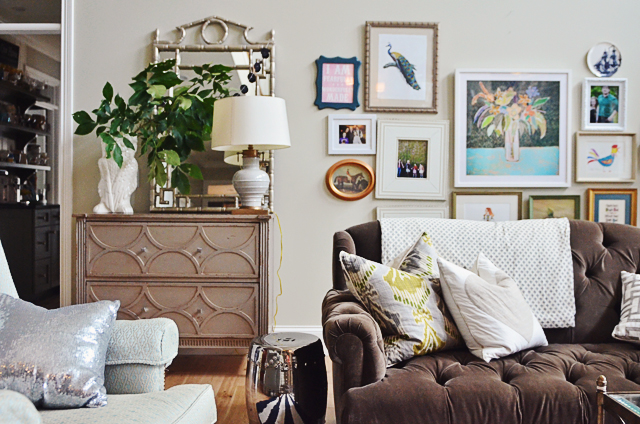
  My living room has
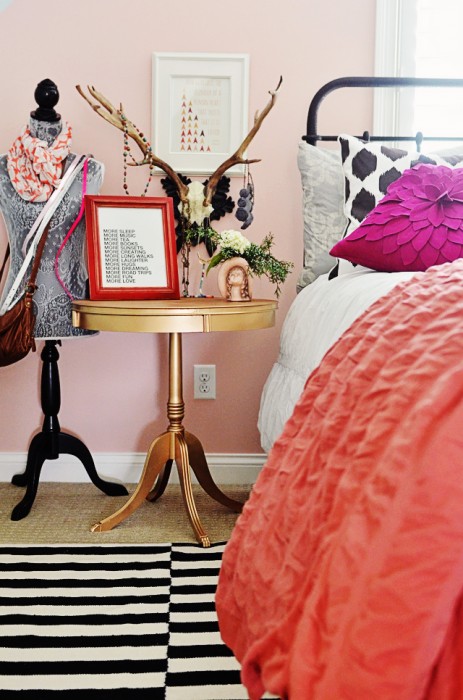
  The antlers you see missing from the living room have been moved to the tween room we’re working on. Follow the tween room pinterest board here. It’s a FUN project!!
 The guest room has just been cleaned and fluffed so come on down and enjoy some
 Summer is the perfect time to try my