

If you’re new to the ’12 Days’, you may visit the previous days by clicking on the day you like:
Blessed Sunday to you friends! I have two treats for you today. First, let me introduce you to my dear friend, whom we affectionately call Kimmie (you can call her Kim, I guess) and whom was our dear nannie when the girls were little and I worked part time. We still miss her terribly and were thrilled to find out that she had opened an etsy shop, called Sweet Baby’s Dressed. I think you’ll love her stuff and it’d be a great way to get a good start on your Christmas shopping while supporting moms who are sharing their talents. Look at the little baby giraffes 🙂 I want those Ms. Kimmie—-and a little baby to dress in them!

And then we have Mary Jo with us to guest post. She is a new friend to me who will share her secrets for making adorable bean bags. Check out the link to her blog for more crafting fun and then tell me if all this baby stuff doesn’t make you wanna have about 10 more. Welcome Mary Jo!

My name is MJ and I like to blog over at 517 Creations, but I’m excited to be “guest posting” over here at Edie’s today! I’m a stay-at-home momma to a toddler and the wife of a youth pastor who ministers to teenagers on a daily basis. Our days are sometimes crazy, but we wouldn’t have it any other way. I love to start and finish a product during naptime…it’s the little things in life!
We’ve been renovating a house to make it our home and are mostly done…which leaves me more time for sewing! Which brings me to the tutorial. I’m going to show you how to make a set of Toss and Learn: Colors bean bags!
On to the tutorial…

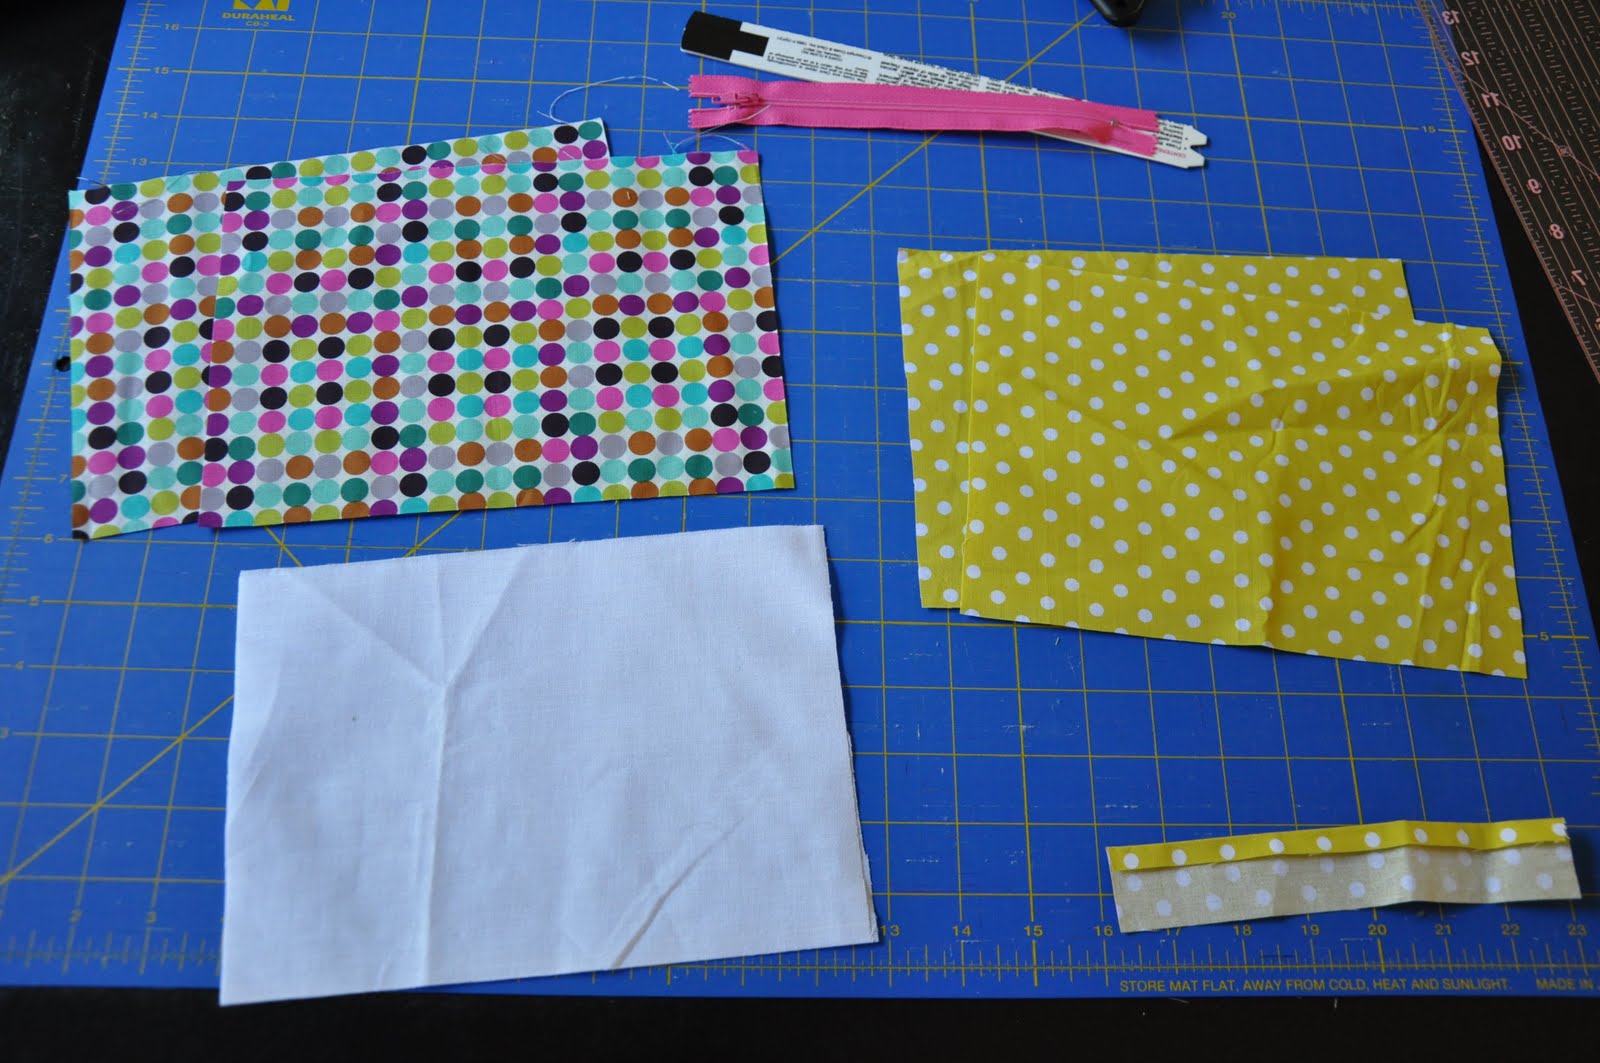
Here’s what you’ll need:

Following the directions on your printable fabric, print the names of the colors on a single page. If you’re interested in a .pdf of this, e-mail me! The printable fabric that I used had to dry for a few minutes, so I recommend doing this step first. Cut your color names apart – be sure to size them so they’ll fit on your bean bags.

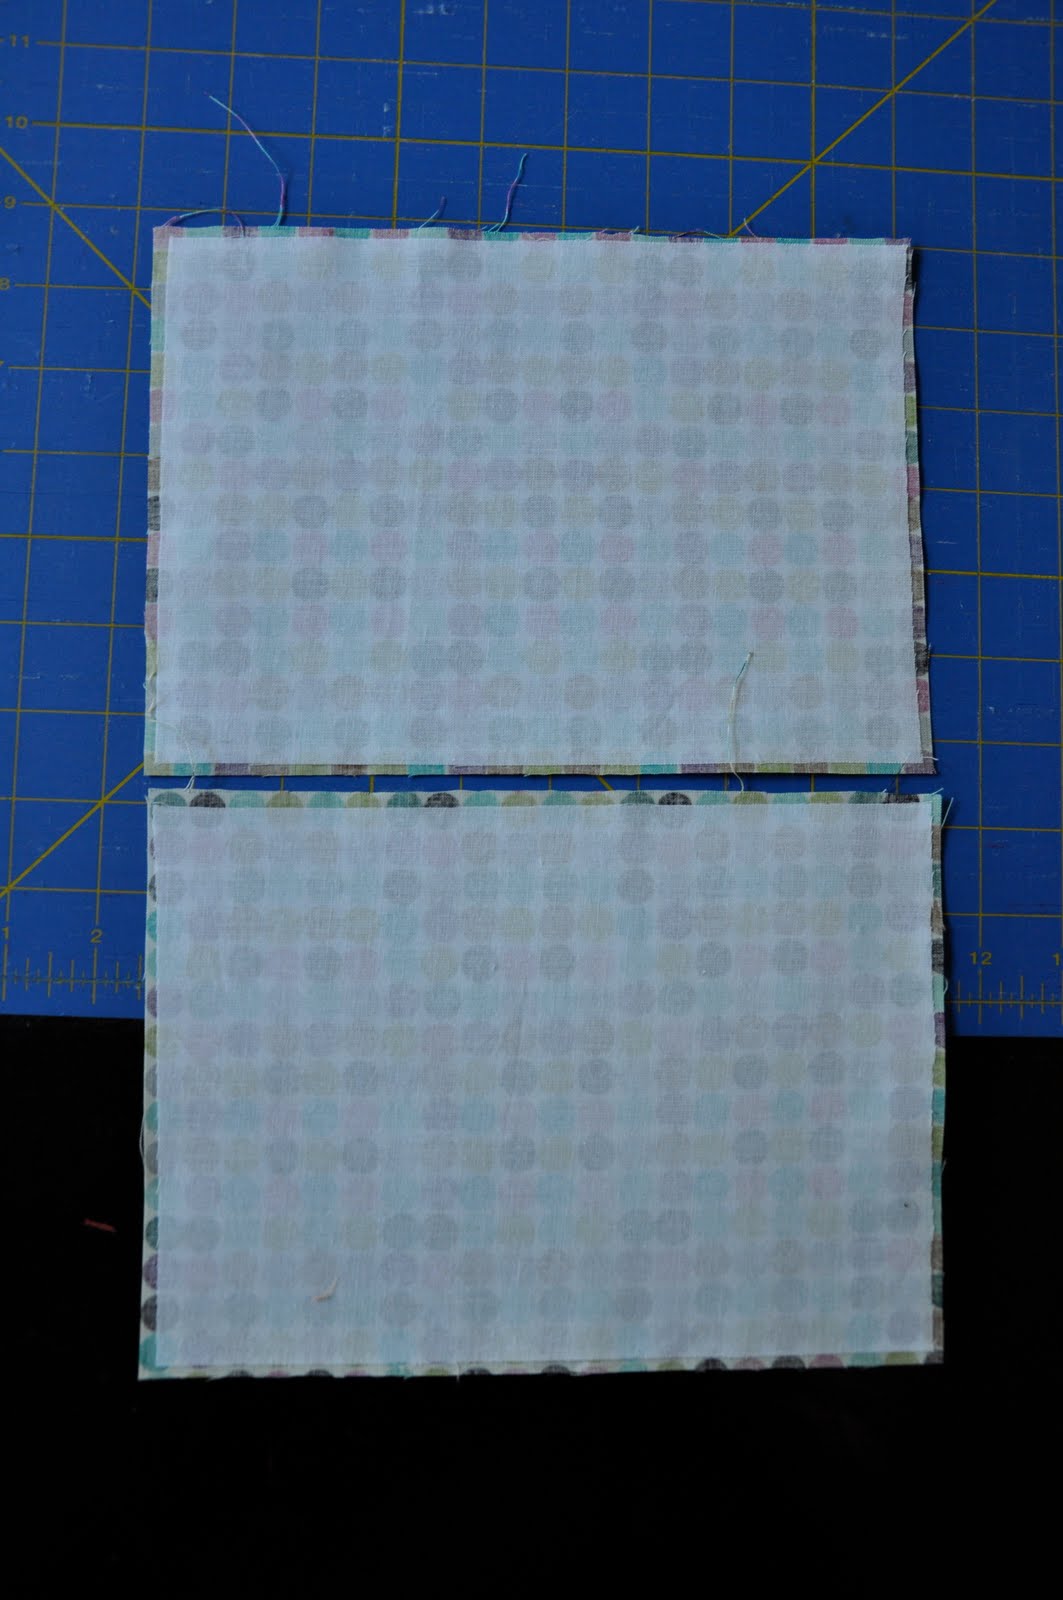
Step Two
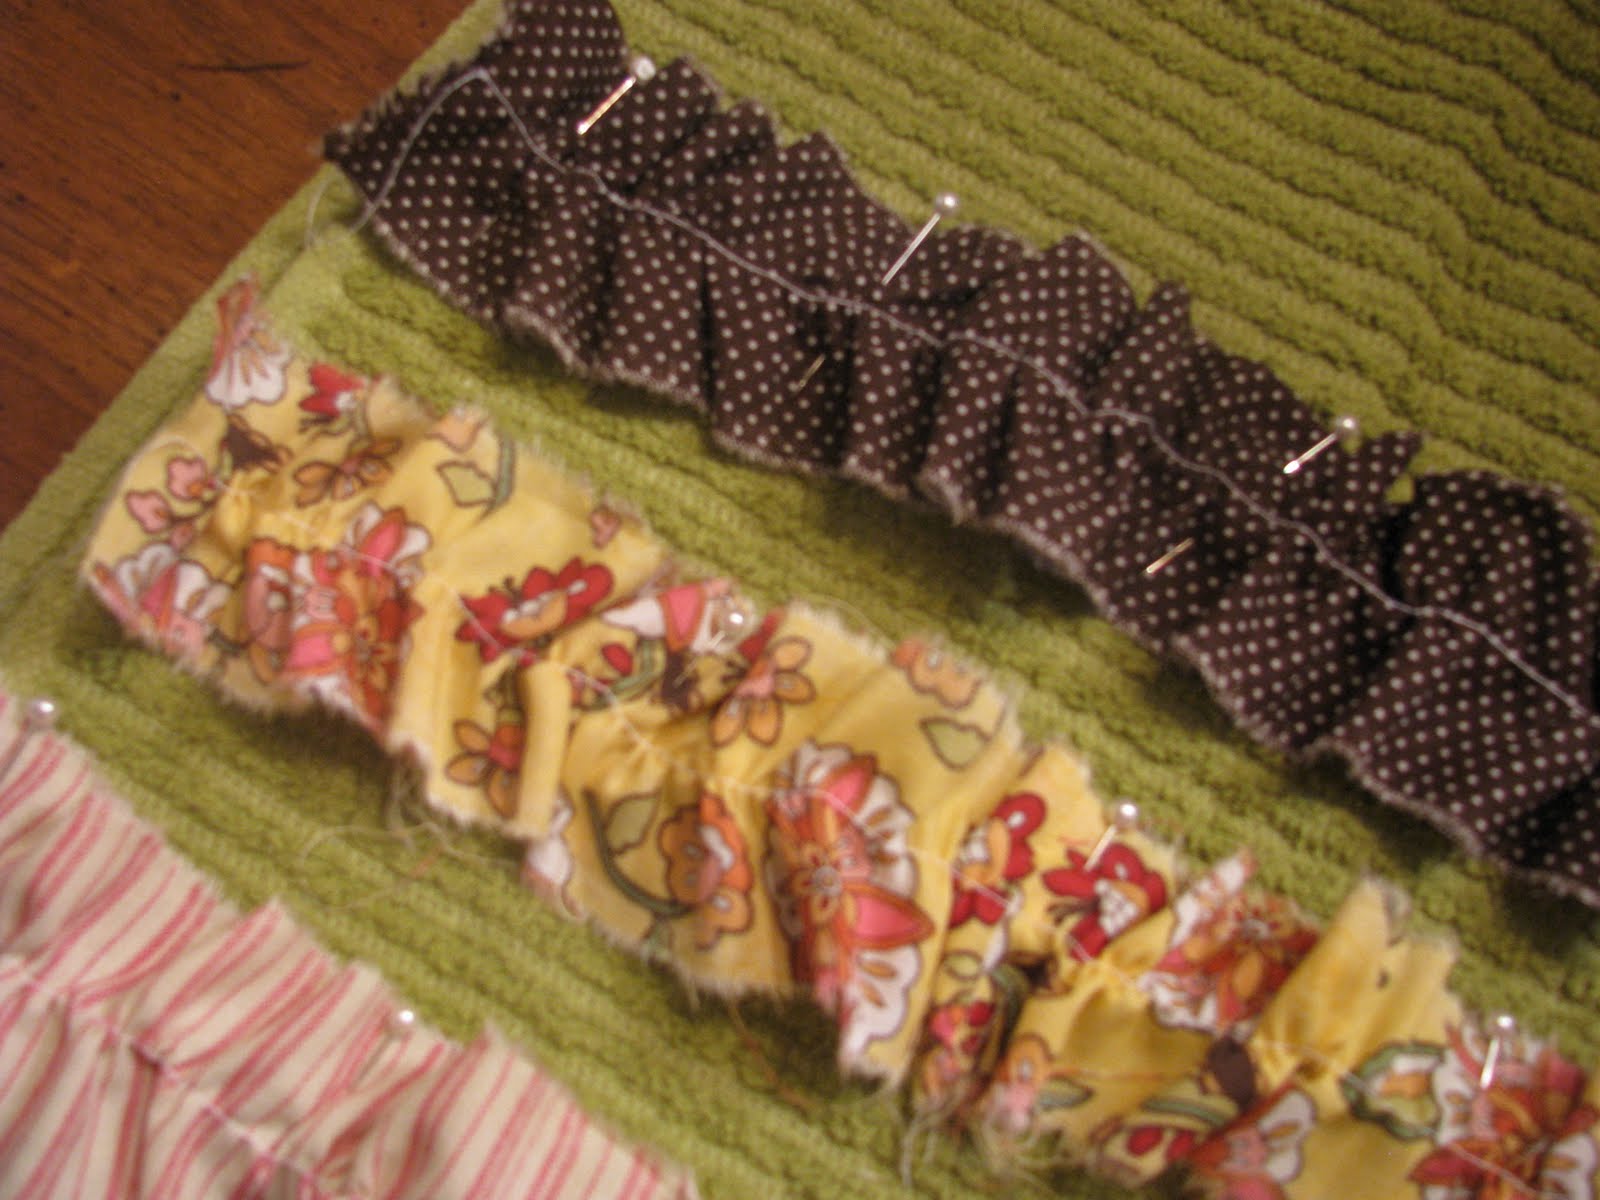
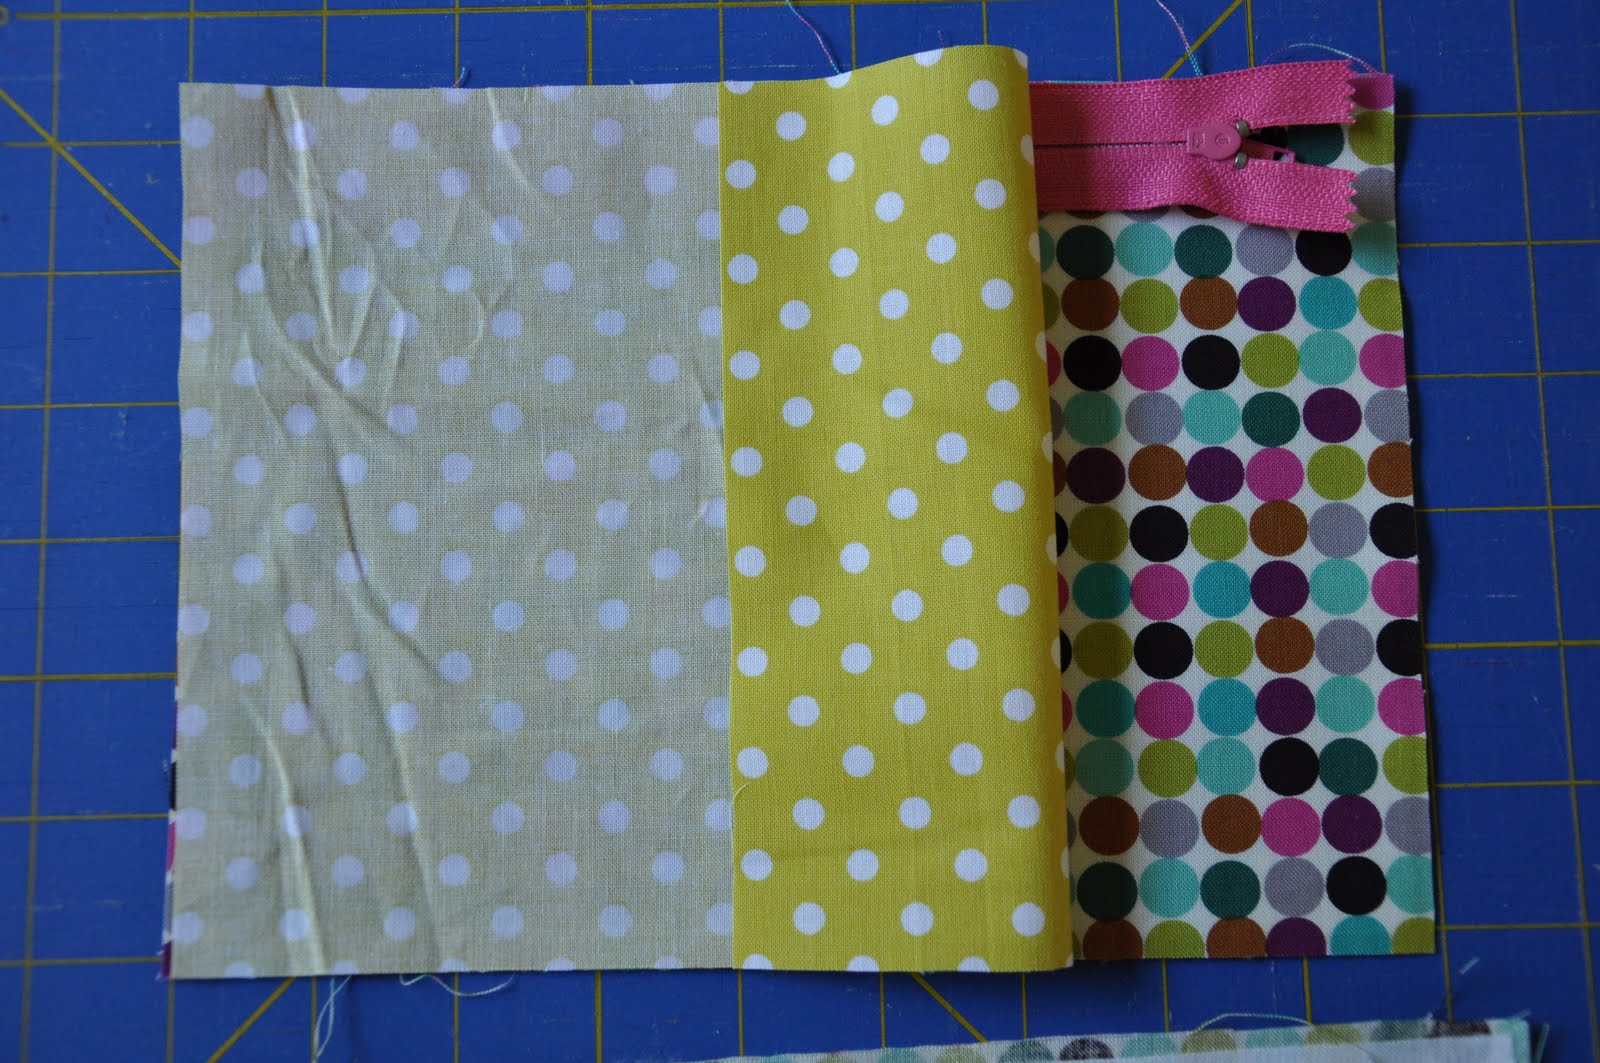
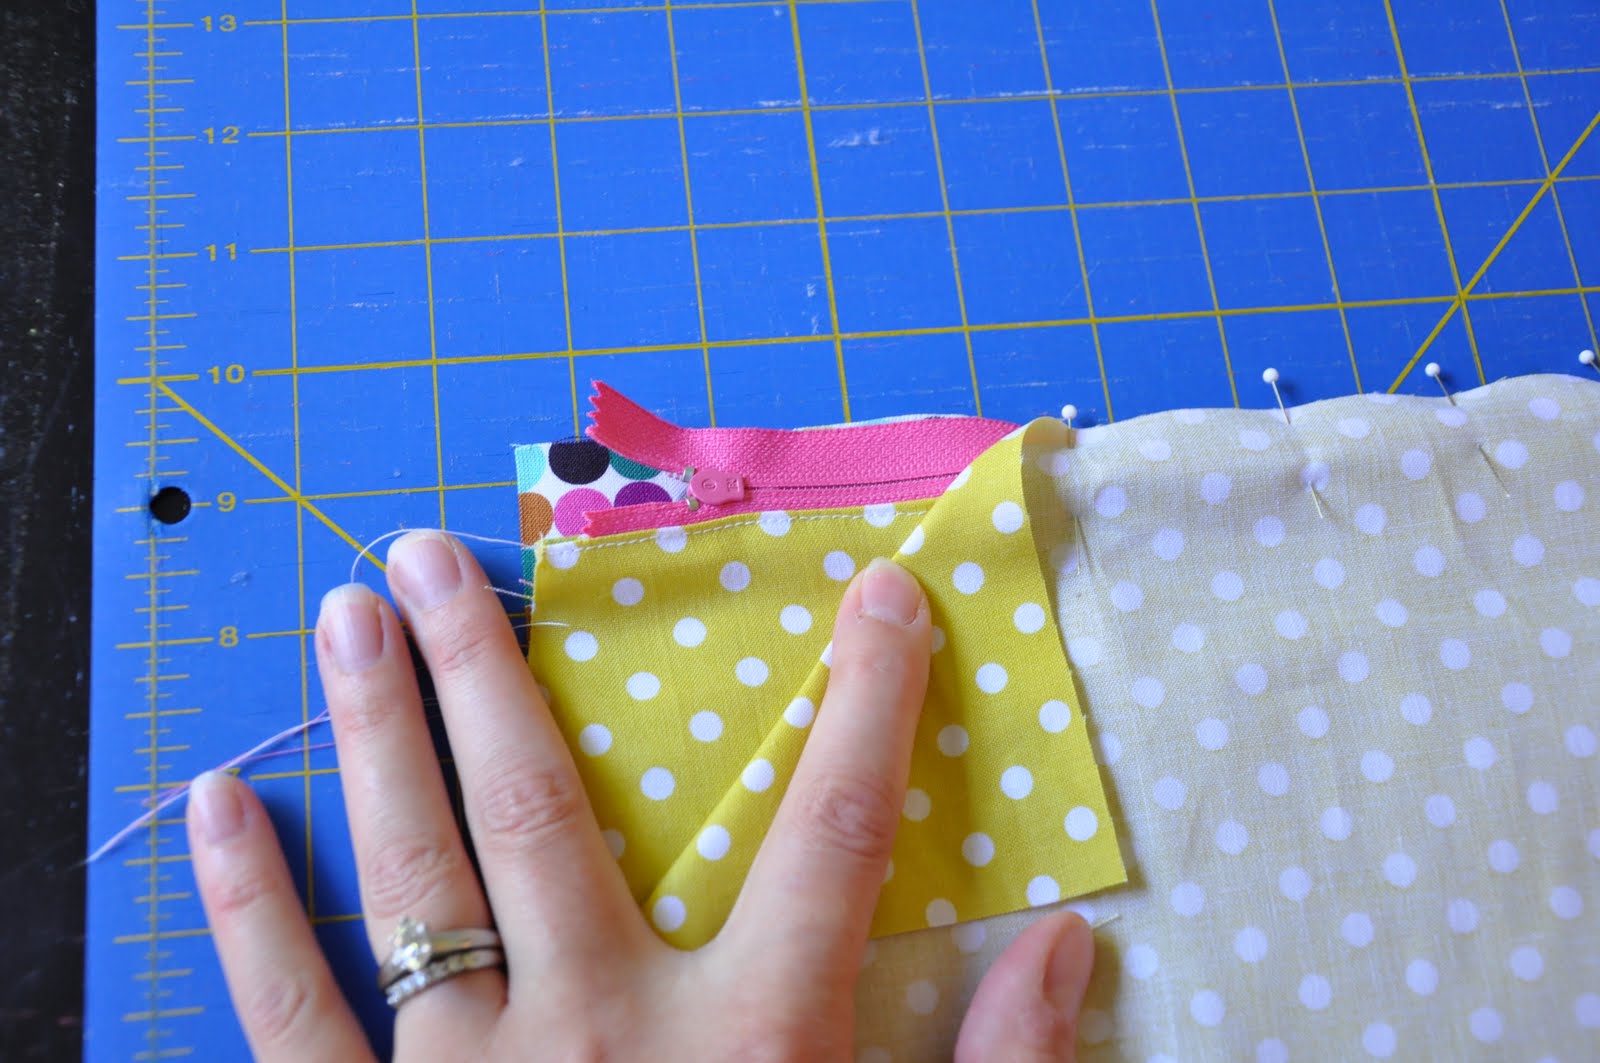
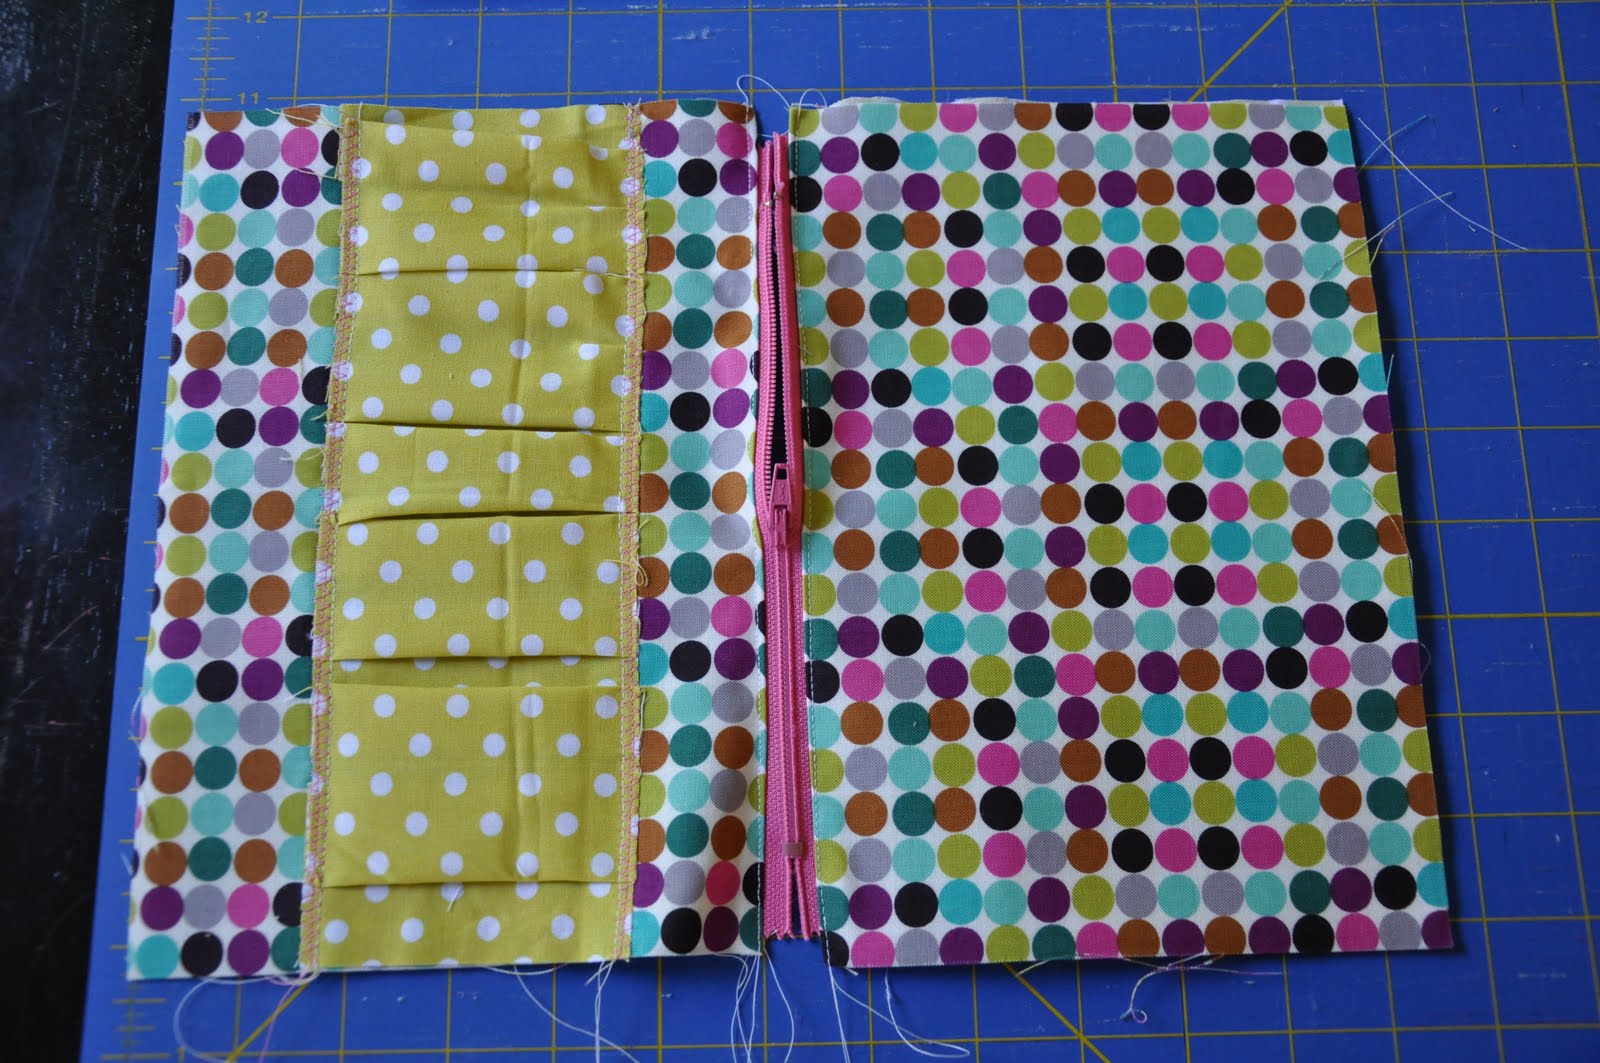
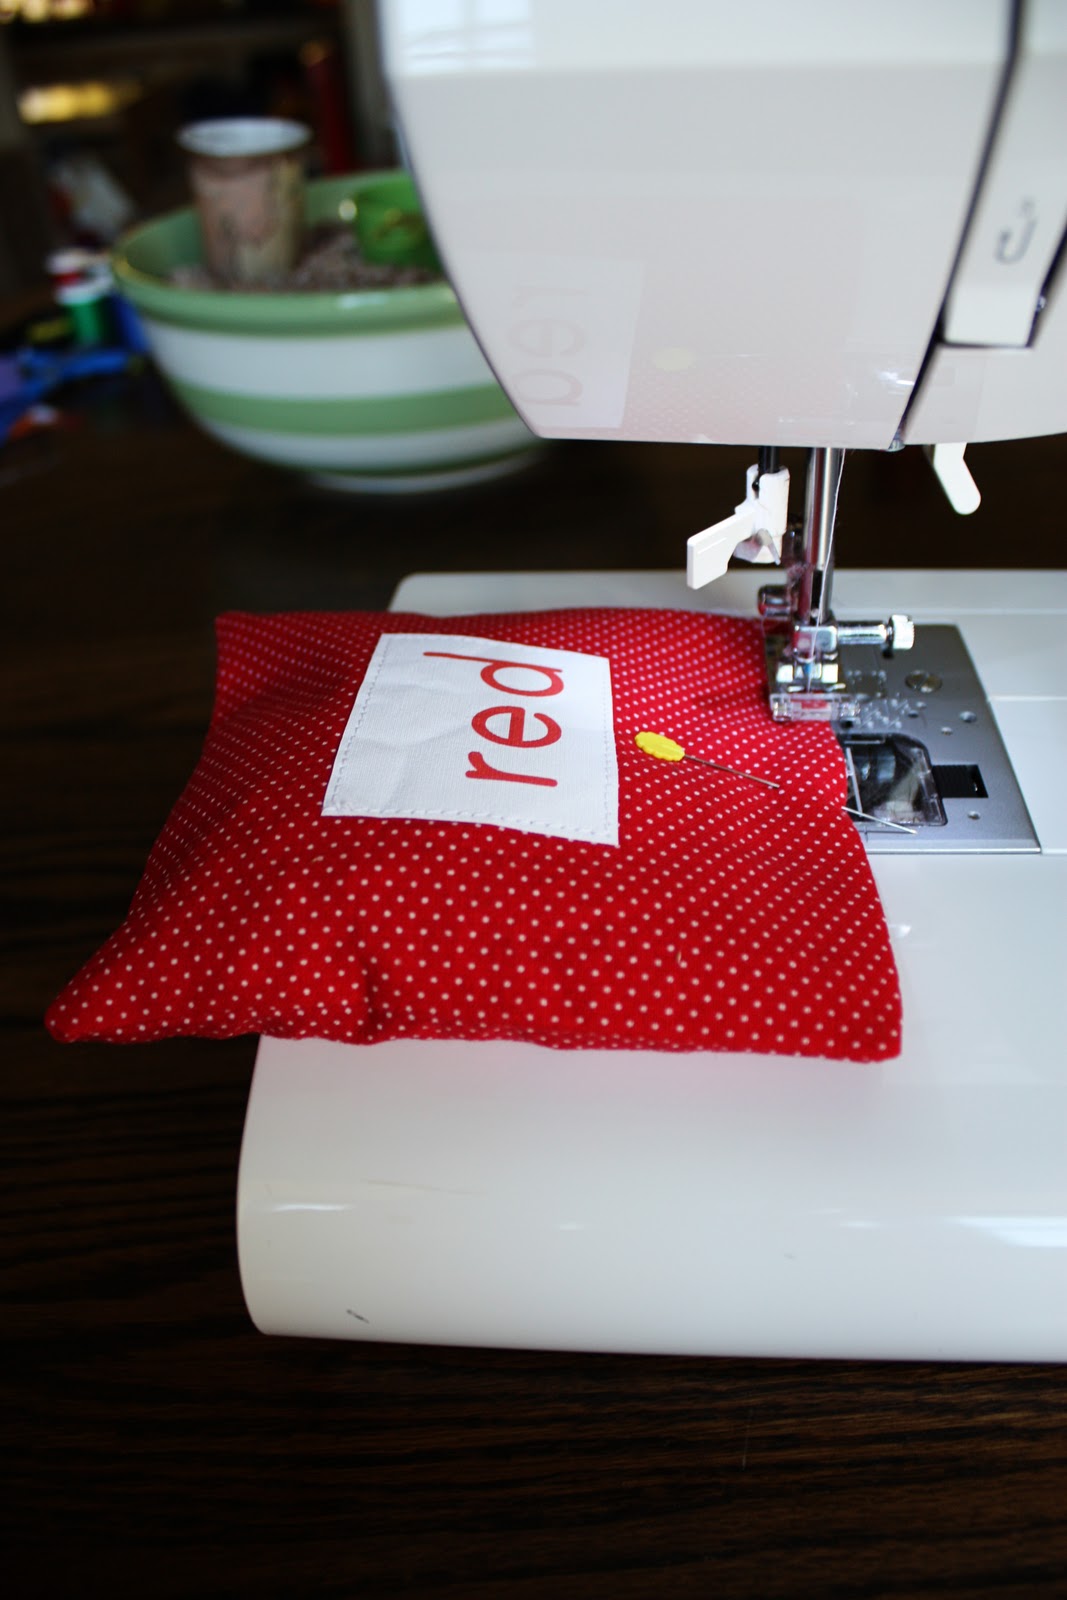
Lay out 1 side of each “bag”. Pin the color name to one side of each “bag”. Sew your color names on! You could use a fusible webbing to help secure it. The printable fabric that I bought already had the fusible webbing on the back, so it made it a little easier. Be sure to back-stitch to secure it!


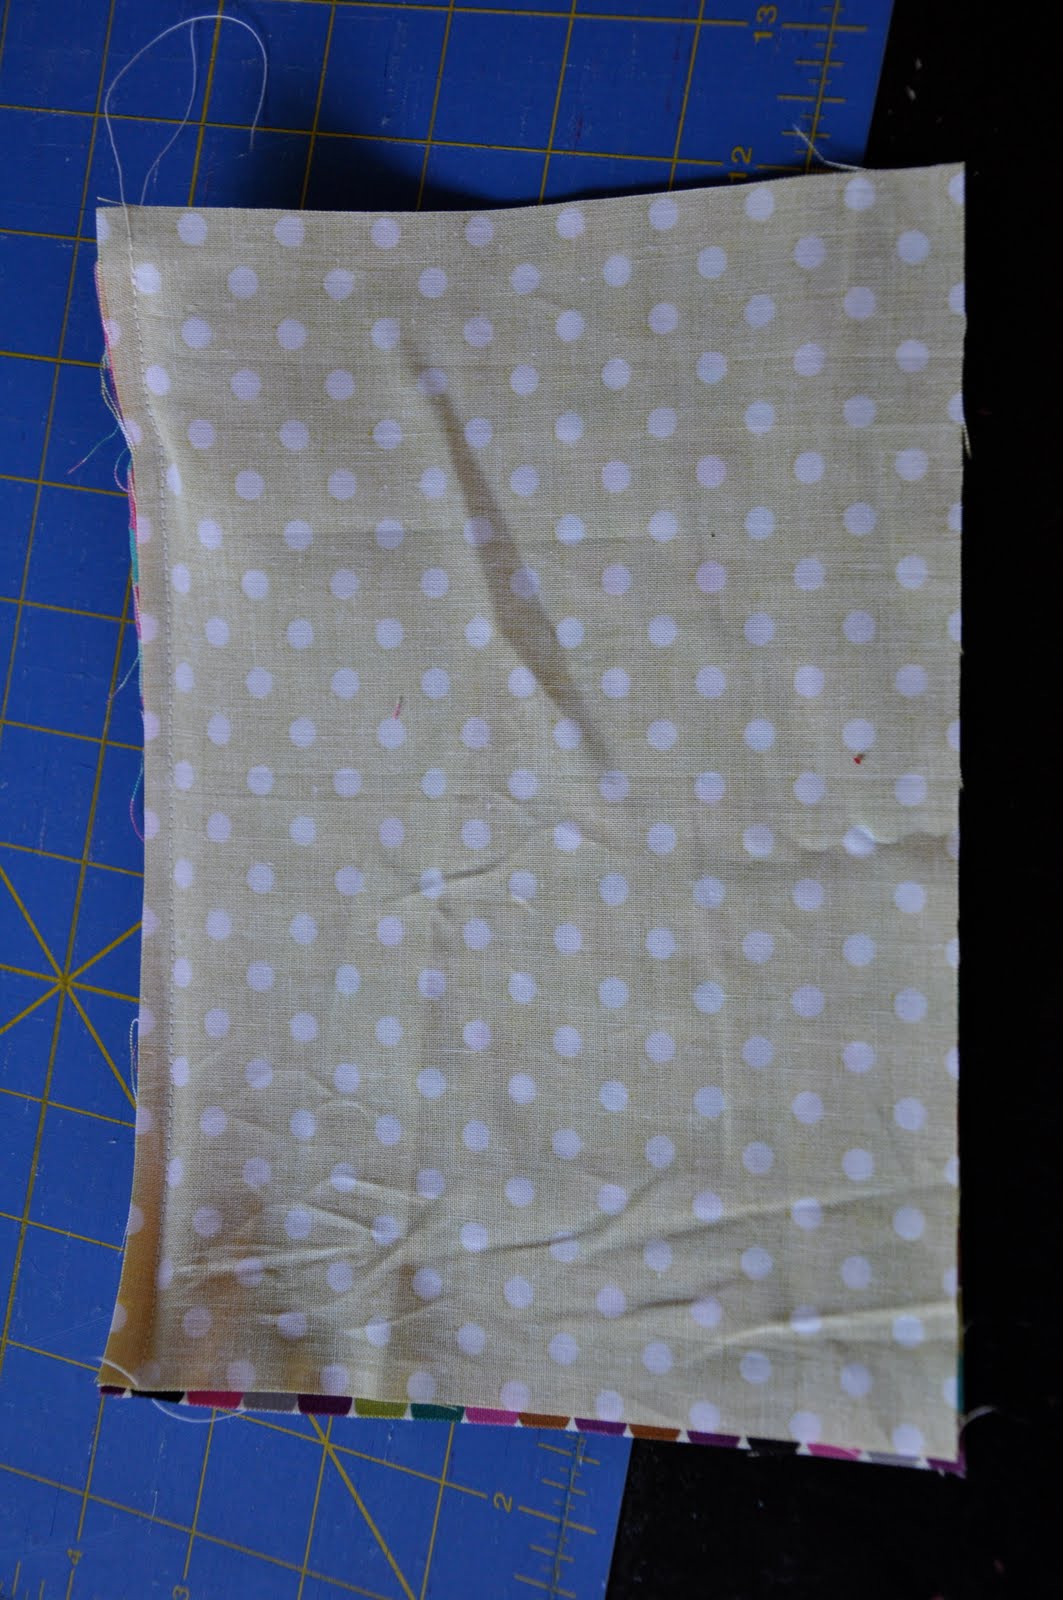
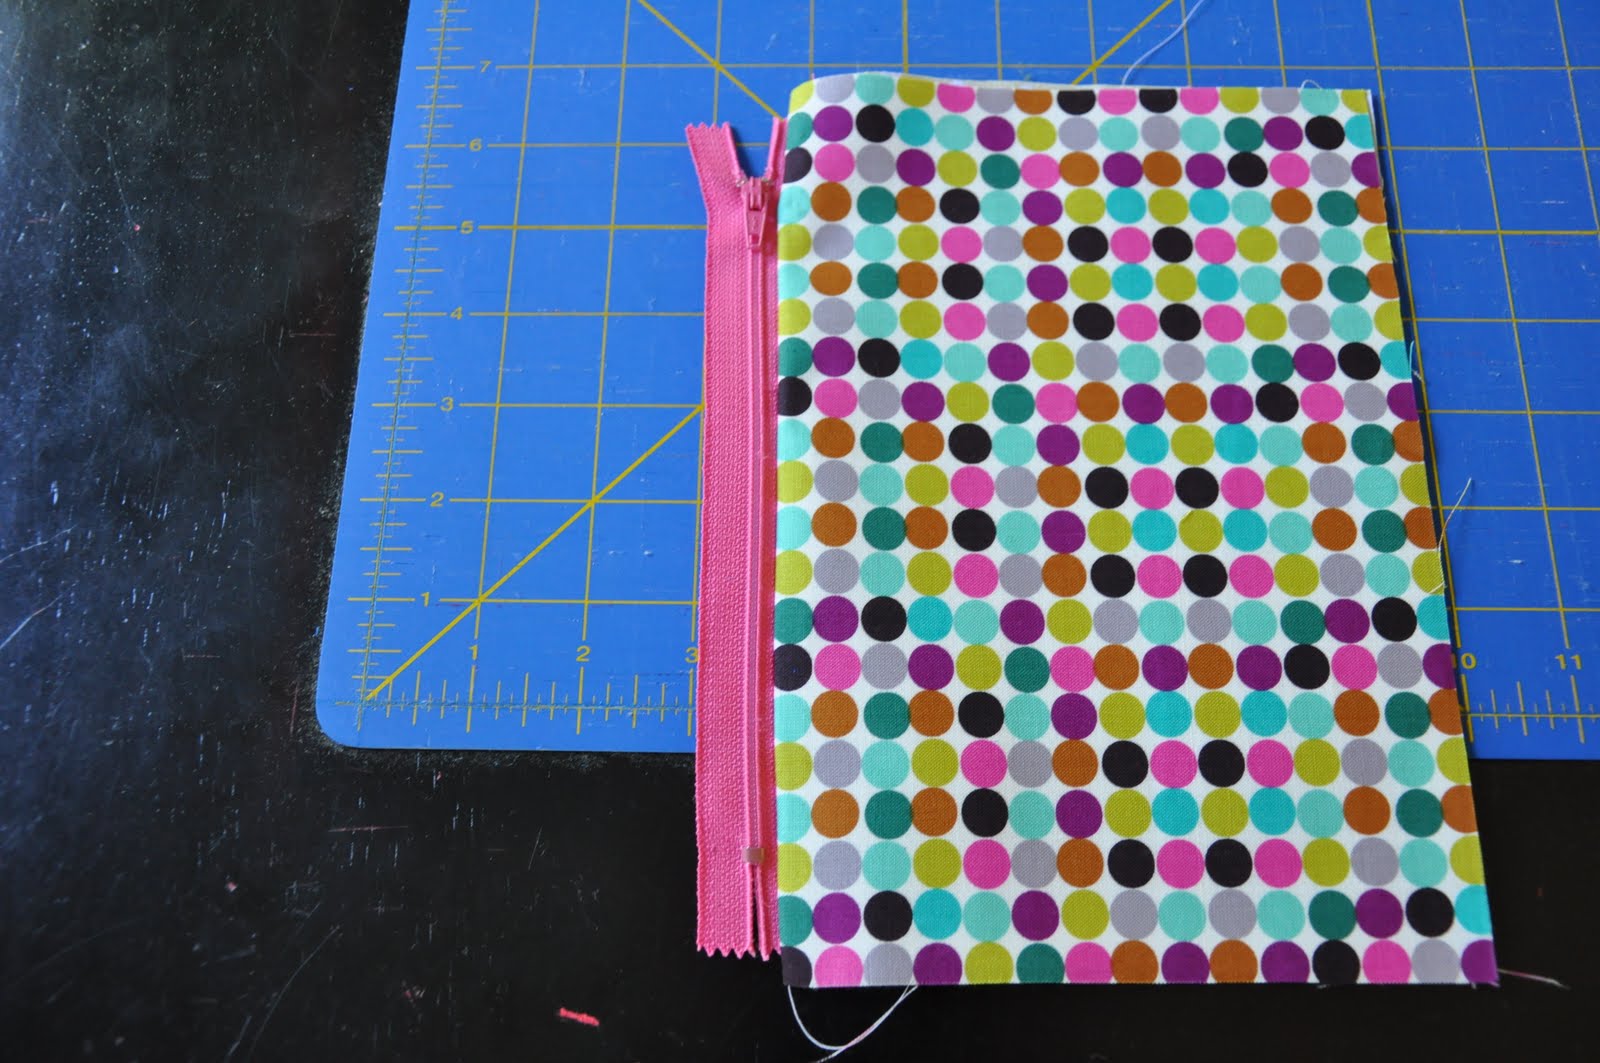
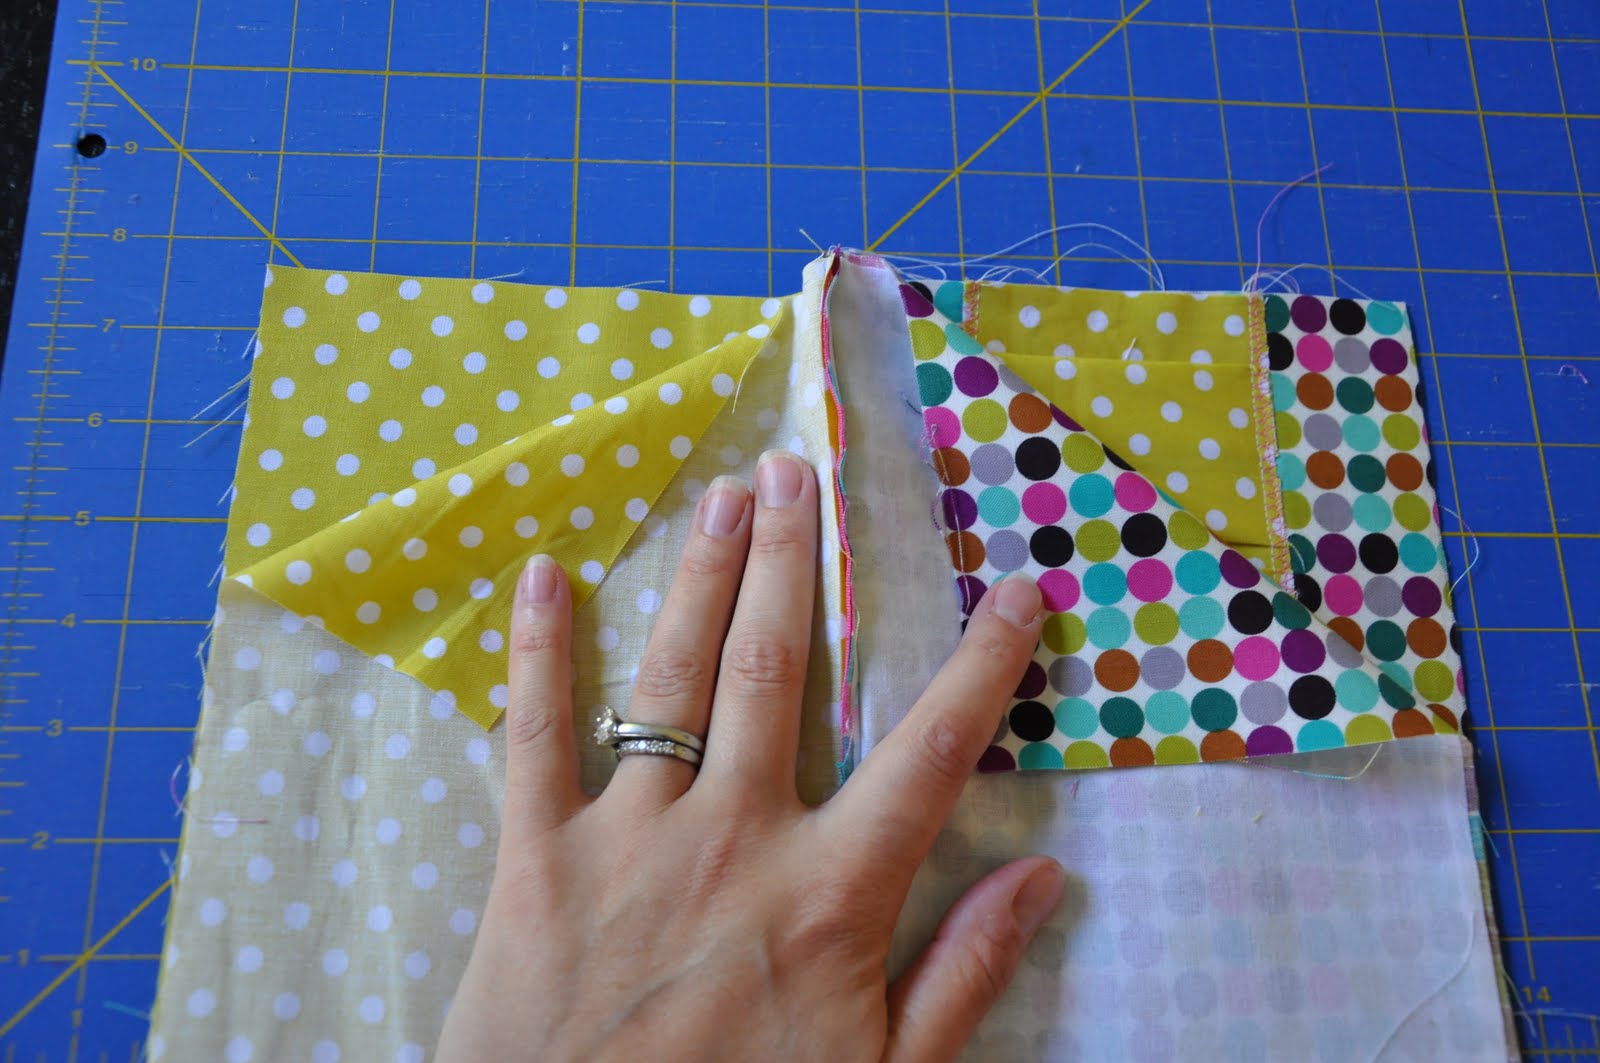
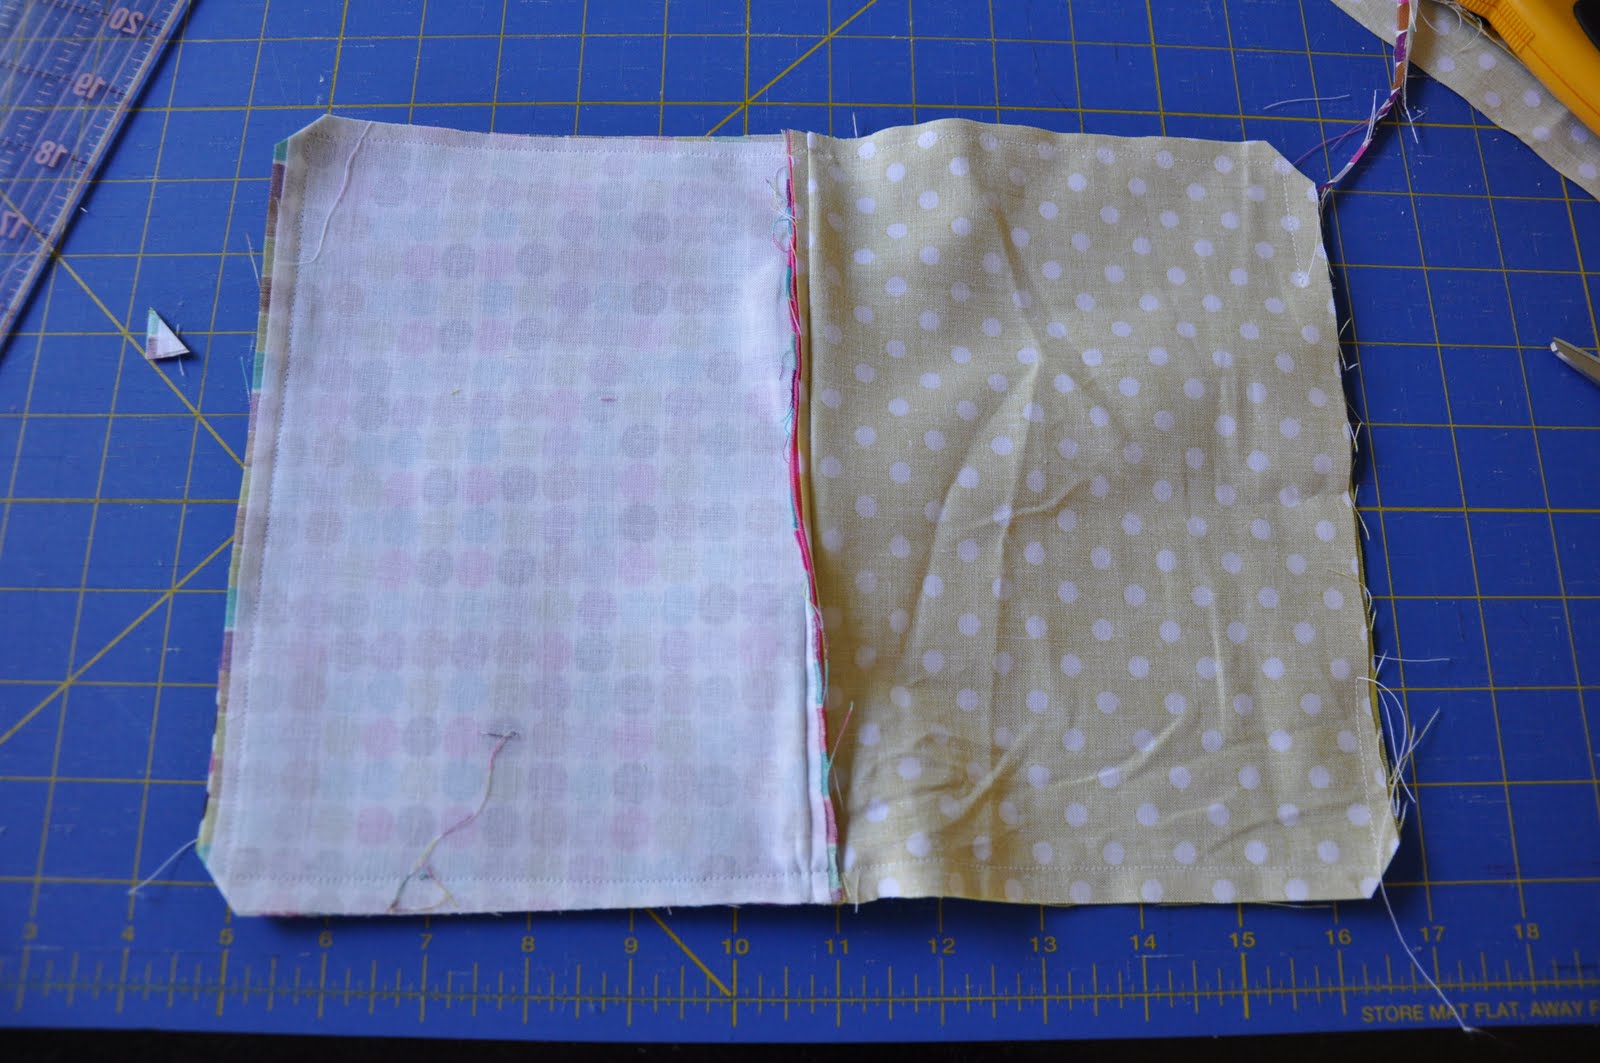
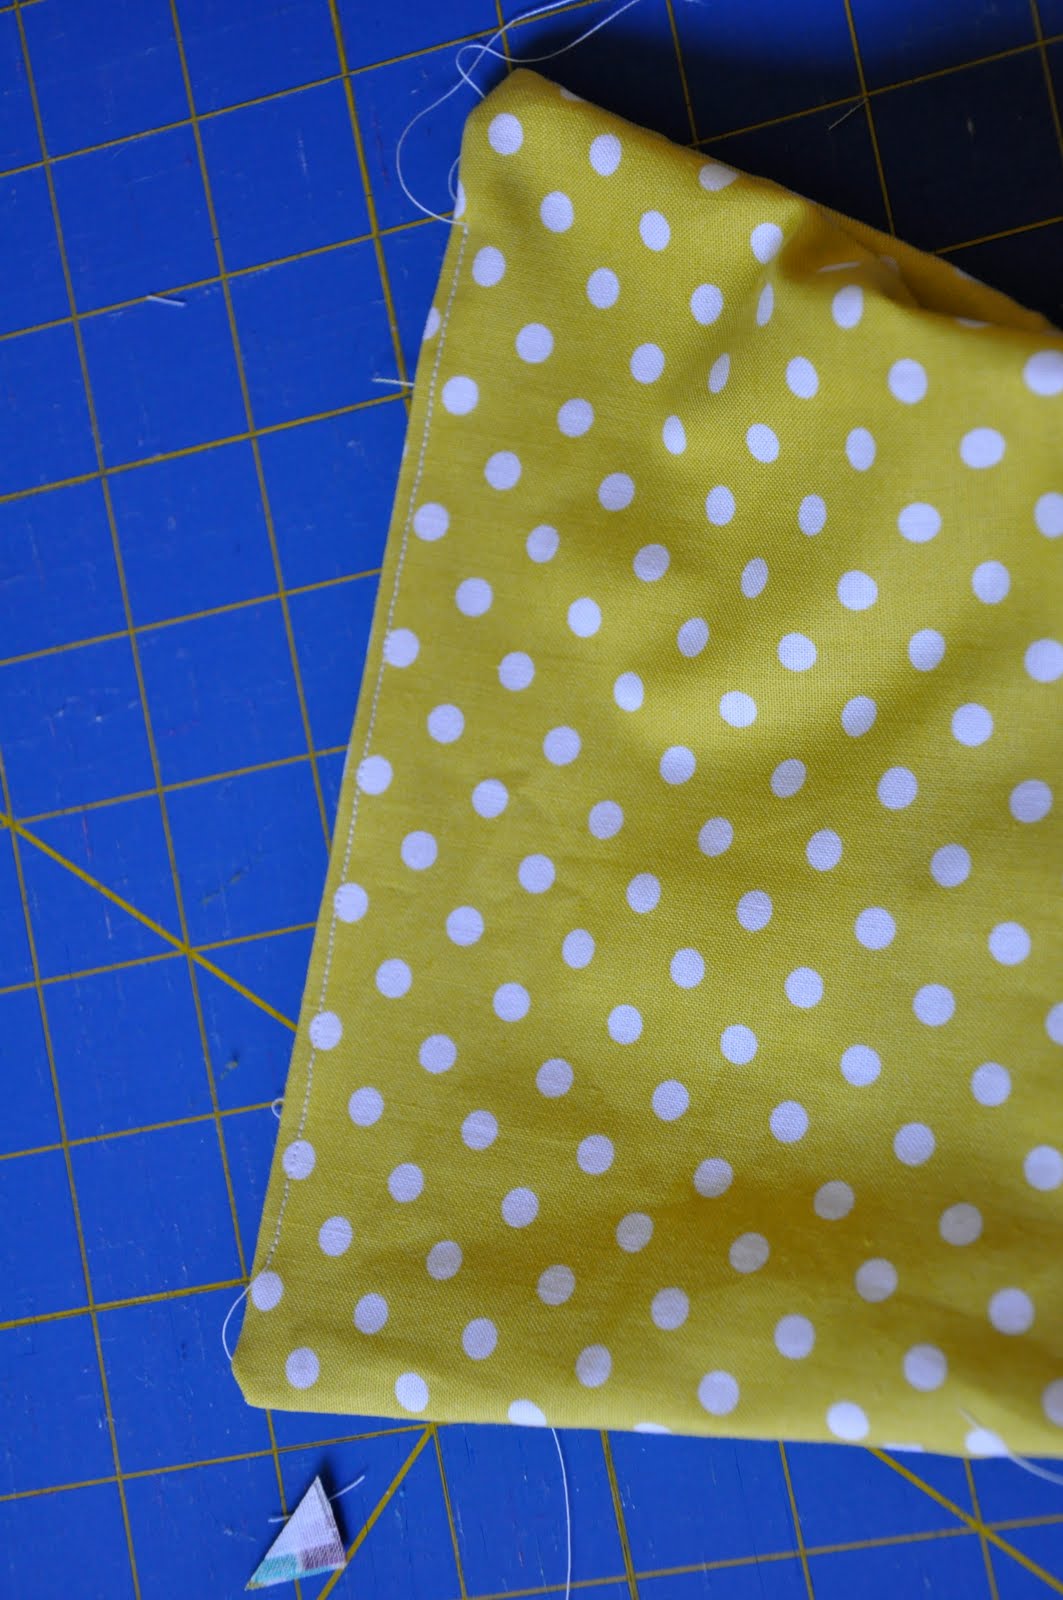
Clip the corners, turn the bean bags right-side out (be sure to poke the corners out), and iron flat.
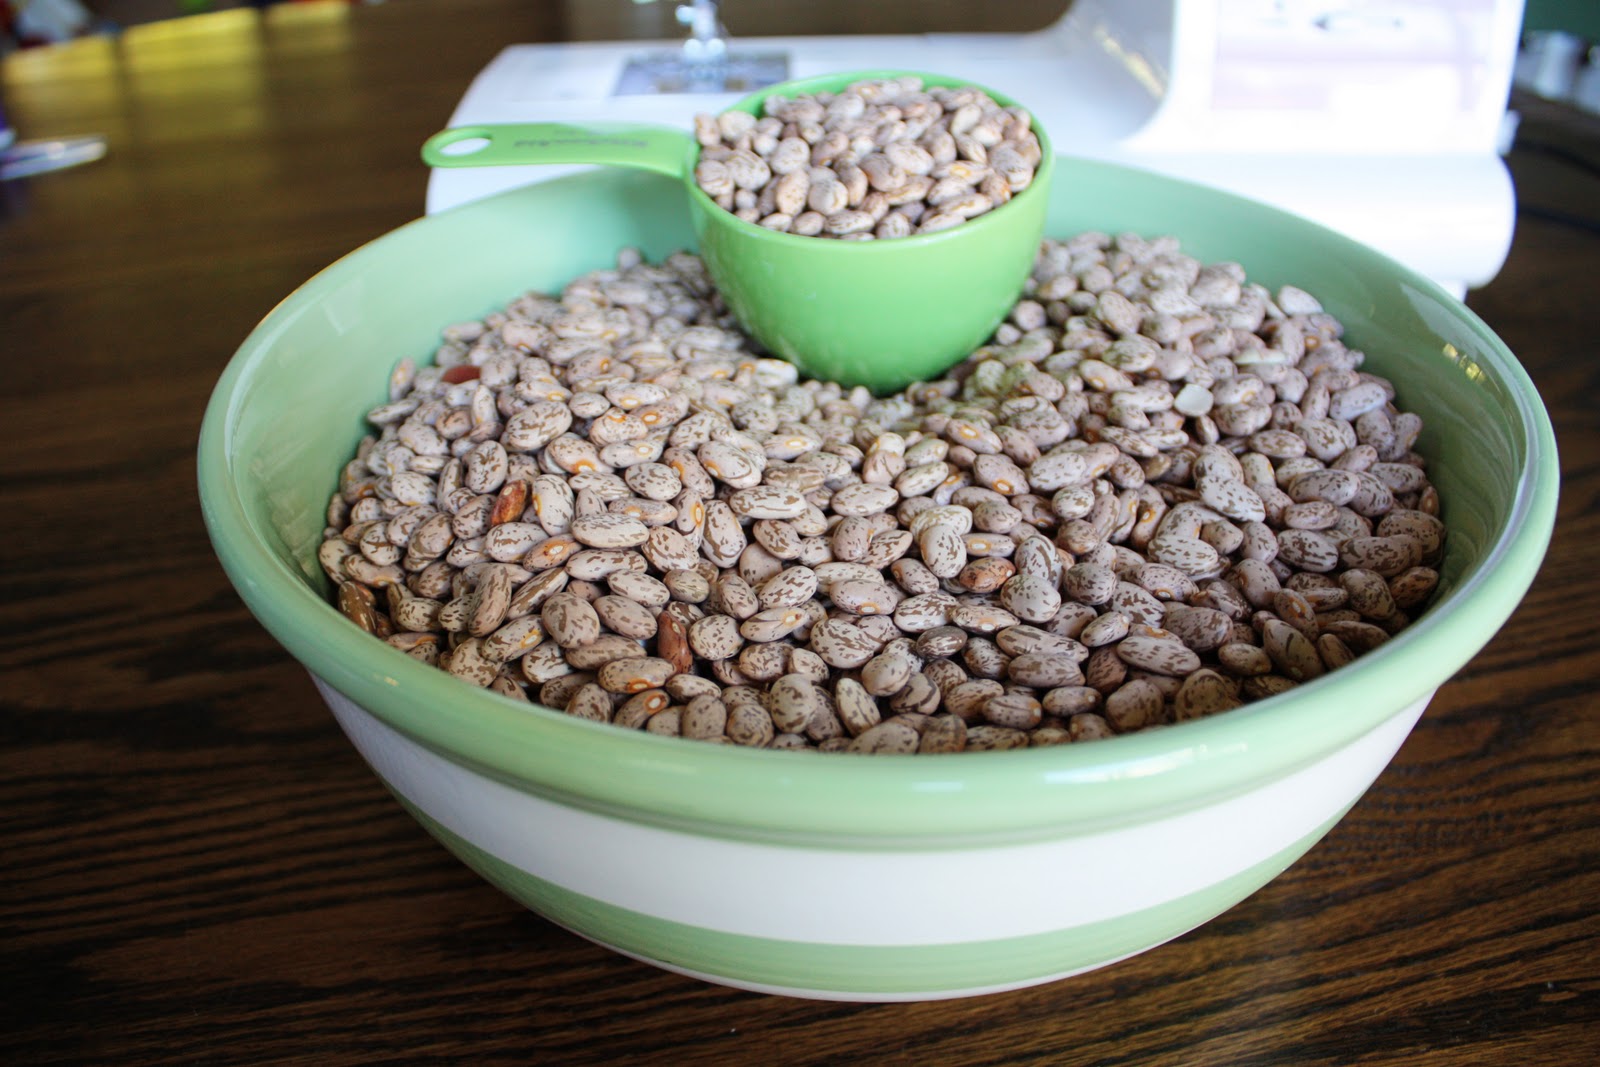
Fill the bags using whatever type of beans you have on hand. One cup seems to be a good amount to fill this size bag.

It helps if you have a trusty assistant!

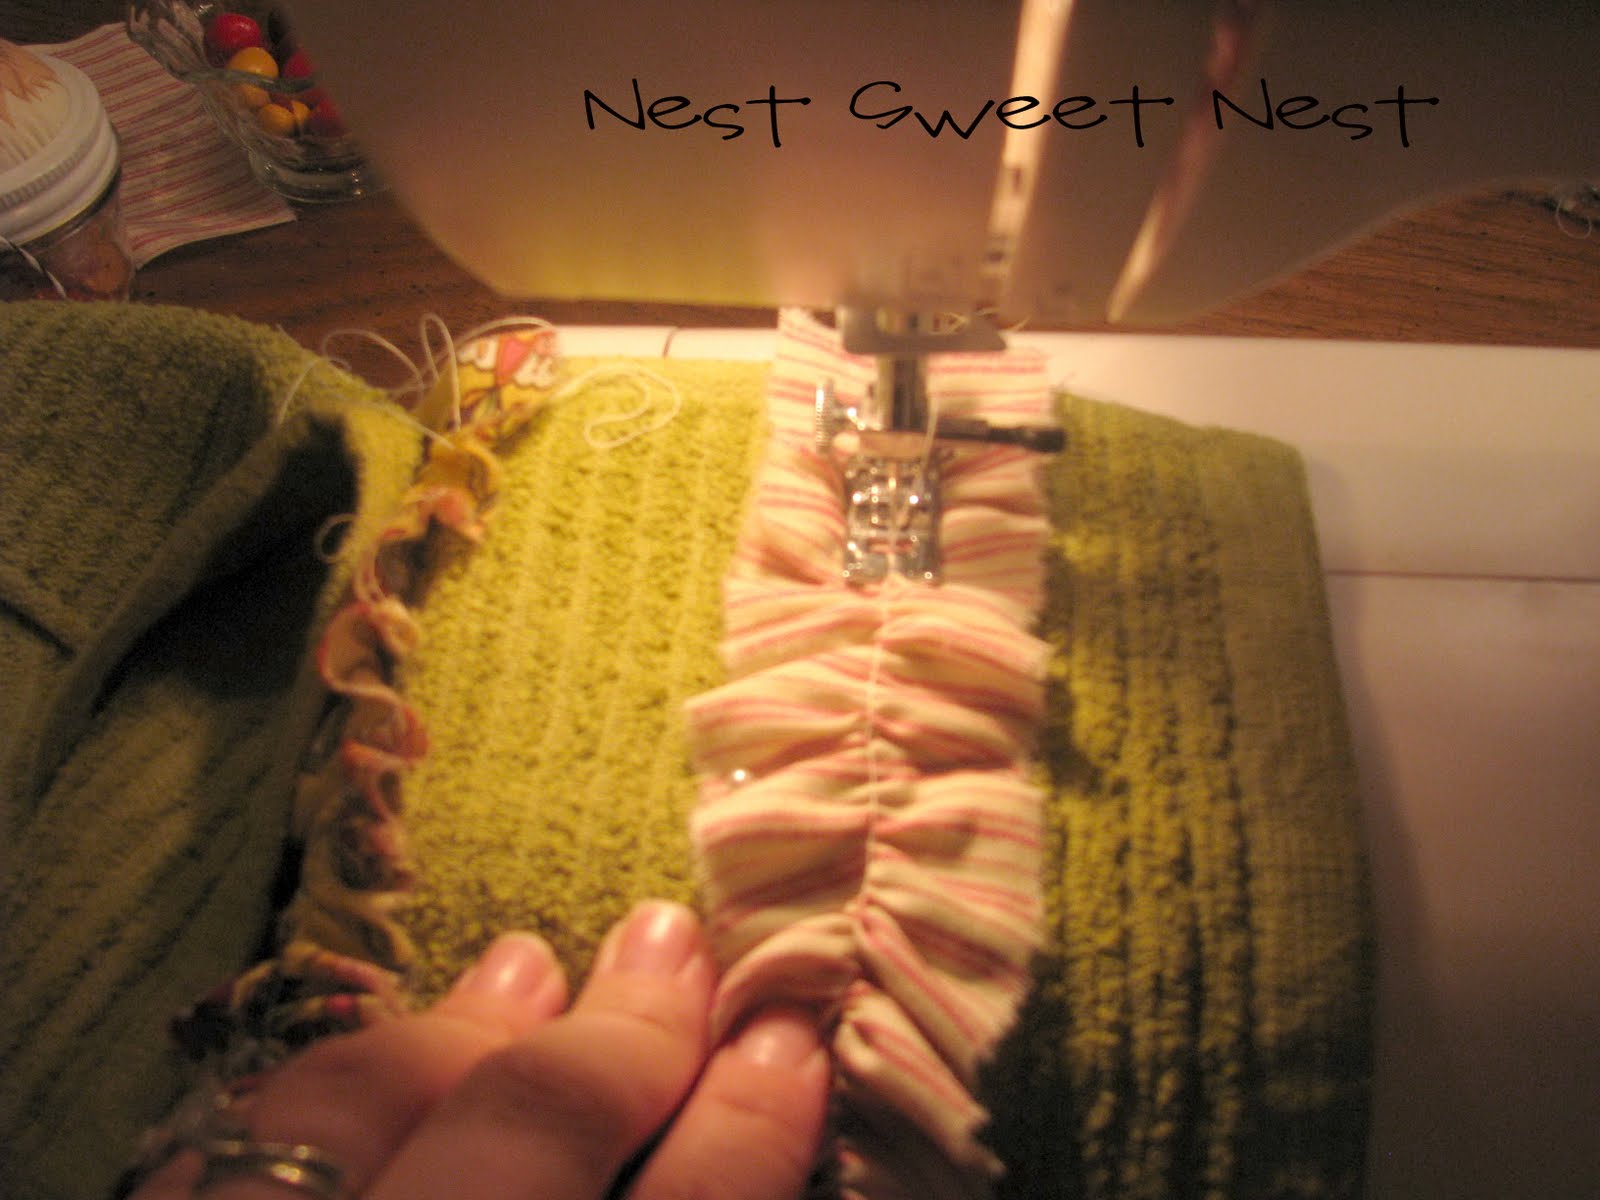
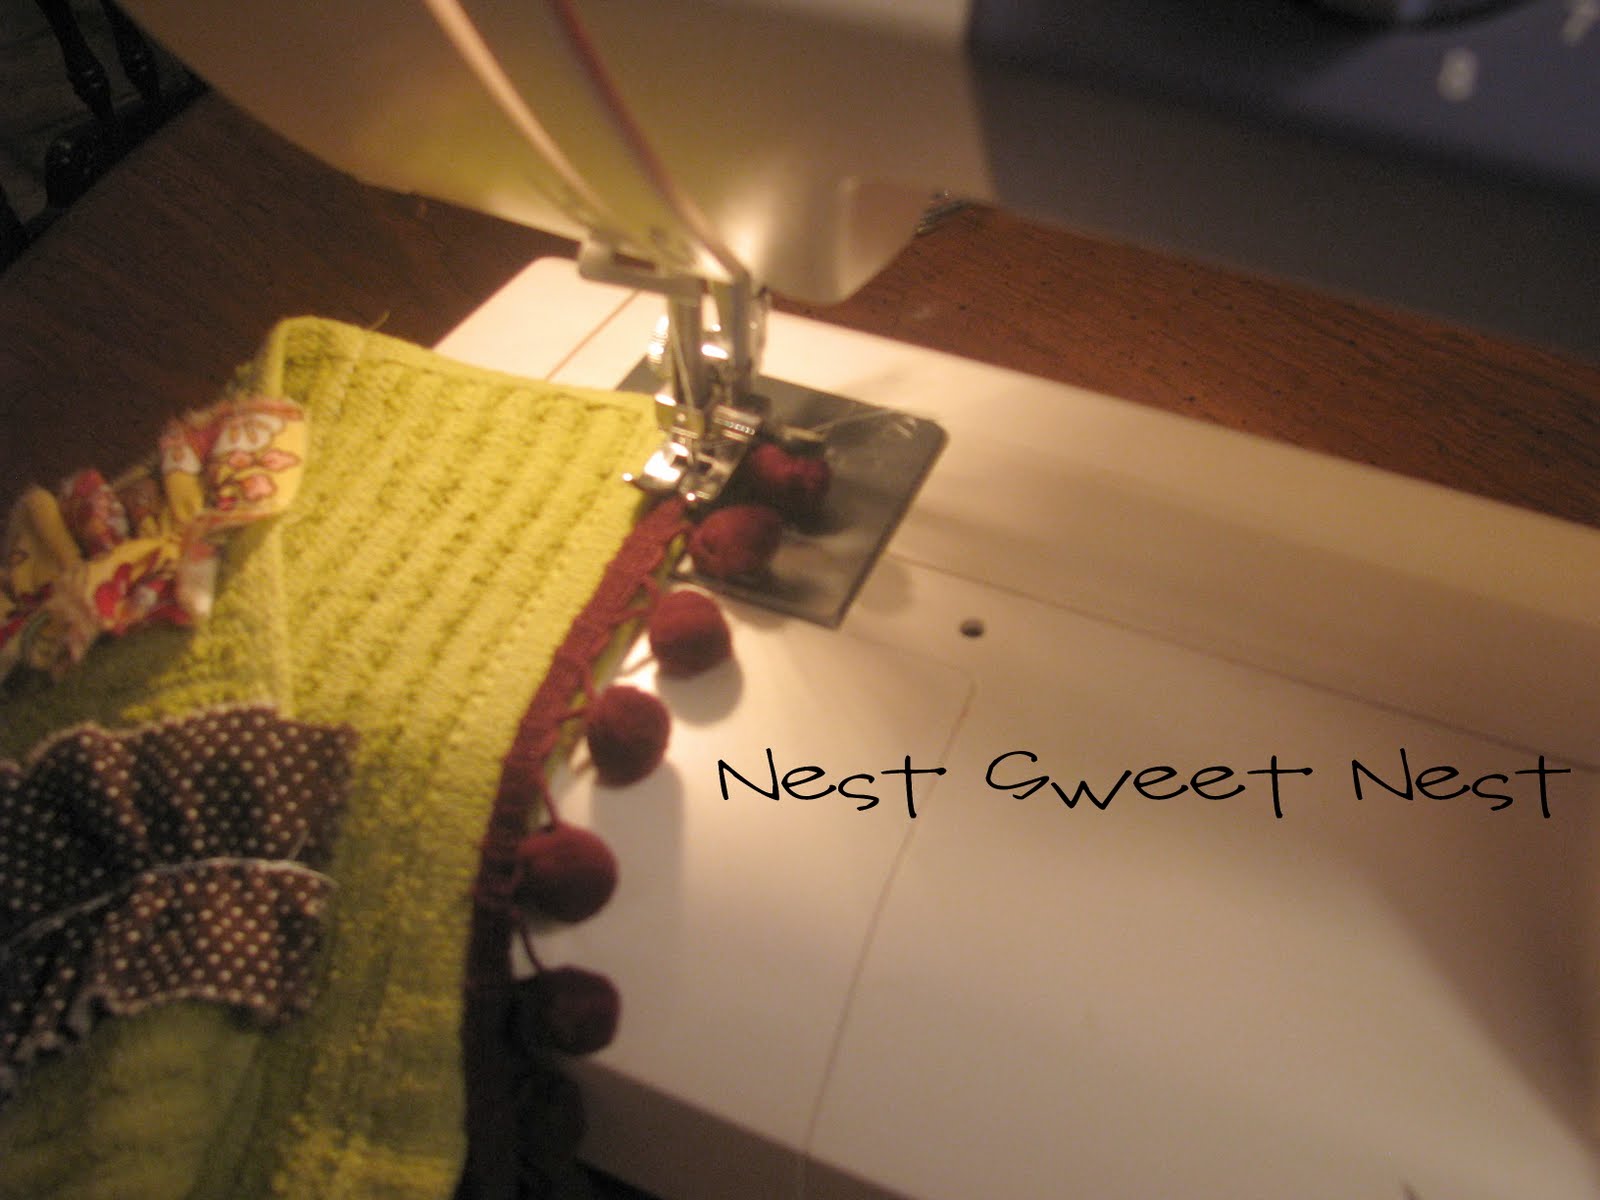
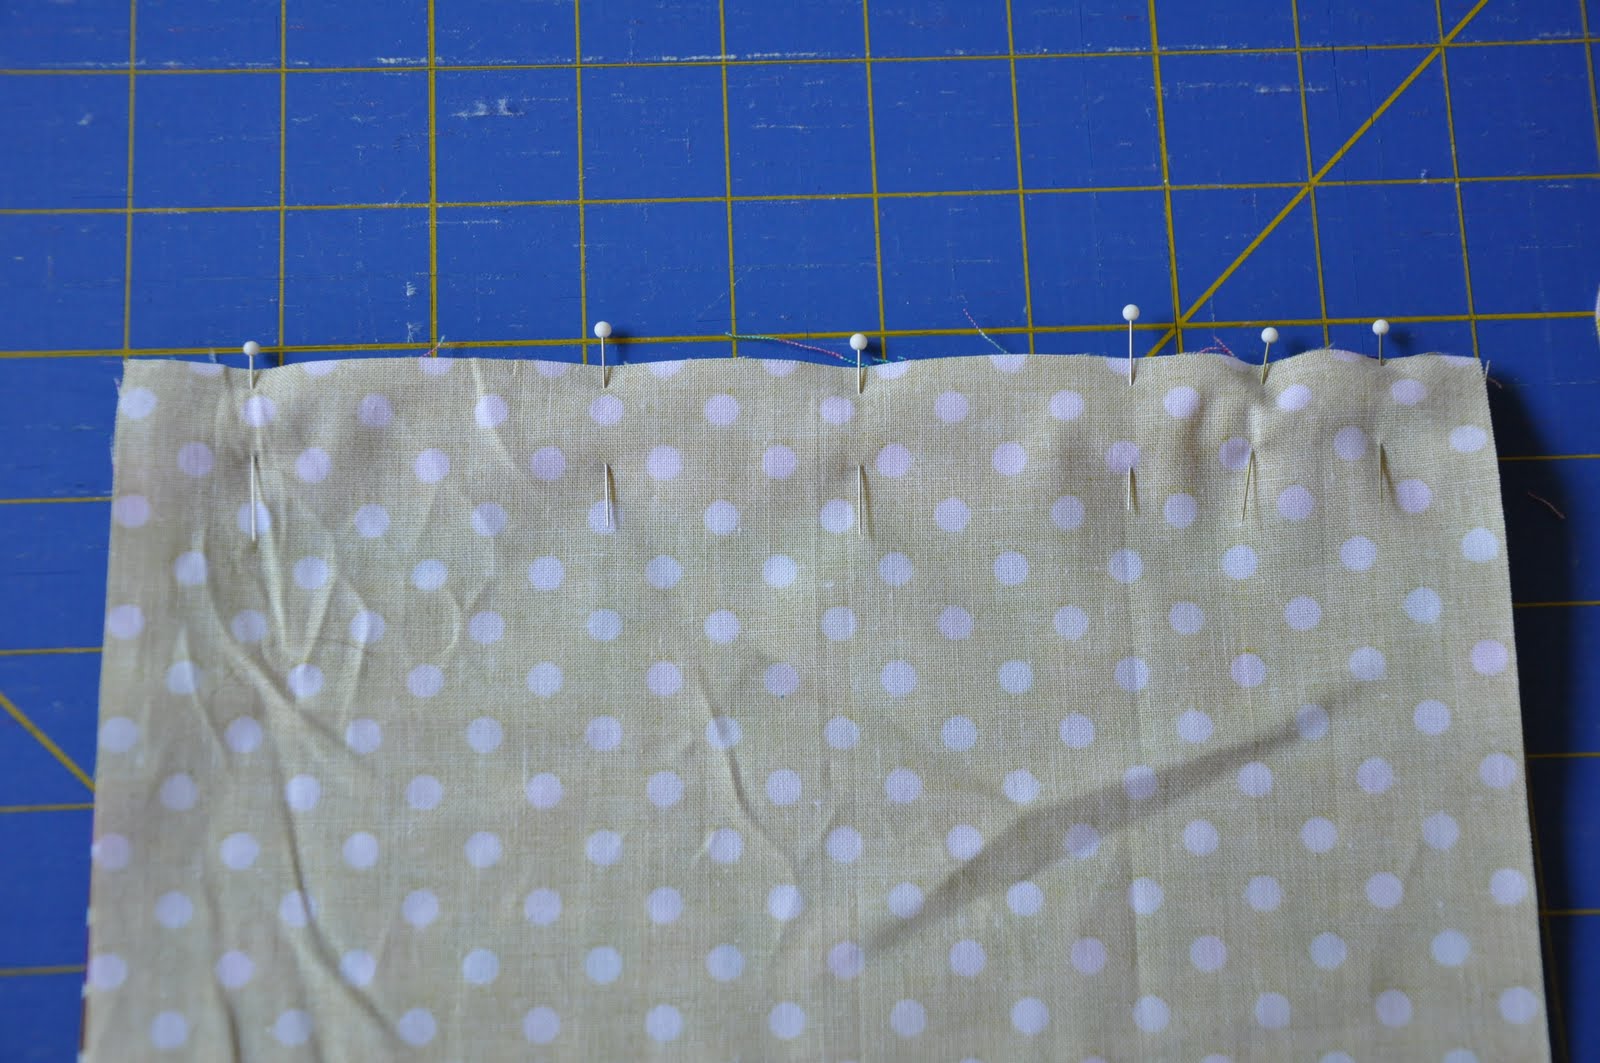
After you have filled the bags, pin the opening shut. Then either hand-sew or machine-stitch the opening closed. I like to machine-stitch it, and then top-stitch around the entire bag for added strength…we do have a 2-year old boy in the house! If you top-stitch around your bags, you’ll have to move the beans out of your way as you sew. This takes a little practice to move them to one side or the other, but you’ll get the hang of it!

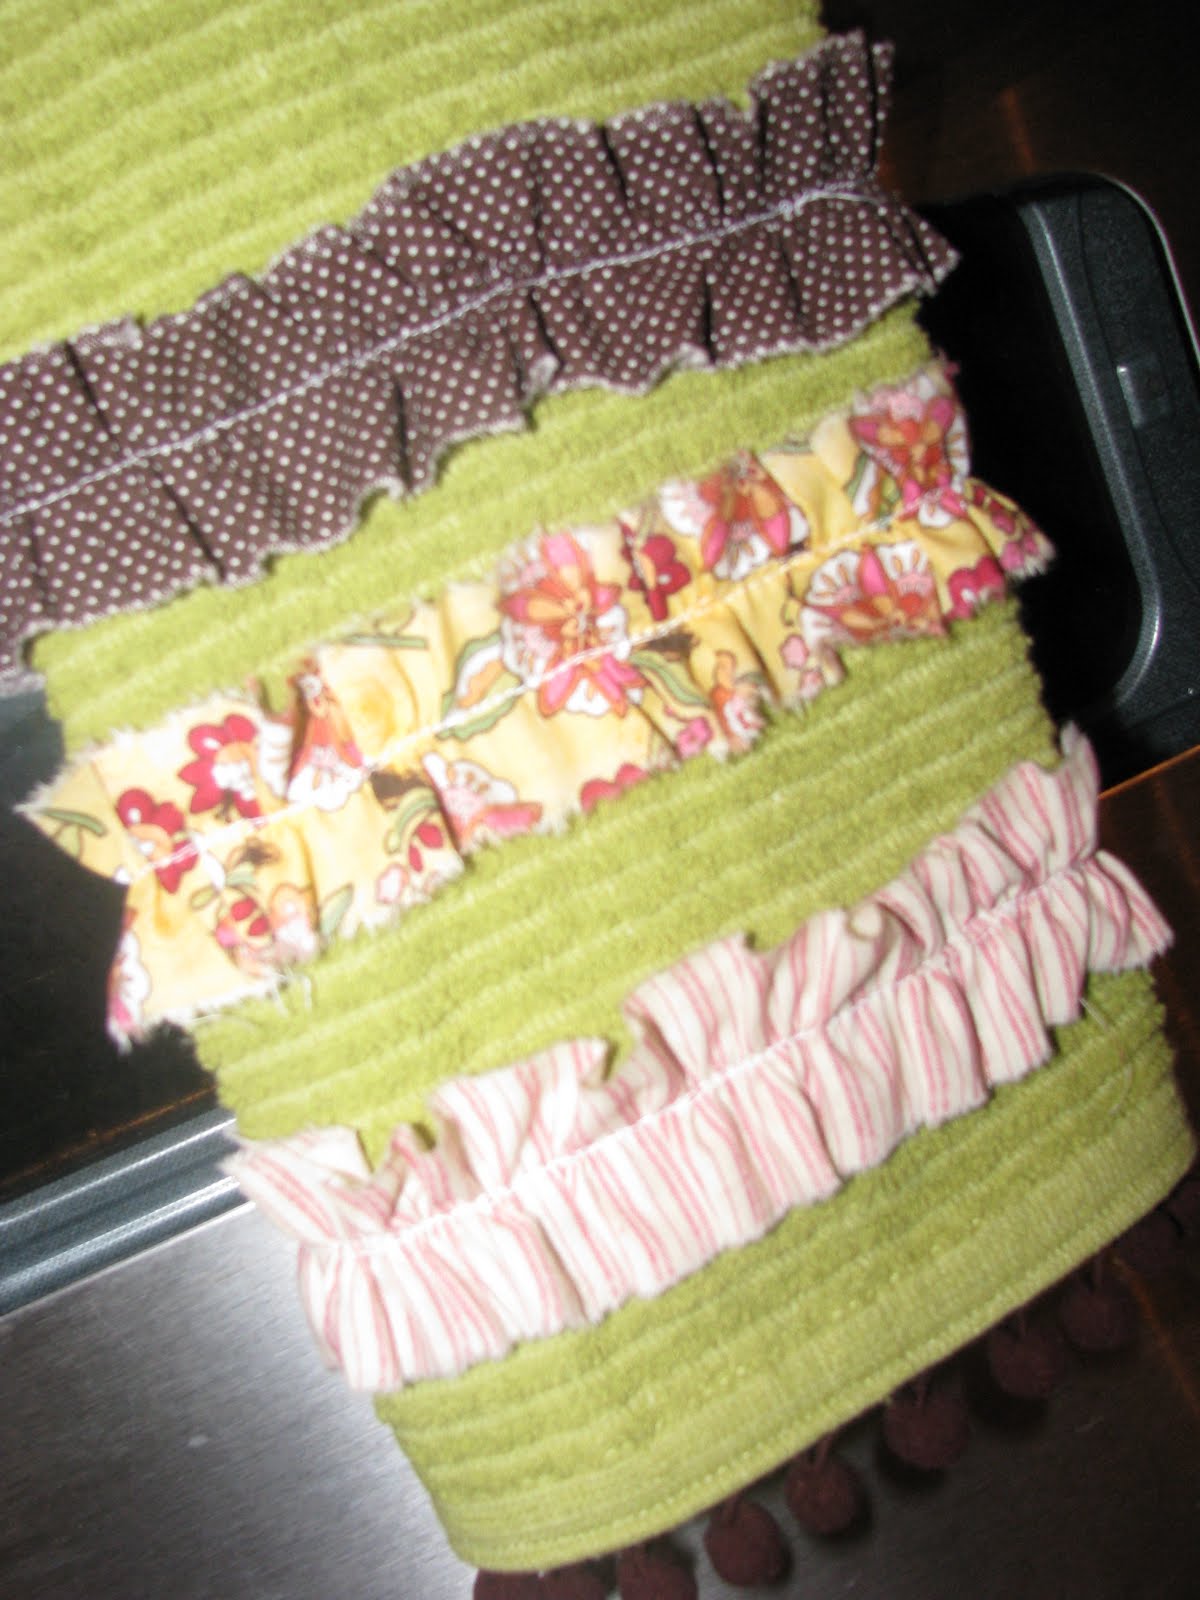
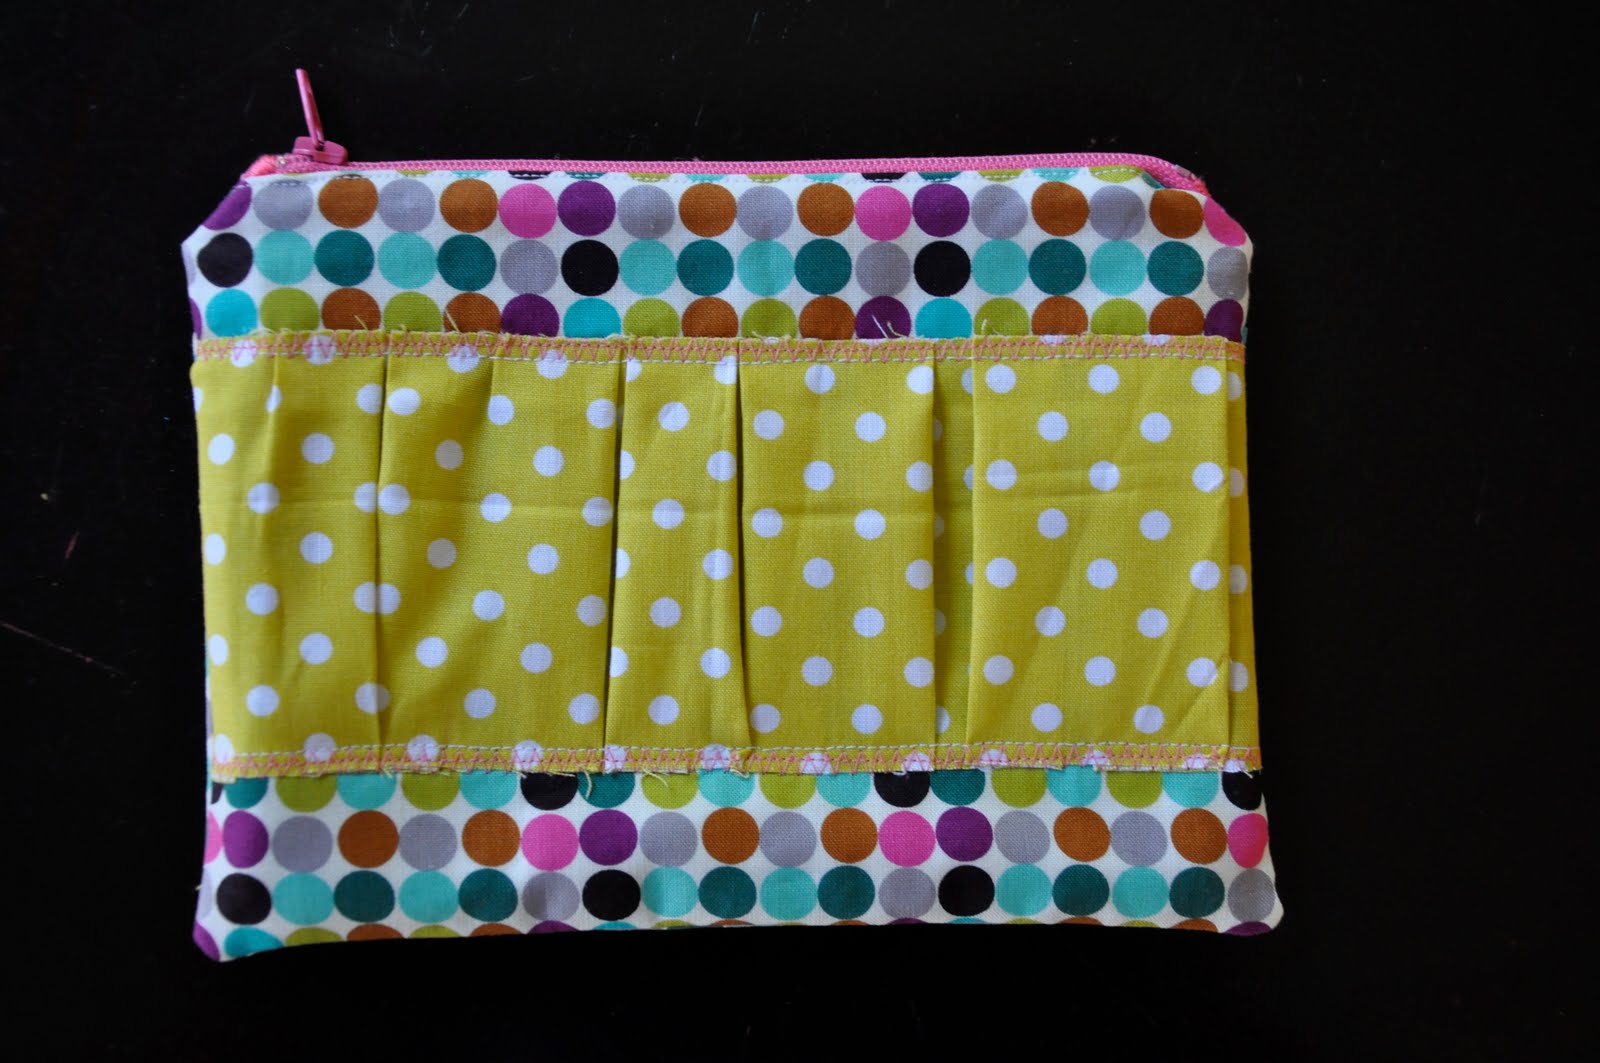
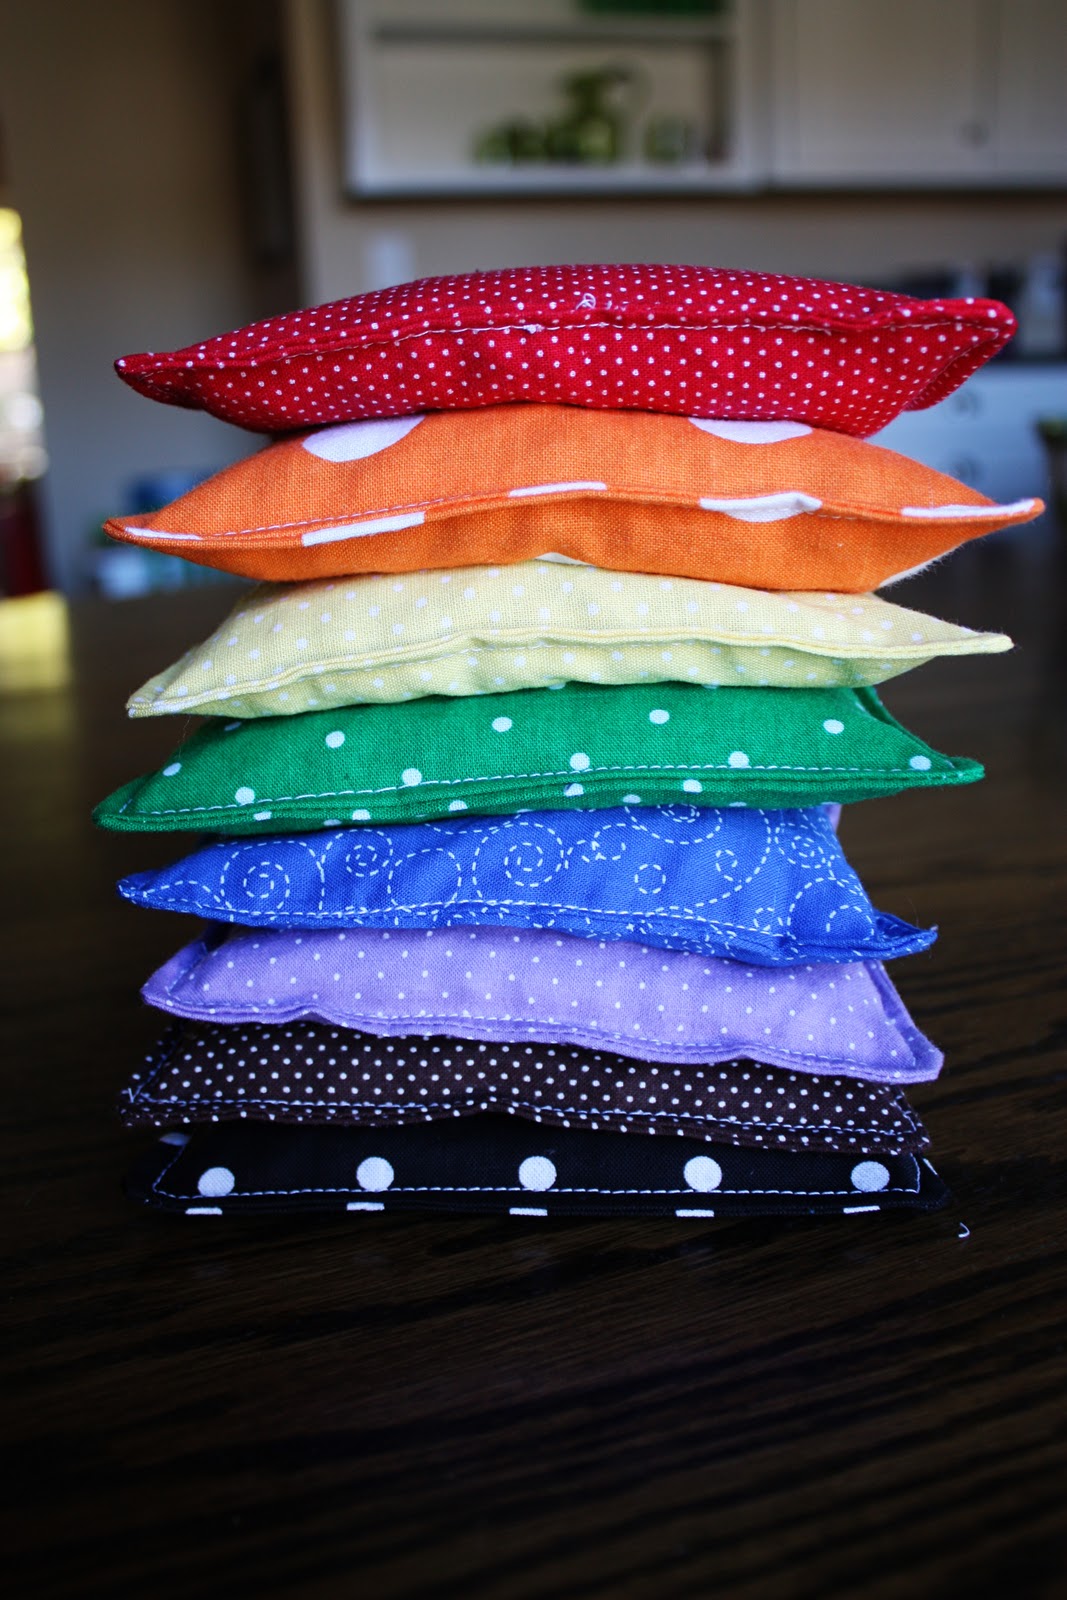
You’re done! Enjoy your Toss and Learn: Colors bean bags!


You can take this concept of “Toss and Learn” and use it to teach all kinds of skills…letters, shapes, numbers, etc. Start a little bean bag-making factory in your sewing room this weekend!
Thanks for reading this tutorial! Many thanks to Edie for letting me be a part of this awesome series!


.JPG)
.JPG)
")
.JPG)
.JPG)
.JPG)
.JPG)
.JPG)
.JPG)
.JPG)
.JPG)
.JPG)
.JPG)
.JPG)
.JPG)
.JPG)
.JPG)
.JPG)

.JPG)
.JPG)


