You’re gonna love todays’ guest poster, Alissa. She blogs at 33 Shades of Green and has a creative blog full of fun stuff. She has a great tutorial for a wrapping station, a screen porch that I covet, and many more goodies that you’ll want to see. I’m so happy introduce you to her talented self! If you’re just not the sewing type or if you’re interested in purchasing beautiful handmade items this Christmas, check out my friend Maggie Whitley, from Gussy Sews. She has beautiful handsewn items in her shop and is featuring all sorts of artists and crafters this week on her blog.
Now, tell us how it’s done Alissa 🙂

Thank you Edie for having me over to Life in Grace today. I got lots of great inspiration from The 12 Days of Handmade Christmas last year, and am so excited to be a part of it this year!
I am going to show you how to make a quilted potholder – a quick and easy project for any beginning sewer.
.
.
Supplies:
– Fabric
– Heat resistant batting (the one I used is called “Insul-Bright”)
– Sewing notions (needles, thread, scissors)
.
First, you will need to select coordinating fabric. Make sure to pre-wash your fabric before use.
.
.
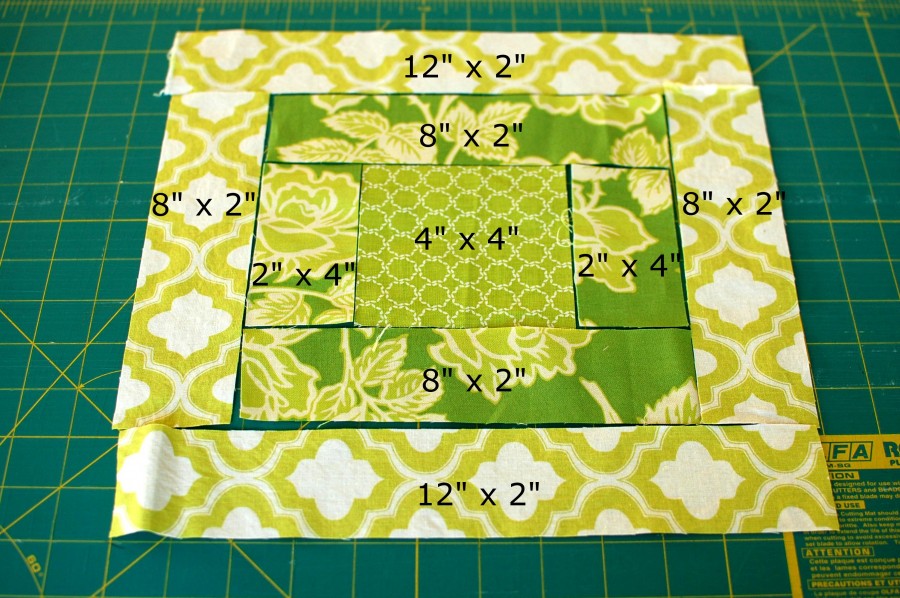
Cut your fabric. I think it’s easiest to use a rotary cutter and straight edge on a self healing mat. Here are all the dimensions.
.
I used a simple Log cabin pattern for the design.
.
.
The center square is 4″ and all other strips are 2″ wide.
.
Start sewing from the center out. Use a 1/4″ seam allowance when sewing.
.
Here are the first two pieces sew together:
.
.
As you attach pieces, make sure to iron or finger press the seams toward the outside. This way your finished top will be smooth.
.
Add the other side…
.
.
Then the next two…
.
.
Keep sewing until all pieces are attached. Iron the finished top.
.
Your finished top will look like this:
.
.
Next, cut a piece of fabric for the back of your potholder. Also cut a piece of the batting. Cut both pieces to the same size as your finished top.
.
.
Line up the three layers and pin together.
.
.
Now it’s time to start quilting!
.
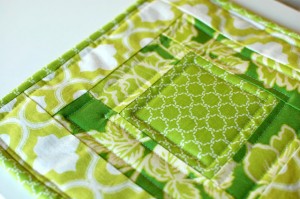
I decided to quilt squares using the top as a pattern. Start in the center and work out.
.
.
I used the sewing machine foot as a guide to quilt the squares. See how the edge of the foot is touching the seam of two of the fabric pieces?
.
.
Here’s the finished quilted top:
.
.
After all three layers are quilted together, you might need to use your rotary cutter and trim the edges.
.
Next up is making the seam binding. Cut a strip of fabric 2-1/2″ wide. You may need to attach a second strip so that the length is long enough to go around the entire potholder.
.
Iron the strip of fabric in half.
.
.
Seam binding can be a bit tricky if you haven’t done it before. For help, refer to this tutorial.
.
Start by attaching your binding somewhere in the middle.
.
.
The folded edge of the binding is toward the left.
.
Sew very close to the edge. Stop when you are 1/4″ away from the corner and remove from the sewing machine.
.
Fold the binding at a 45 degree angle like this:
.
.
And then back over on top of itself.
.
.
Continue sewing from the edge. Repeat at all corners.
.
Here’s how the binding will look when it’s all attached:
.
For more information on the binding portion, which can be tricky, check out this YouTube video.
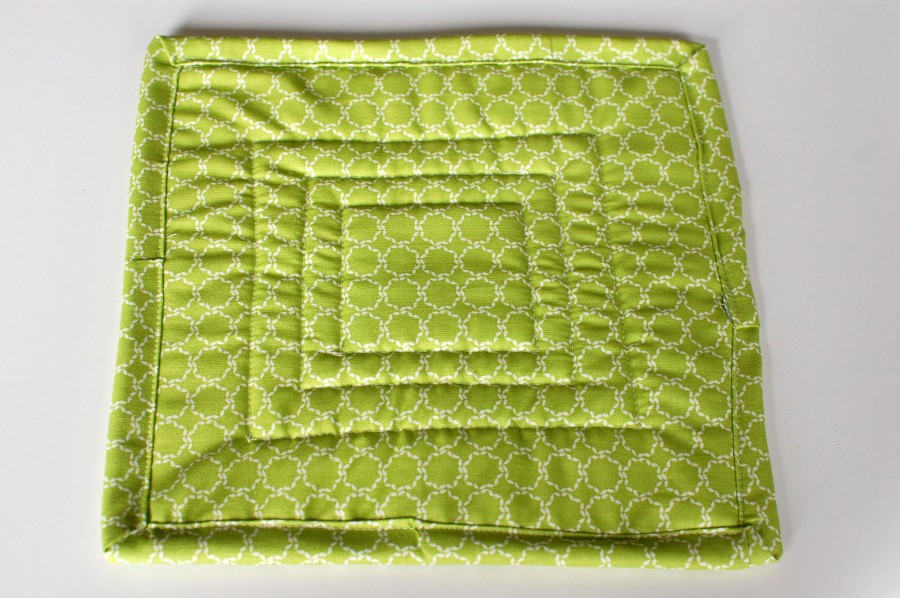
Your potholder is finished!
..
.
.
Thanks again Edie for having me over!


