If you’re new to the ’12 Days’, you may visit the previous days by clicking on the day you like:
Day 10 is your lucky day ’cause it’s a twofer! We had to have a day of food goodies and I’m so tickled to have two great bloggers with us today. I ‘met’ Cheryl from Tidy Mom sometime last year and her many projects and recipes! Her blog is chock full of stuff you’ll want to try so add her to your bookmarks. She even posted about nutella crepes the other day. Be still my heart! If you love a good linky party, she hosts a party every Friday called “I’m Loving It” where lots of talented ladies share the best projects. And then there’s Jodi from Back40Life. Jodi has a blog and a vinyl decal business. I love so many of her decals and I know you will too. I want this one and this one and this one
Welcome to Cheryl and Jodi and thanks so much for being here today!
 Hi everyone!!! My name is Cheryl and when I am not in the kitchen baking or running around with my camera you can find me over in my little corner of the universe at TidyMom.net where I share my favorite recipes, household tips tips, some photography and a bunch of other creative “stuff!”
I was just thrilled when Edie asked me to participate in the 12 Days of {handmade} Christmas. I knew JUST what I wanted to share.
This is a GREAT project for those of you who say “I can’t make handmade gifts” or “I can’t bake“. It’s a food gift that requires NO baking! and a hand made gift that is SO simple……no skills are required.
Warning……..you may want to double or triple the recipe because everyone is going to want some!
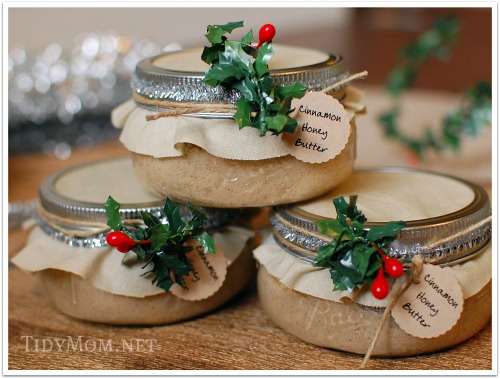
Cinnamon Honey Butter {Gift Jars}
Jar Supplies:
Cinnamon Honey Butter (recipe below)
3 1/2 pint canning jars
fabric
jute twine
tinsel “pipe cleaners”
“holly” ribbon
card stock paper
1″ paper punch (optional)
tiny whole punch (mine is 1/16″)
scissors
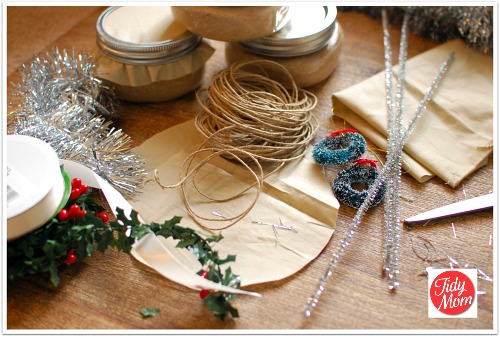
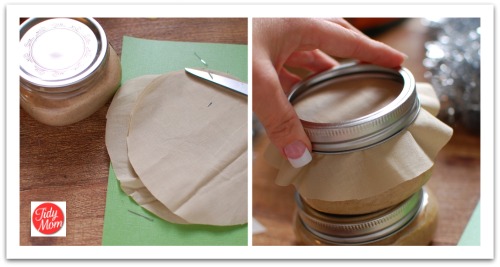
- cut 3 pieces of fabric in 5″ circles
- remove rim and place fabric on the inner lid piece of filled mason jar then screw outer lid back on over fabric
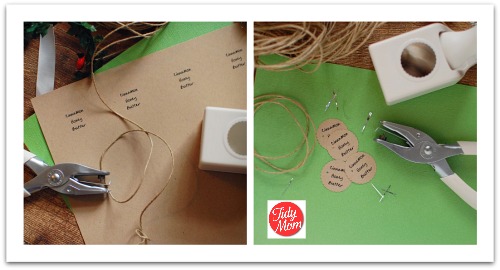
- Using card stock and Microsoft Word, print tags
I used the font “Cheryl Hand” , size 15, center alignment and I layed it all out using the template in Word for 1.6″ circle labels. Then printed on my card stock.
- Cut out with 1″ punch (or you could cut out by hand)
- use tiny whole punch on tag to thread twine thru
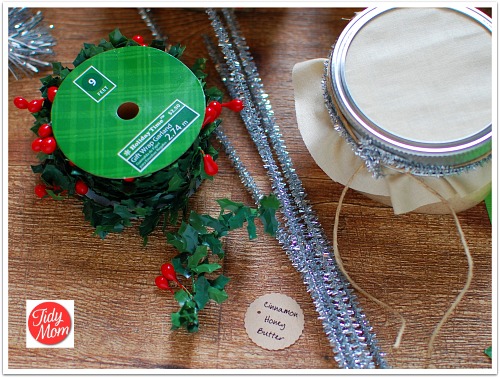
- wrap twine around lid and tie
- wrap tinsel pipe cleaner around lid and twist ends together
- add a small piece of “holly” ribbon to twine
- thread tag on to twine and tie
Cinnamon Honey Butter Recipe
yields 3 half pint jars
Ingredients:
1 cup Honey
1 cup butter, softened
1 cup powdered sugar
2 tsp cinnamon
3 half pint canning jars
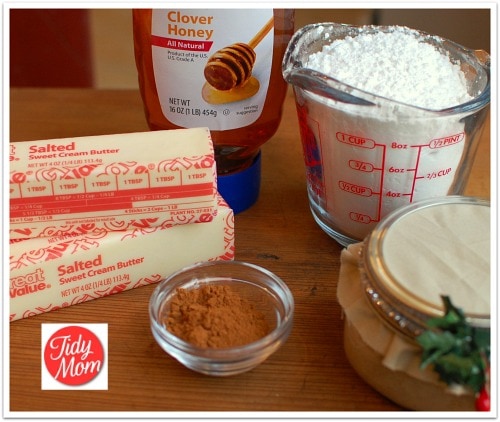
- Combine all ingredients in bowl. Using whisk attachment on mixer blend until smooth and creamy, scraping down sides of bowl as needed.
- Use rubber spatula to pour mixture in to a large pastry bag (or Ziploc bag), cut off tip and squeeze into half pint jars. (tip: place bag in tall glass for support, or have someone hold the bag while you pour)
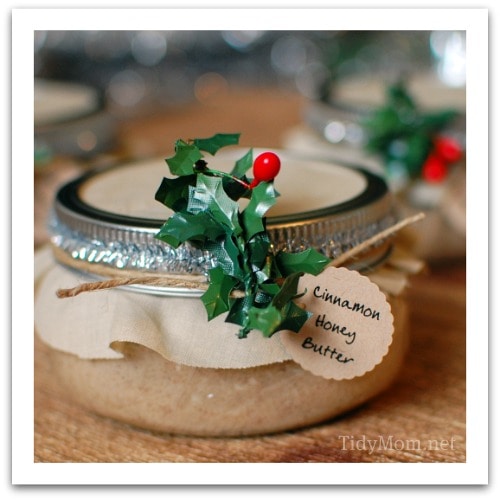
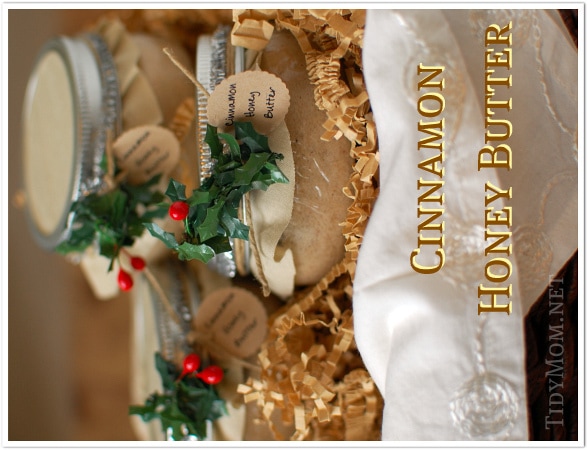
These would make fabulous gifts just the way they are, but add some home made pound cake or purchase a yummy bisquit mix or even a bag of bagels, put them in a cute basket with a Christmas or vintage towel and you have a fantastic gift from the heart that took less then an hour to make from start to finish!
Thanks again for inviting me Edie!!
I’d love to hear from any of you if you make the Cinnamon Honey Butter!

Toffee Popcorn
(pics to be restored soon, thanks for your patience!)
Hi – I’m Jodi of Back40Life & I’m super excited to be part of Edie’s 12 Days! My husband Brad & I started our first business together 7.5 years ago, and times were really tight…every extra penny went back into the business and to staying out of debt. When Christmas rolled around, we still wanted to have gifts to give but knew that we needed to go the handmade route as much as possible…and thus was born our toffee popcorn recipe. It was a big hit and even now, years later, we still get requests for it. I’m thrilled to share it with you today.
Ingredients:
- 2 sticks of butter
- 1/3 cup water
- 1 cup sugar
- popcorn
First pop your popcorn – for years we used 2 bags of microwave popcorn per batch…more recently we’ve gone to air pop {our popper holds 1/4 cup kernels}. Separate your popcorn into two bowls to make it easier to mix later – take a little time to sift through your popcorn and remove any unpopped kernels – trust me, your teeth will thank you.
Melt the butter over medium heat & add water. When the mixture begins to come to a boil, add the sugar & stir; it will be a beautiful light yellow color. As the mixture cooks, it will start to bubble and become frothy – stir to keep it from burning.
As the toffee cooks it will thicken and begin to deepen in color. In the 15-20 minute range, the toffee will start to thin back down and reach the color of peanut butter. Now it’s time to pour the toffee over your popcorn.
Use a wooden spoon to mix well – be careful not to touch the toffee – it is still scalding hot – I’ve learned that one the hard way! Once you’ve achieved an even distribution, spread the popcorn over wax paper or aluminum foil so that it can cool. Try to keep from burning your fingers as you sample {or is that just me?}
After the popcorn cools, break apart and enjoy. Better yet, have some cute gift bags on hand to keep the entire batch from disappearing! Thanks Edie for having me! Come visit us on the Back40!


