It’s almost that time!
I can hardly wait til Monday. We’ve had a few glitches but I don’t function well unless there’s a healthy amount of controlled chaos.
Thank you for your prayers. We’re enjoying time with our family after the passing of Steve’s 95 year old grandpa—who lived a long, wonderful life and died with faith in Christ as his Savior.
This ‘preview’ tutorial is brought to you by Emme, our energetic and crafty ten year old. She’s our official rosette maker and loved making this tutorial for you.
I helped a little but I’m thinking pretty soon those little girls will be able to run this blog for me.
Maybe that’s how Pioneer Woman does those 12 posts a day!

 Materials:
long strips of 1 inch fabric (it doesn’t really matter how long they are because the longer they are, the larger the rosettes)
hot glue gun
willing and able 8 and 10 year olds
We lucked up and found huge bolts of premade bias tape at our fabric store. I think this store custom-makes their won bias tape to use on quilts.
Just keep wrapping and wrapping until it’s the size you like. You can turn the fabric with every 1/2 twist around the rosette or fold it in 1/2 as you twist it. Folding it in 1/2 (which is how emme makes them) results in thin rosettes.
I turn the fabric first one way and then the other as I twist, which makes them ‘poof-ier’ and less perfect (which is what I like).
(i just realized I don’t have the last 2-3 pics with me at present so I’ll just explain it and upload them later—and we made a very long video but i don’t have it with me either 🙁 i’ll have to upload it later this week)
Then cut our felt circles that are slightly smaller than your rosettes and glue them to the back of the rosette.
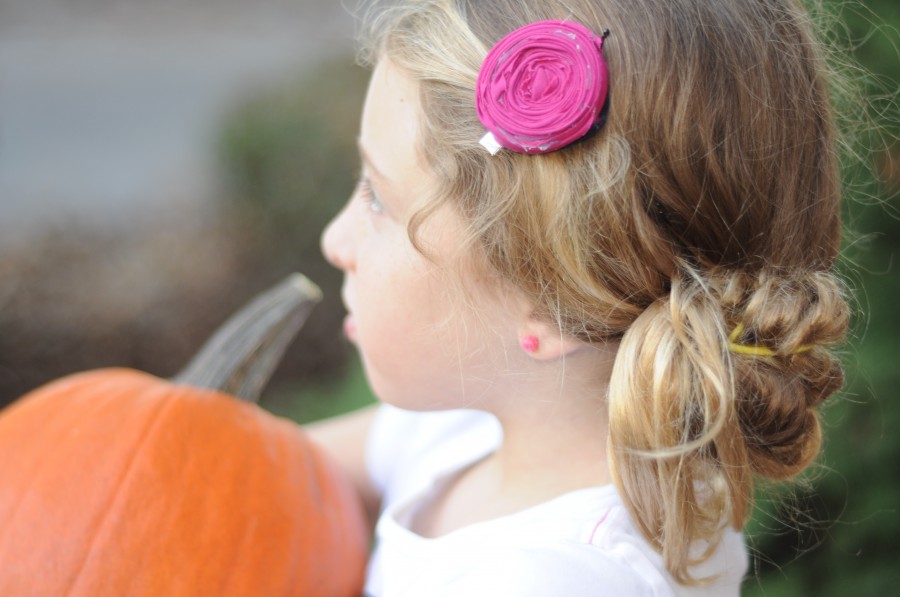
Add a pin or a hairclip with a dab of hot glue and you’re done!

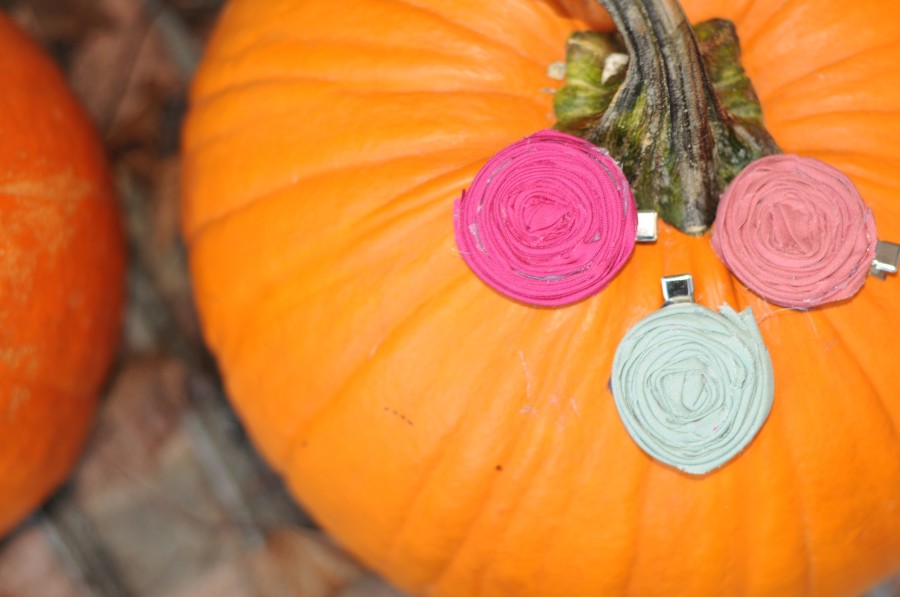
or you could make a smiley face pumpkin

P.S. You could be fussy and take the time to remove all the glue that shows through. Or you could be fussy and glue mostly to one side so that it doesn’t show through. But we’re not fussy crafters. We’re a little chic and a whole lot of shabby.


Sooo glad you are back and all is as well as can be. Bless Steve’s heart. (great genetics there! 95!…)
L&H, Trudy
Oh, my goodness! I had NO idea these were so simple. I LOVE a project that this!!! Thank you. I think my daughter and I will be adding rosettes to everything. 😉
Your girls are great helpers.
So very sorry to hear about your husband’s grandpa. My own grandpa died at 94. I know he lived a good, long life, but it was still hard. Some little part of me thought he should be around forever. Praying for you all.
-FringeGirl
Edie…I just love you! You make me smile. Please give Steve our condolences…it is always hard when those we love and hold so dearly leave their earthly home.
“a little chic, and whole lot of shabby” and SO smart! I love these. Thank you for a great tutorial. I am making some with my 9 and 11 year old girls this week!
I really must get a glue gun and Emme has persauded me to get one! I can’t wait for the 12 days of Christmas to begin, and I think I will have to make the rosettes to adourn Christmas presents. They are so pretty. Well done Emme!
fantastic edie… our love & prayers to steve and his (your) family.
safe trip!
What a great tutorial…I just might have to try one of these rosettes!
Awesome! I have a pile of pretty fabric scraps that would be perfect for this…Thank you, Edie!
My prayers go out to your family. I am so sorry for your loss.
I am absolutely obsessed with these rosettes now! I’ve always loved the look, but this tutorial was enough to kickstart my newfound addiction! 🙂 I’ve made 7 so far tonight! My thanks to the ladies for the clear and consise instructions! 🙂
I know you’re glad you had him as long as you did. I was missing my aunt pearl last night. she was my halloween helper in handing out candy. i love my memories of her. praying for you and your family. hugs to you.
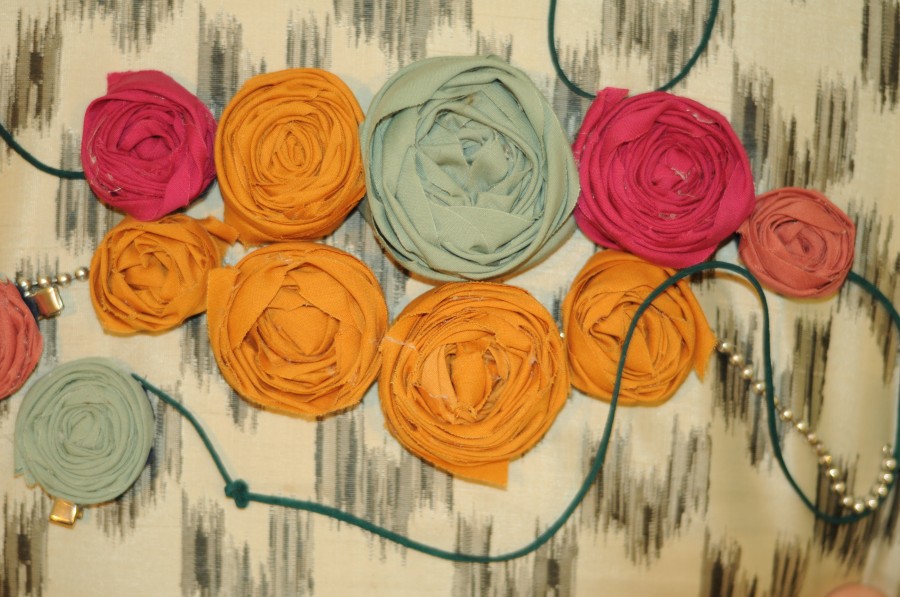
Are they just glued to the chain for the necklace?
Ok, I’m so sad to say this, but we are rosette failures. I was so excited to see your tutorial, as I’ve been wanting some cute, unique hair things for my girls…so we tried them today. Didn’t go so well. And your girls must be especially advanced crafters (ha) b/c mine aren’t really ready to handle the hot glue gun yet! (we tried.) Are your rosettes as flat on the back as they are on the front? Mine ended up SO THICK, too thick to put in someone’s hair, if that makes sense. Anyway, thanks so much for the inspiration…we might have to try it again later. 🙂
How beautiful would these be on holiday gifts? Especially if you made them hair clips that could be removed and reused by the recipient – I’m so excited to make some! Thanks for sharing!!
Love this! Thanks!
Thanks for the tutorial!! I have been looking for a tutorial on these!!
I just love this. My daughter’s name is Rose and she loves anything with a rose. It will be fun to make with my granddaughter Gabby. I am new to your blog but I am throuly enjoying it. I like you sense of humor. Thanks for this and all the other things.
What a cute idea. The wreath brought me here and still looking for how it was made. Just so cute. I could daydream for ever with the pinterest site. Joan Lowder jlowder1@bellsouth.net
@bellsouth:disqus
LOL! ” a little chic and a whole lot of shabby.” Love it!